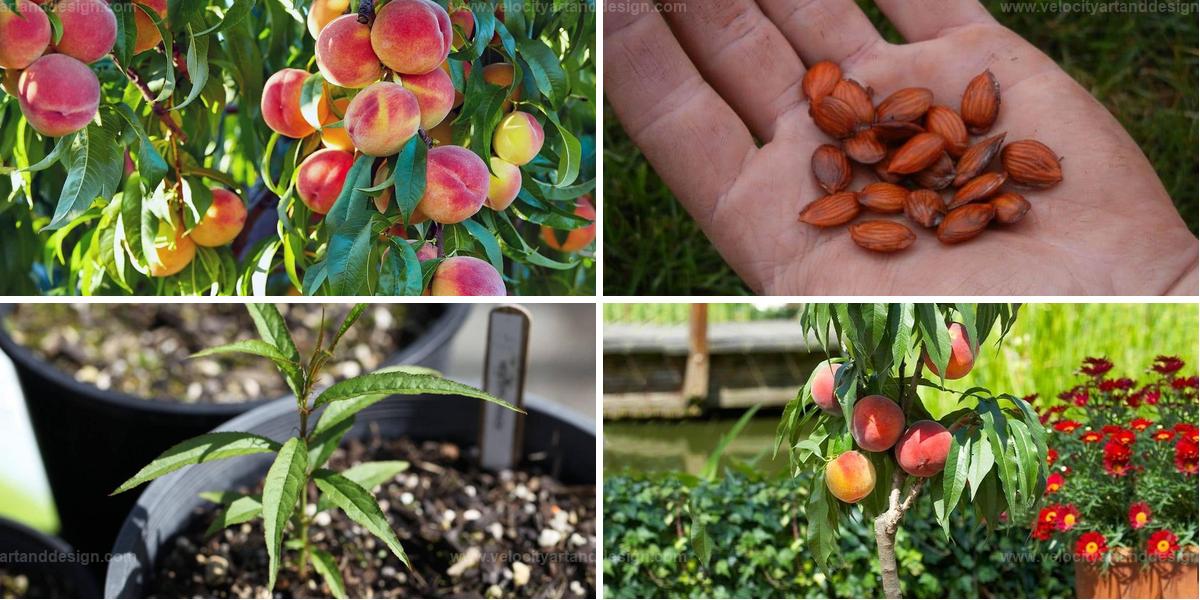
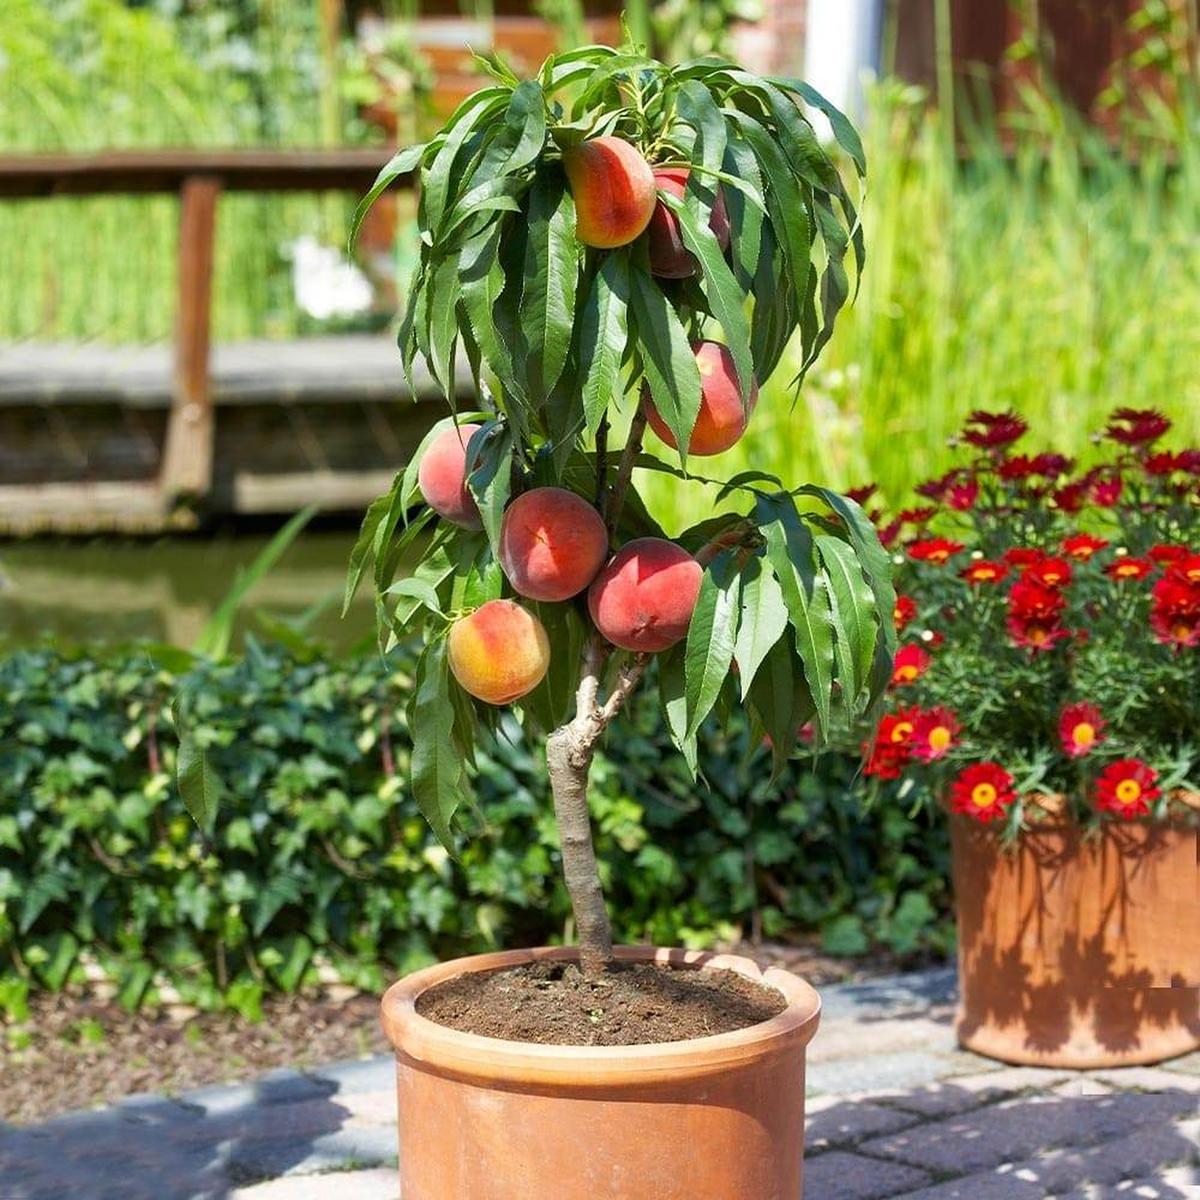
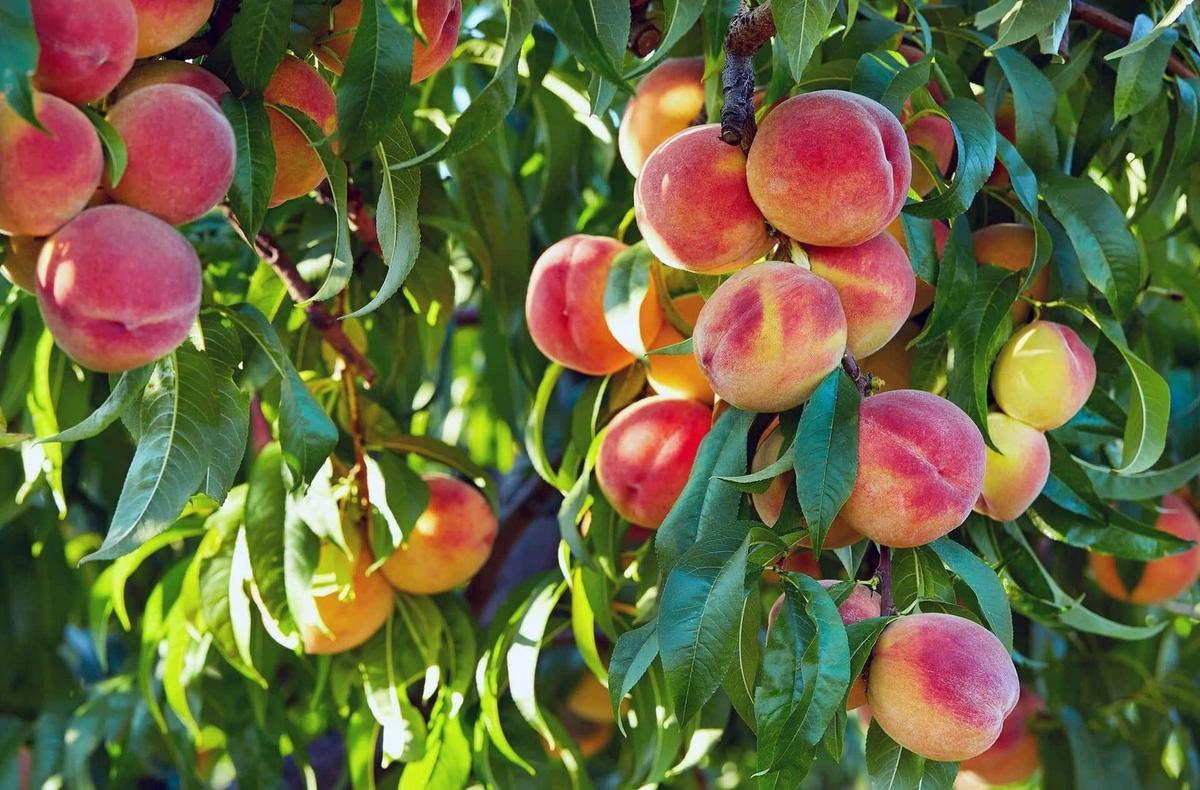
Simple Steps to Grow Peach Trees from Seeds
If you’ve ever dreamed of growing a peach tree from scratch, you’ll be pleased to know that it can be done with minimal effort.
This guide introduces the easiest method to grow peach trees from seeds, making it accessible for beginners and experienced gardeners alike.
From preparing the seeds to nurturing the young tree, each step is designed to help you succeed with as little hassle as possible.
Dive into this step-by-step approach and see how easy it is to grow your very own peach tree at home.
Essential Materials
Gather these necessary materials to get started with your project, ensuring a smooth and successful setup from the beginning.
Step-by-Step Process
Follow these easy steps to complete the process with confidence, covering each stage from start to finish.
Step 1. Extract and Germinate Seeds
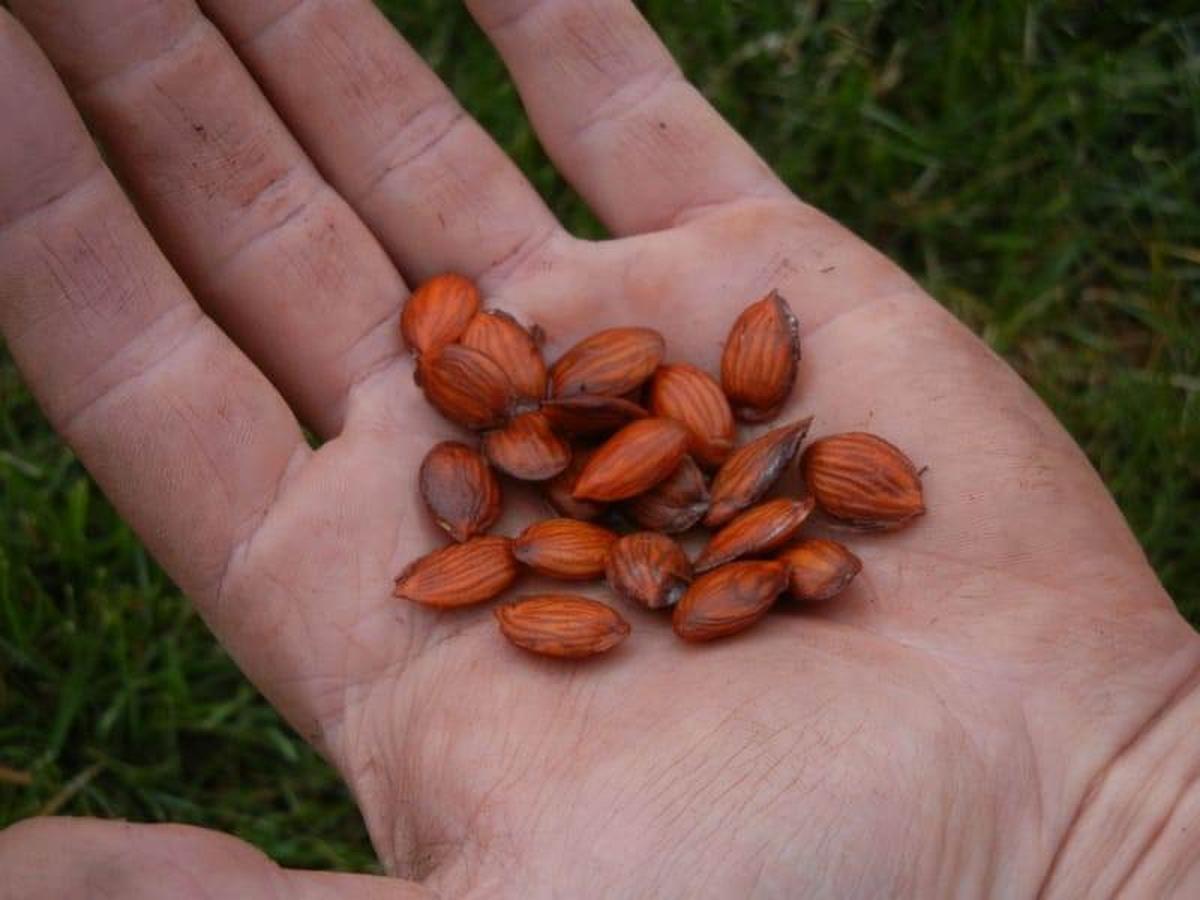
Begin by extracting seeds from a ripe peach. Rinse the seeds thoroughly to remove any remaining fruit, then gently pat them dry.
Place the seeds on a damp paper towel, fold it over, and seal it inside a plastic zipper bag. This pre-germination technique imitates winter conditions, triggering the seed’s natural readiness for growth.
Once prepped, store the bag in the refrigerator for approximately 8 weeks.
After the chilling period is complete, carefully take the seeds out of the bag.
You may notice a slight swelling, indicating they are ready to plant. Bury these plump seeds about an inch deep in pots or seed trays filled with nutrient-rich potting soil.
Ensure each seed has space to grow, setting the stage for a successful peach seedling.
Step 2: Plant And Transplant The Seeds
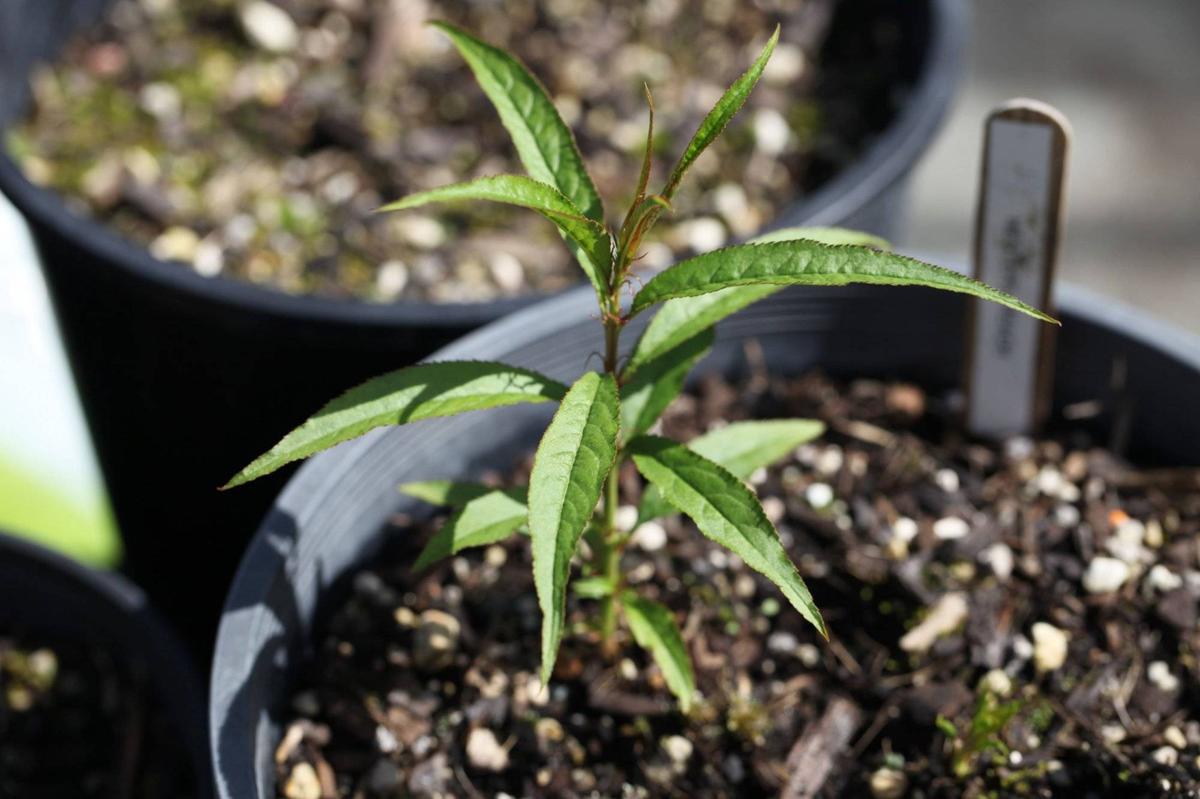
Once your peach seedlings reach a height of about 6 inches, they’re ready to move into larger pots. Select containers with proper drainage holes to avoid waterlogging, ensuring a healthy root environment.
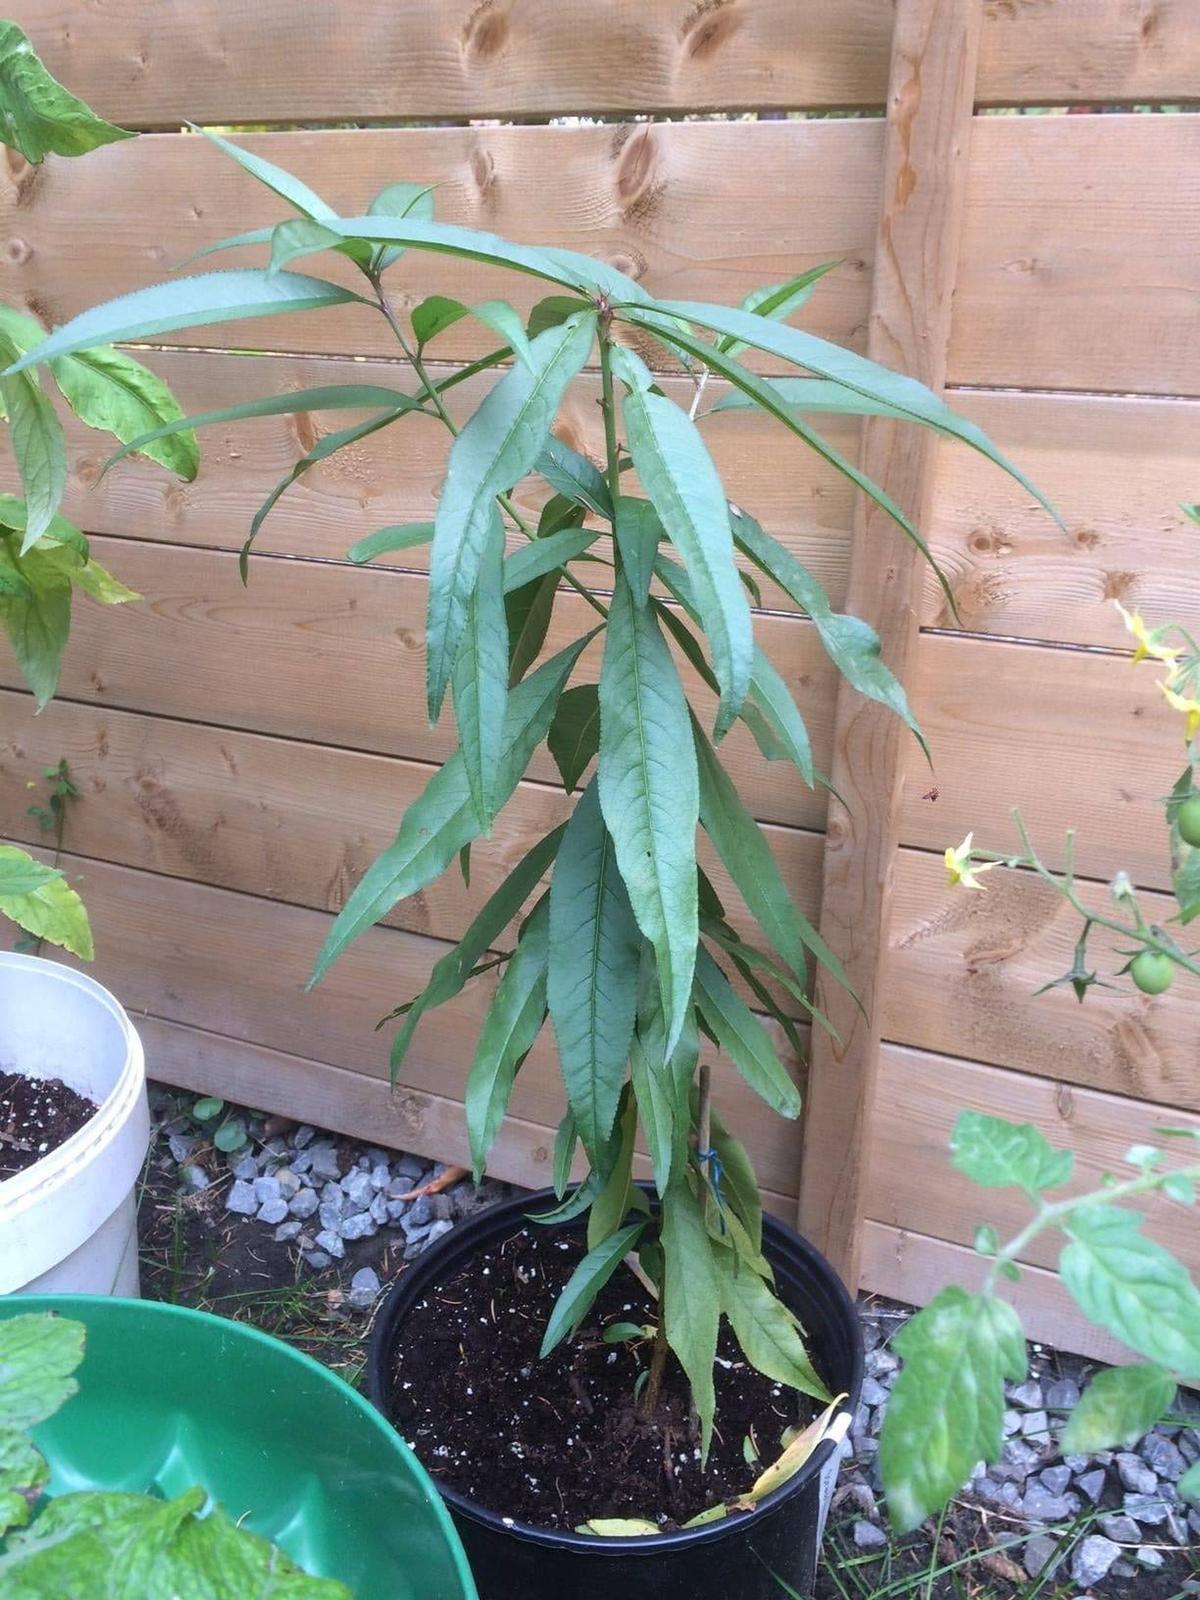
Dig a hole approximately 6 inches deep, gently placing the seedling in it, then cover with soil and water thoroughly. Handle each seedling with care during transplanting to protect the delicate roots.
As the seedlings continue to grow, watch for the development of true leaves, a clear indication they’re ready for a more spacious environment. At this stage, either transplant them into larger pots or consider planting them directly in your garden.
Choose a sunny location with well-draining soil, setting the foundation for your future peach tree’s health and growth.
Step 3: Provide Enough Care
Peach trees require consistent watering, especially in their first year and during dry spells.
The amount will vary based on soil type, weather, and tree size, but generally, aim for about an inch of water per week. For best results, use a drip irrigation system or soaker hose to water deeply and evenly.
Keep the leaves and fruit dry to help prevent fungal diseases.
Fertilizing
Peach trees thrive with a balanced fertilizer, like a 10-10-10 mix, providing essential nutrients for healthy growth and fruiting. Apply fertilizer in early spring when buds start to swell, and again after harvesting.
Spread it around the drip line and water thoroughly to ensure absorption.
Pruning
Annual pruning in early spring is essential to maintain a healthy shape, improve airflow, and increase sunlight penetration. Use sharp, clean pruning tools to make angled cuts and remove any dead, diseased, or damaged branches.
Aim for an open-center or vase shape with four to six main branches radiating from the trunk. During summer, thin the fruit, leaving about 6 inches (15 cm) between each to reduce crowding and boost fruit size and quality.
Step 4: Harvesting And Storage
The best time to harvest peaches is when they are fully ripe, displaying a yellow or orange background color.
While the skin may have a red blush, this alone isn’t a reliable sign of ripeness. To test for ripeness, gently squeeze the peach - it should feel firm yet yield slightly when pressed.
To pick, cup the peach in your hand and twist gently while pulling away from the branch. A ripe peach will detach easily without tearing the skin or leaving flesh on the stem.
Place harvested peaches in a basket or container with soft padding, like newspaper or straw, to prevent bruising. Avoid stacking them too high to keep them from pressing against each other.
For long-term storage, freeze peaches for use in baking, smoothies, or ice cream.
To freeze, blanch peaches in boiling water for 30 seconds, then peel and slice them. Soak the slices in water with lemon juice or fruit fresh to prevent browning, then sprinkle with sugar and fruit fresh before freezing.
Drying peaches is another excellent way to preserve them for granola, trail mix, baking, or as a snack. You can also make peach jam to enjoy on toast, muffins, ice cream, or yogurt year-round.
Extra Tips for Success
Enhance your results with these bonus tips, offering insights and tricks to make your project even more effective.
Pollination
Most peach trees are self-fertile, meaning they don’t require another tree to produce fruit. However, cross-pollination with compatible varieties can boost yield.
To self-pollinate, use a soft paintbrush to gently transfer pollen from flower to flower, mimicking a bee’s work.
Mulch
Peach trees benefit from a layer of organic mulch like straw, shredded bark, or leaves around their base. Mulching helps retain moisture, regulate soil temperature, suppress weeds, and enrich the soil.
Apply mulch in the spring after the soil warms and again in the fall before the ground freezes.
Overwinter
Peach trees are vulnerable to cold damage, especially in harsh winters. Protect your tree from frost, wind, and snow by wrapping the trunk and lower branches with burlap, tree wrap, or insulation, securing it with twine or tape.
Additionally, mound soil or mulch around the base of the tree, up to 12 inches (30 cm) high, to insulate the roots.

