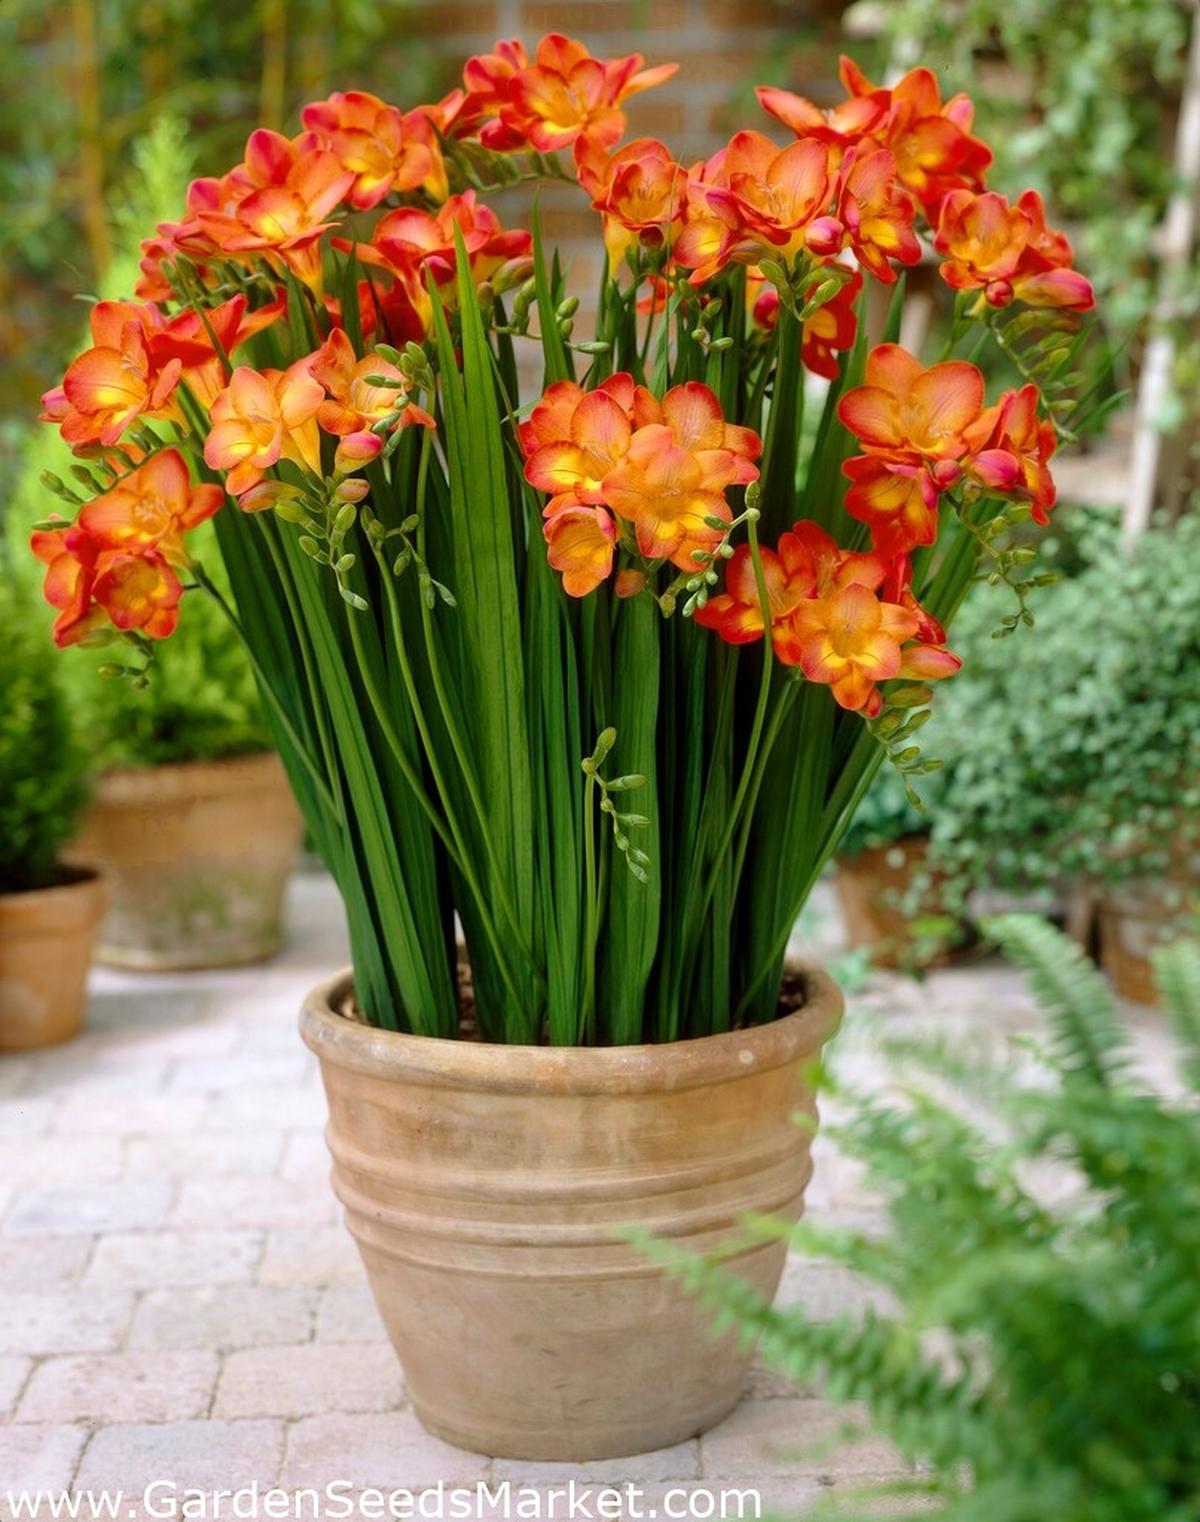
How to Care for Freesias: Simple Tips for Lush Growth
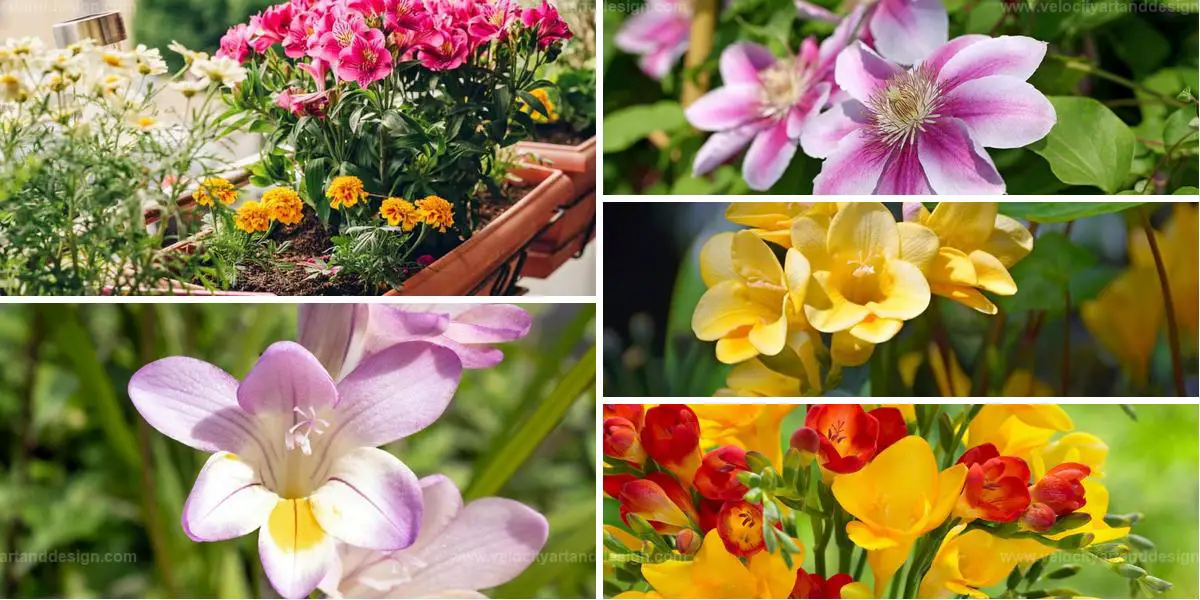
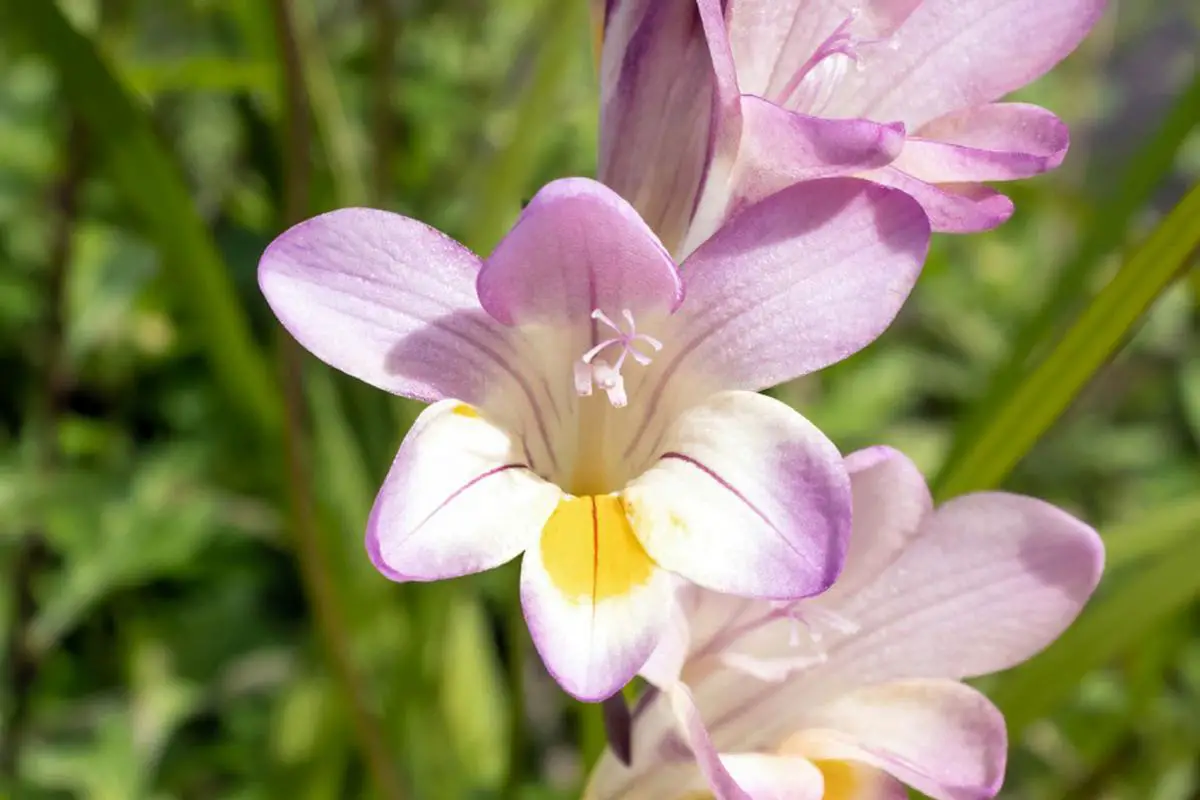
Delicate and fragrant, freesias are a garden favorite, and with the right care, they can thrive and bloom profusely.
This guide covers essential aspects of freesia care, including watering, fertilizing, and mulching.
Follow these tips to ensure your freesias are healthy and vibrant.
Picking Freesia Bulbs
Healthy freesia bulbs come from trusted suppliers, ensuring you start with quality.
Selecting plump and firm bulbs guarantees a better chance of thriving flowers without damage or rot.
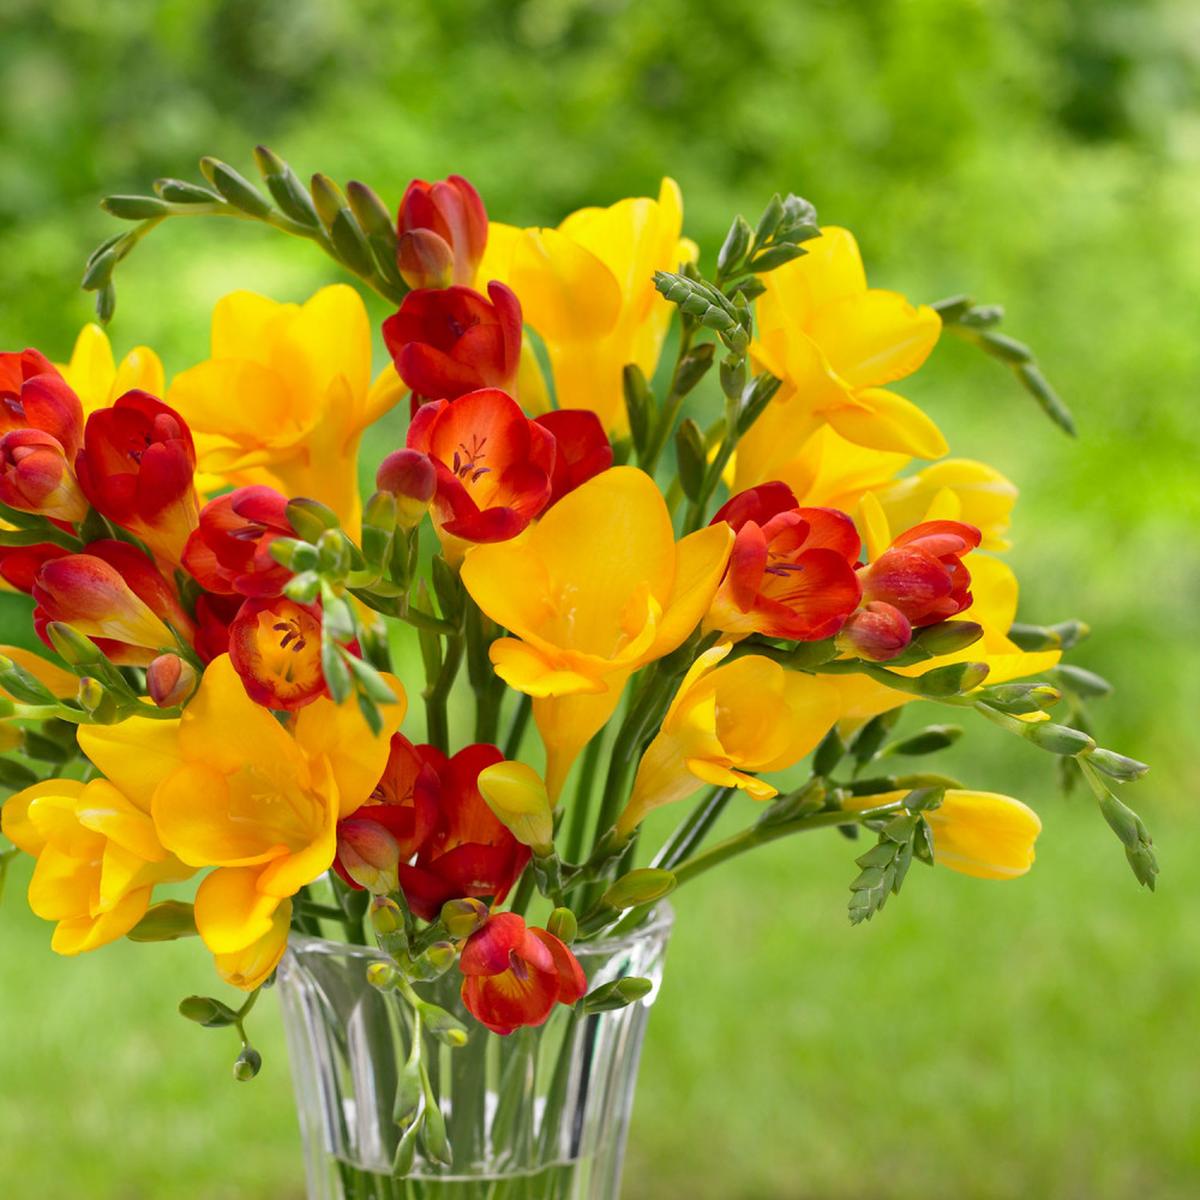
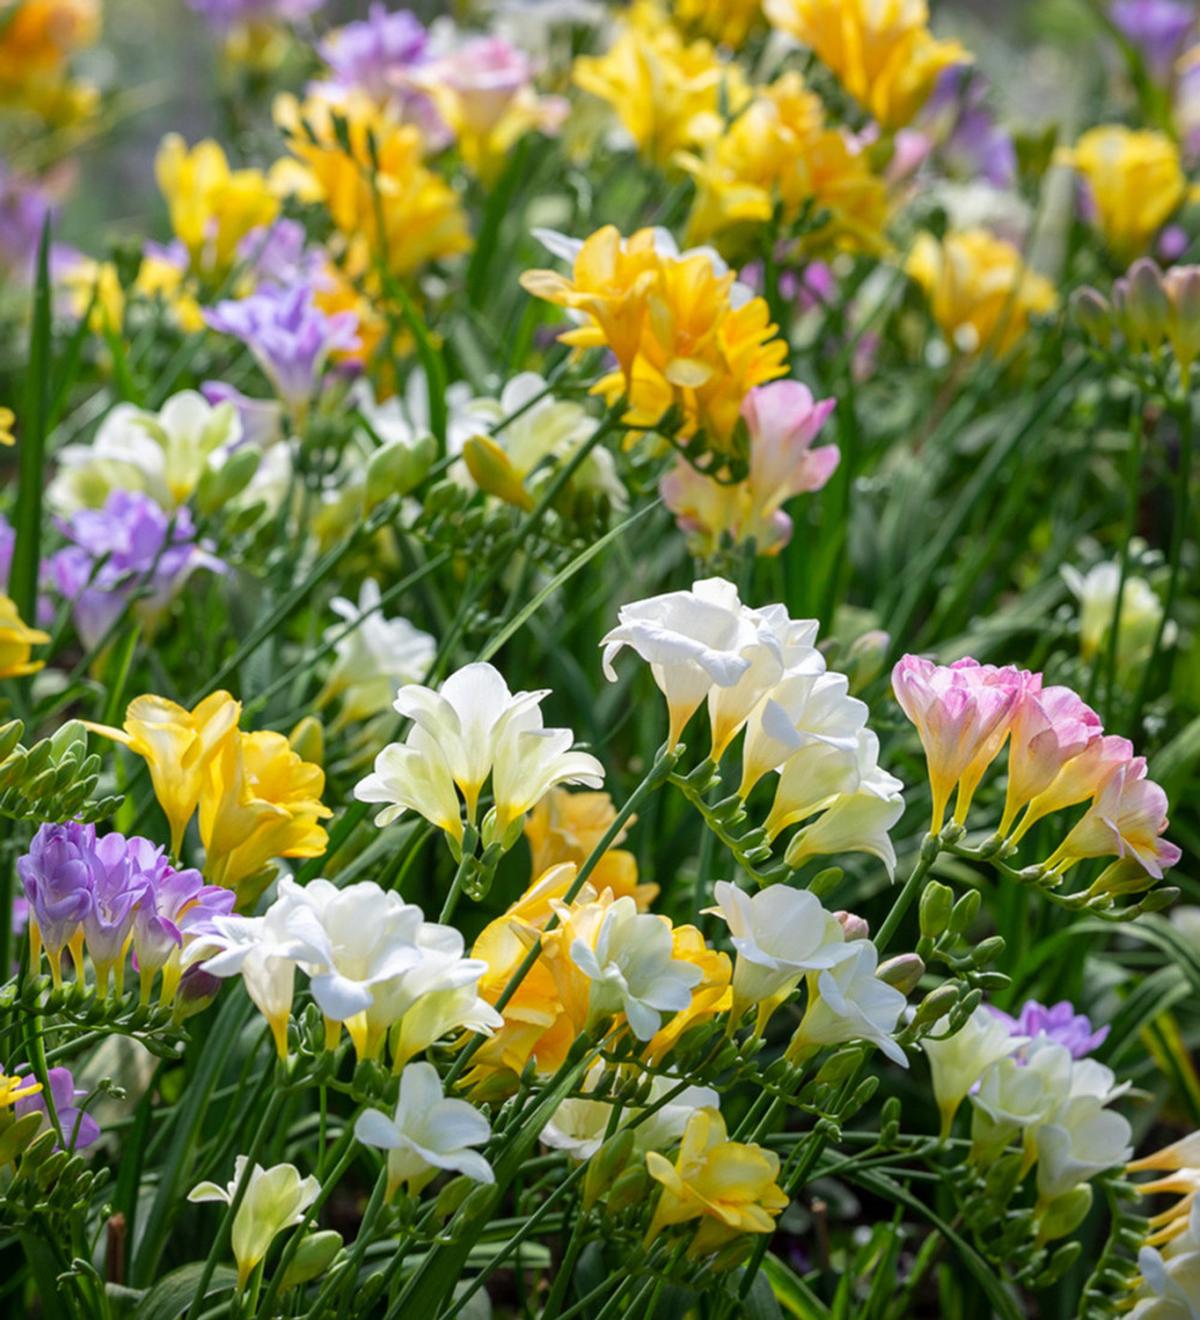
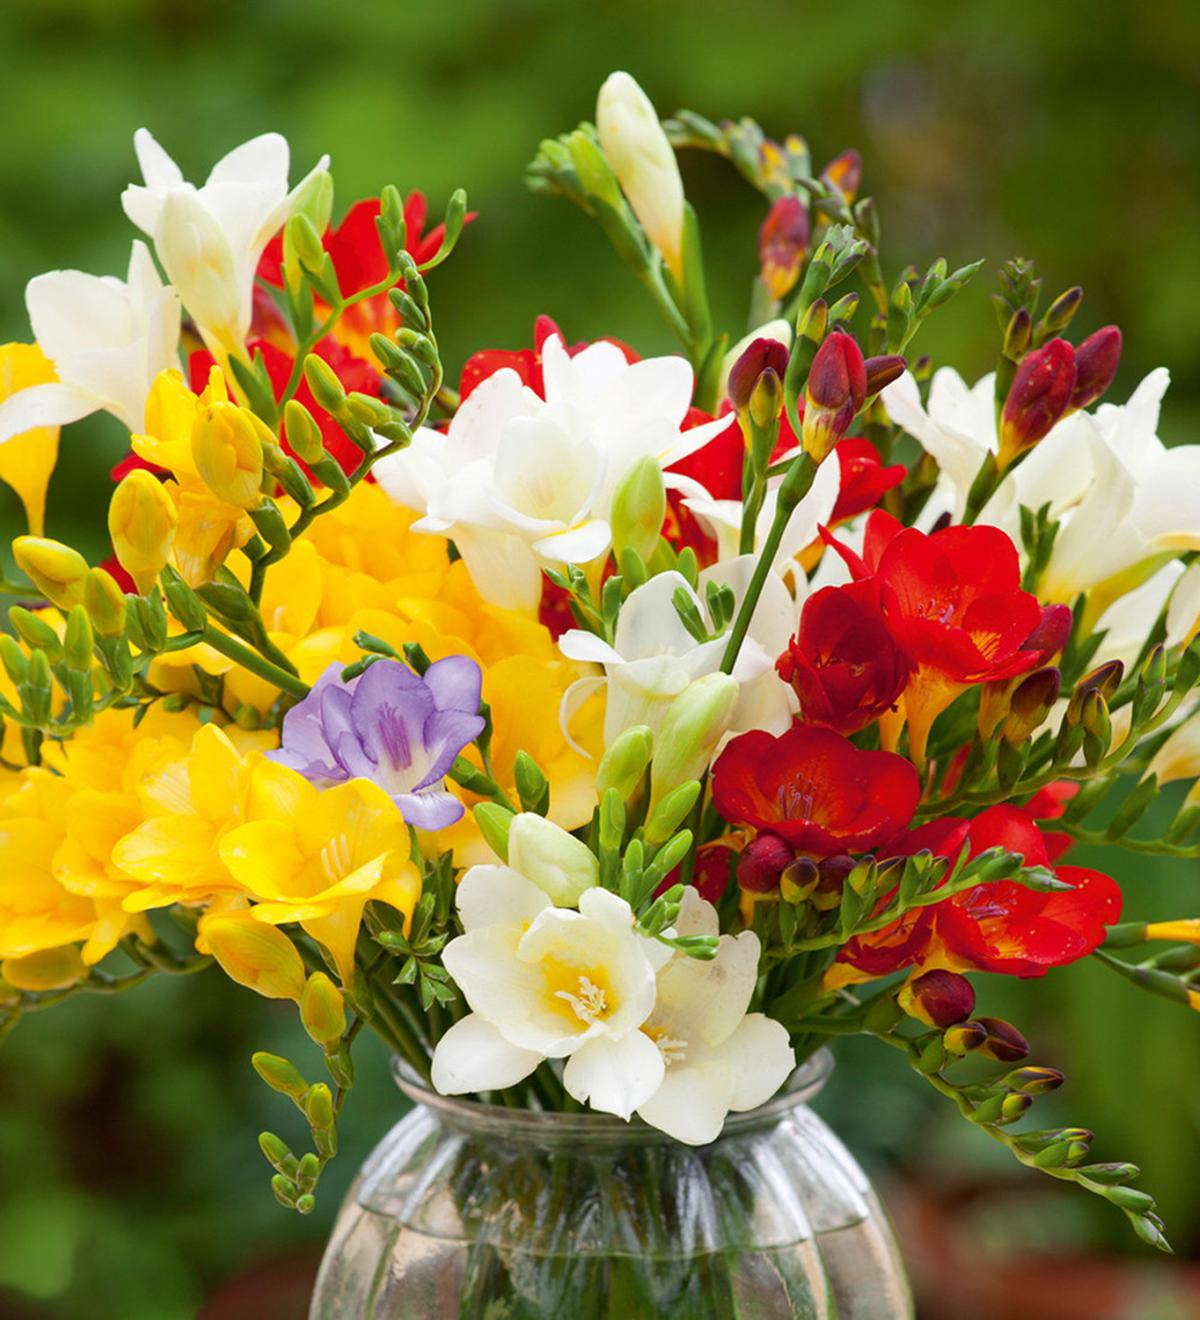
A variety that aligns with your color tastes, size preferences, and scent expectations enhances the overall experience in your garden or home.
Bringing these elements together creates an inviting atmosphere filled with delightful blooms and captivating fragrances throughout the blooming season.
Planting Freesias
Selecting a sunny spot can set the stage for success.
Soil that’s rich and well-draining encourages healthy growth, so mixing in compost or organic matter makes a difference.
Digging small holes about 2-3 inches deep allows space for bulbs to thrive; spacing them closely helps create an inviting garden scene.
Placing the bulbs with their pointed ends facing up ensures they’ll sprout beautifully when covered with soil, while firming it gently around each bulb provides stability as they take root.
Watering Freesias
Watering plays a crucial role in nurturing your bulbs.
Once planted, giving them a good soak helps the soil settle around their roots, laying the groundwork for healthy growth.
Freesias appreciate deep watering sessions when the top layer of soil dries out; this keeps things just right, moist but not drowning.
Keep an eye on weather changes too; adjusting how often you water ensures these lovely blooms stay happy and thriving throughout their growing season.
Staking Freesias
Freesia stems can lean or bend under the weight of their beautiful blooms.
Adding stakes offers a simple solution, giving these lovely flowers the support they need to stand tall and proud.
A flower grid works wonders too, ensuring that each stem gets just enough help without losing its natural charm.
With a little care, those vibrant blossoms will keep your garden looking fresh and lively throughout their blooming season.
Feeding Freesias
Planting bulbs can be an exciting journey into gardening.
Starting with a balanced bulb fertilizer, like 5-10-10 or 10-10-10, sets the stage for healthy growth right from the beginning.
As your plants begin to reach toward the sun, regular feedings with liquid fertilizer every couple of weeks will keep their energy high and support vibrant blooms throughout the season.
Always remember to check those instructions on the package; they’ll guide you in providing just what your bulbs need without overdoing it.
Winter Care for Freesias
Freesias add beauty to any garden, but they don’t always survive harsh winter conditions.
Once the leaves wither away, it's time to gently lift those bulbs from the ground and shake off any extra dirt.
Allow them some downtime in a cool spot for a few weeks; this helps prepare them for storage.
When ready to tuck them away until spring arrives, choose a container that breathes well and fill it with dry peat moss or wood shavings before placing it in a dark corner where temperatures stay between 40-50°F (4-10°C).
Pruning Freesias
Removing faded flowers regularly keeps your garden looking fresh and encourages new blooms to pop up.
This simple act, known as deadheading, helps prevent the plants from going to seed too early.
When summer fades into autumn and leaves start yellowing or wilting, cutting them back all the way down can rejuvenate your garden for next year’s growth.
It’s a straightforward way to maintain beauty in your outdoor space with minimal effort!
Mulching and Weeding
Adding organic mulch around your plants can work wonders for their health.
This layer, whether it's straw or wood chips, helps lock in moisture and keeps pesky weeds at bay.
Maintaining a depth of 2-3 inches is key; just make sure it doesn’t touch the stems to avoid any rotting issues.
With this simple step, you'll create an environment where your garden can flourish beautifully.

