How to Use Aloe Vera Gel for Growing Thuja Plants from Cuttings
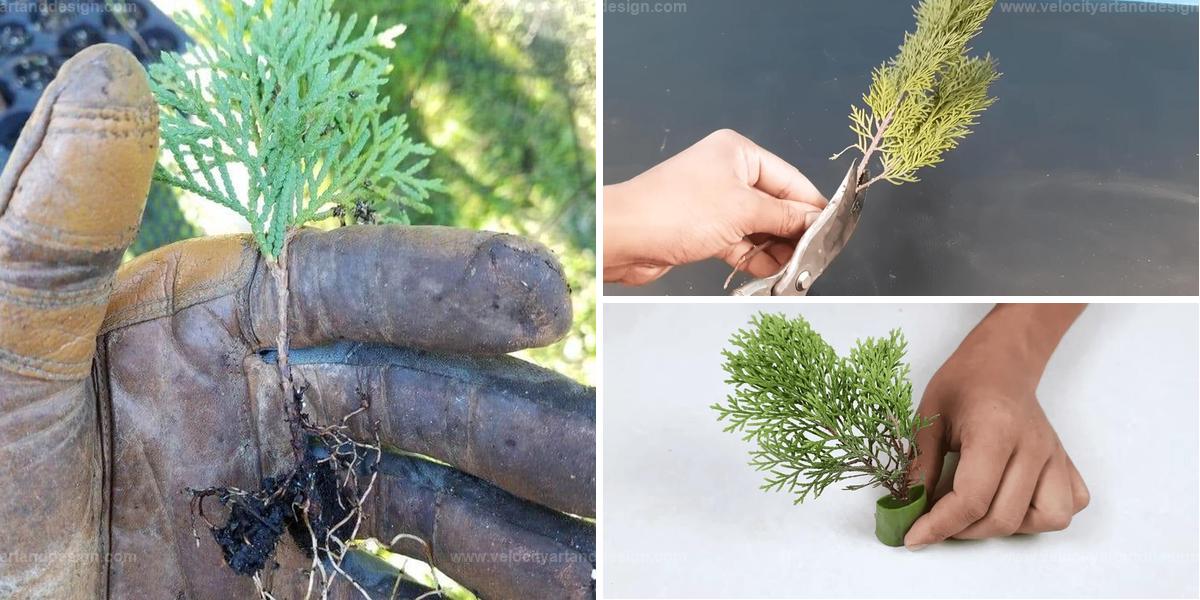
Thuja plants, known for their lush greenery and versatility, are a great addition to any garden. If you’re looking to propagate Thuja naturally, using aloe vera gel as a rooting agent is a fantastic option.
Aloe vera gel contains natural growth-boosting compounds that help cuttings establish roots without synthetic chemicals.
This guide will walk you through the steps to grow new Thuja plants from cuttings using aloe vera gel, making the propagation process both eco-friendly and effective.
Essential Materials
Gather these key materials to set up a smooth and successful propagation process, ensuring the best start for your plants.
Step-by-Step Propagation Guide
Follow this easy, detailed guide to help you propagate plants successfully, from preparation to planting and nurturing.
Step 1: Prepare for Planting
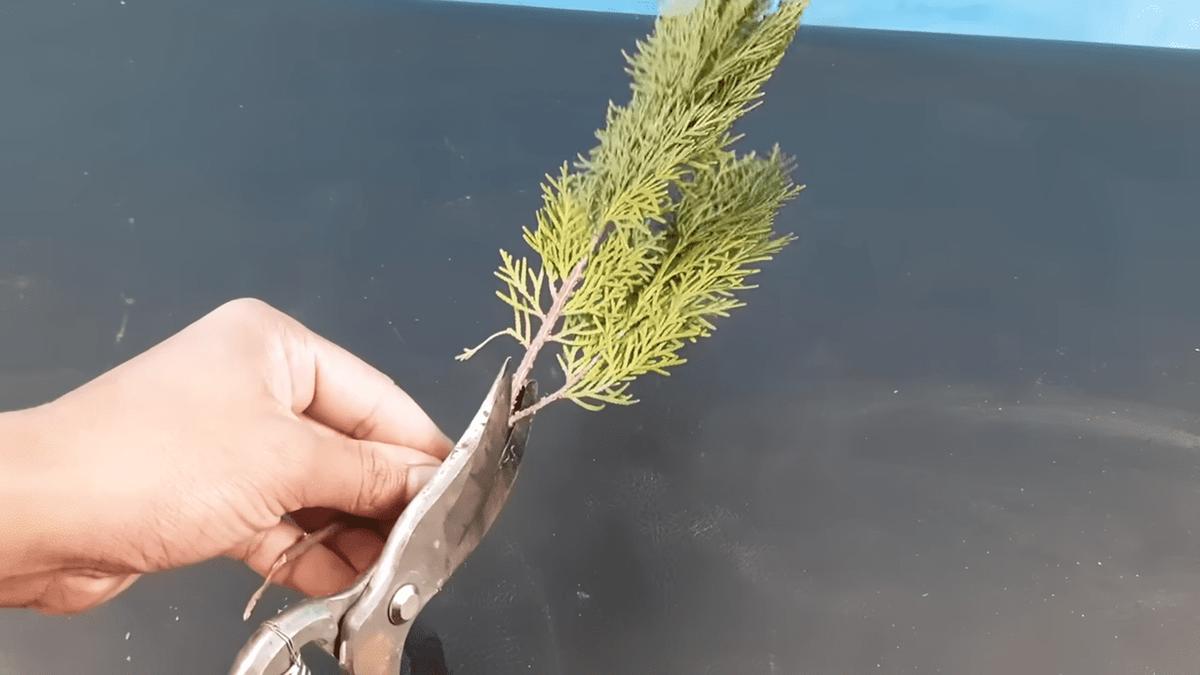
Begin by sterilizing your pruning shears with rubbing alcohol or hydrogen peroxide to prevent any pathogens from transferring to your cuttings. Select Thuja cuttings from the current season’s growth, aiming for healthy, undamaged pieces. Taking multiple cuttings increases the likelihood of successful propagation.
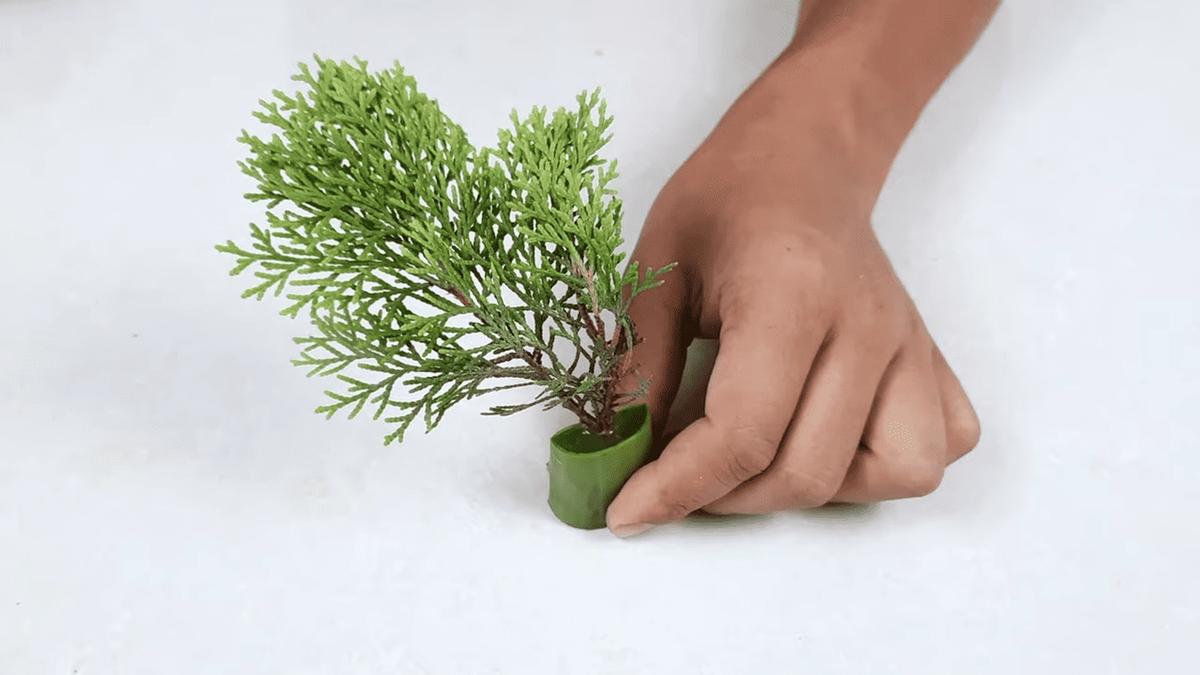
Next, prepare fresh Aloe Vera gel by cutting a leaf or using store-bought gel. Apply this gel to the cut ends of the Thuja cuttings to serve as a natural rooting hormone, encouraging root growth.
The potting mix is also essential. Use a well-draining mix to promote root development, filling the rooting container with it and leaving about an inch of space at the top.
Step 2: Plant the Cuttings
Using a pencil or stick, gently create holes in the potting mix. Insert your Thuja cuttings into these holes, ensuring they’re stable and won’t fall over. You can place multiple cuttings within the same container. To maintain humidity around the cuttings, cover the container with a clear plastic bag or plastic wrap, which helps retain moisture and encourages successful rooting.
Finally, position your container in a spot with bright, indirect light. Avoid direct sunlight, as it can cause overheating and dry out the cuttings. Maintain a steady temperature, ideally between 65-75°F (18-24°C), for the best results.
Step 3: Monitor Growth
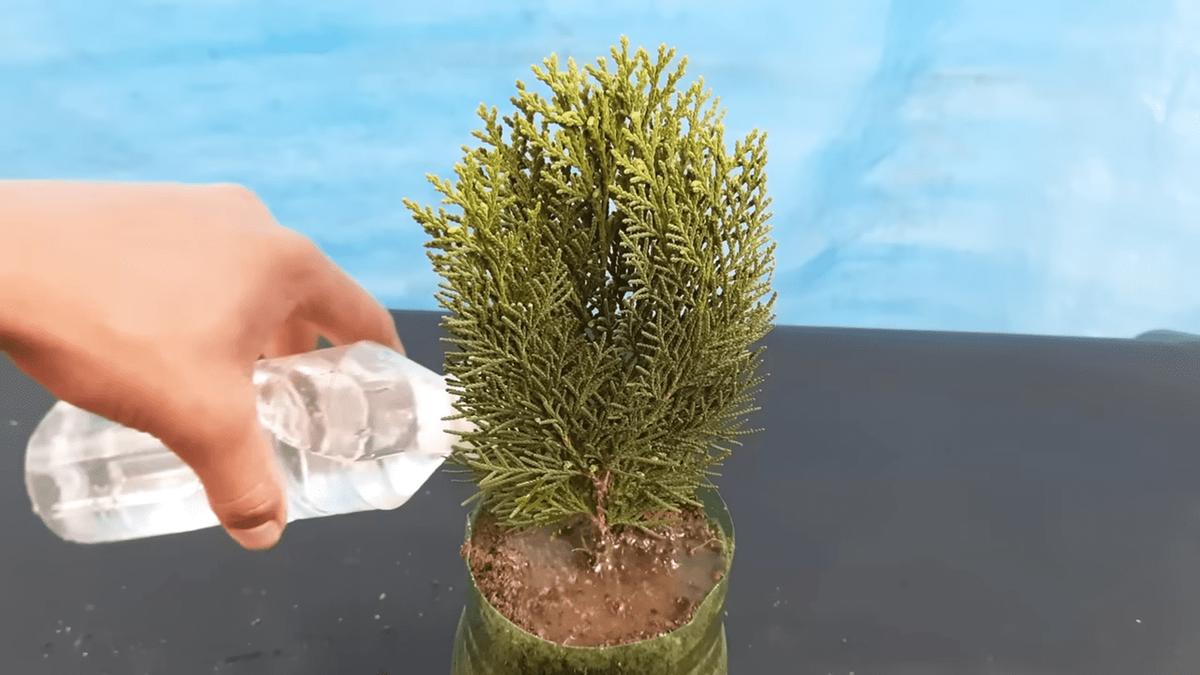
It’s important to monitor the humidity under the plastic bag or wrap. Mist the cuttings every few days with a spray bottle to maintain a humid environment, but avoid direct watering, as this can lead to rotting. Regularly replace the water in the spray bottle to prevent bacterial growth and keep conditions clean.
Step 4: Transplant to Final Location
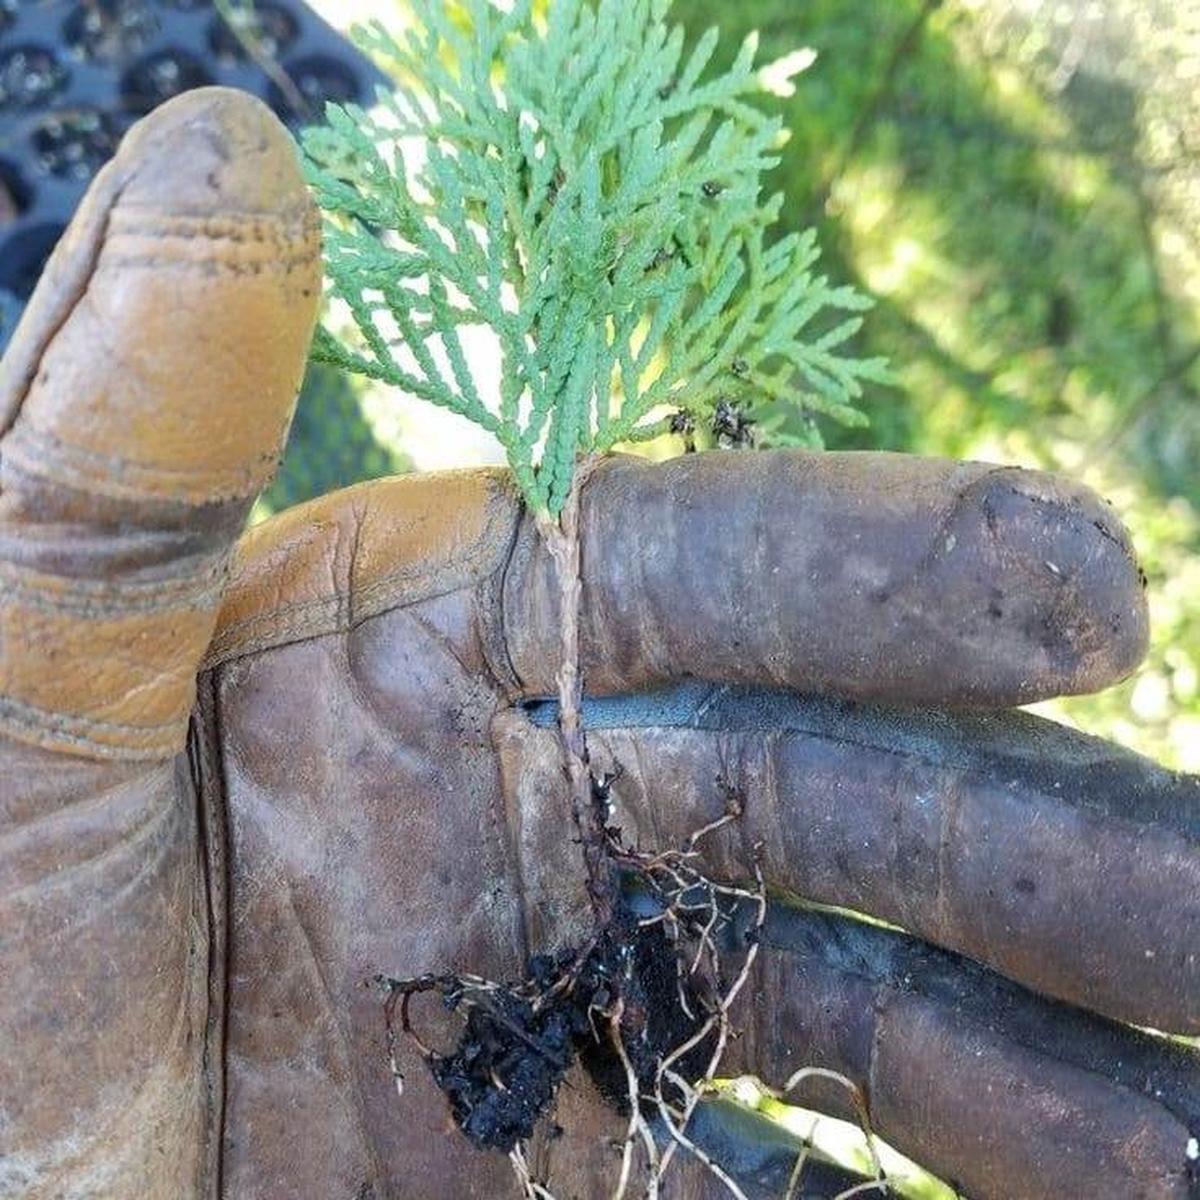
After three to four weeks, check for root growth by gently tugging on the cuttings; resistance usually indicates rooting. You can also remove the plastic covering and look at the bottom of the pots for visible roots.
If roots are present, transplant each cutting into individual pots with fresh potting soil. If roots haven’t developed yet, replace the plastic covering and check again in another week or two.
Once the cuttings are rooted, remove the plastic bags or wrap and place the pots in a bright, well-ventilated area. Water as needed to keep the soil lightly moist but not saturated. When the plants are well-established, usually by the following spring, they can be transplanted outdoors.
Common Propagation Issues
Learn about frequent challenges in plant propagation and how to address them, helping you troubleshoot and support healthy growth.
Selecting Unsuitable Cuttings
Softwood or semi-hardwood cuttings, which are young and flexible branches that snap easily when bent, are ideal for propagation, while hardwood cuttings are best avoided.
Using Unclean or Dull Tools
Pruning shears or scissors should be clean and sharp for cutting Thuja branches, with sterilization using rubbing alcohol or a 10% bleach solution to reduce the risk of disease.
Exposing Cuttings to Direct Sunlight
A warm, well-lit area with indirect sunlight is the best environment for the cuttings, as direct sunlight may scorch them.

James Turner
Founder & Lead Designer
Expertise
Interior Design, Sustainable Design Practices, Spatial Planning, Innovative Material Applications, Contemporary Art Techniques, Visual Communication, Multimedia Artistry, DIY Design and Home Projects, Eco-Friendly Living Spaces, Creative Solutions
Education
University of Cincinnati College of Design, Architecture, Art, and Planning (DAAP)
Columbus College of Art & Design (CCAD), Columbus, OH
James Turner is the founder and lead designer at Velocity Art and Design. He studied Interior Design at the University of Cincinnati, focusing on eco-friendly design and smart use of space.
Later, he expanded his artistic skills with a Fine Arts Certificate from the Columbus College of Art & Design, where he learned about modern art and visual storytelling.
With over 10 years in design, James is passionate about making spaces that are both beautiful and practical. He shares his DIY tips and creative ideas to inspire others to explore their own creativity and transform their living spaces.