How to Grow Avocados in a Pot Easily and Successfully
Growing an avocado tree in a pot is a rewarding and achievable project, even for beginner gardeners.
With the right techniques and care, you can cultivate a healthy avocado tree in a container that brings the beauty of this tropical plant indoors or to your patio.
This guide covers each step, from preparing your seed to ensuring your avocado tree thrives in a pot, so you can enjoy fresh avocados and a unique indoor plant experience.
Dive into this guide and start growing your potted avocado successfully!
Step 1: Selecting the Best Avocado Variety and Pot
Choosing the right avocado variety and pot is key for successful growth. Some varieties are better suited for indoor growing, so pick one that fits your space and climate needs.
Selecting the Right Avocado Variety
For container gardening, it’s best to choose a dwarf or semi-dwarf avocado variety suited to smaller spaces. Popular choices include "Hass," "Fuerte," and "Little Cado" (also known as "Wurtz"). These varieties are ideal for pots and typically grow to a manageable height of 6 to 10 feet, making them perfect for indoor or limited space cultivation.
Choosing the Right Pot
Select a large pot with good drainage to prevent waterlogging, as avocados are sensitive to excess moisture. A pot with a minimum 18-inch diameter is ideal for supporting the tree’s root system. Use a well-draining potting mix, preferably one formulated for citrus or avocado trees, to promote healthy growth.
Step 2: Growing an Avocado Tree in a Pot from Seed
Start your avocado tree from seed by planting it in a pot with well-draining soil. With the right environment and patience, you’ll watch it sprout and grow into a beautiful young tree.
Choosing an Avocado Pit
Begin with a ripe avocado - look for one that feels firm but gives slightly under gentle pressure, indicating it's ready to use.
Extracting the Seed
Carefully slice open the avocado and remove the pit nestled at its center. A quick rinse under cold water will wash away any remaining fruit, leaving the pit clean and ready for the next step.
Washing the Seed
To prepare for sprouting, insert three to four toothpicks around the middle of the pit, spacing them evenly to create a secure hold. The toothpicks act as a stand, keeping the pit half-submerged in water without fully sinking.
Setting Up for Germination
Set the avocado pit, flat side down, in a glass or jar filled with enough water to cover its bottom half. Position it in a warm, sunny location, like a windowsill, and change the water every few days. This routine prevents stagnation and keeps the pit healthy as it begins to grow.
Encouraging Germination
In a few weeks, roots will start to form, and a sprout will emerge from the top of the pit. Once these roots reach around 2 to 3 inches and the sprout is tall enough, it’s time for planting.
Developing Roots and Shoots
Use a well-draining potting mix, ideal for citrus or avocado trees, to pot your sprouted pit. Create a small hole, carefully place the pit inside with the roots buried and the top half exposed, and gently press the soil around it.
Transplanting the Sprouted Seed
Avocados thrive in humidity but need well-draining soil to prevent waterlogging. Choose a soil mixture that allows for quick drainage and let it dry out between waterings to keep the roots healthy.
Step 3: Caring for Your Avocado Tree
Proper care, including watering, sunlight, and occasional pruning, will help your avocado tree thrive. Giving it the right attention ensures healthy growth and prepares it for fruiting.
Providing Water
Water deeply once a week or whenever the leaves begin to droop. A container with drainage holes ensures water won’t accumulate, helping keep your plant's roots in top shape.
Ensuring Proper Light
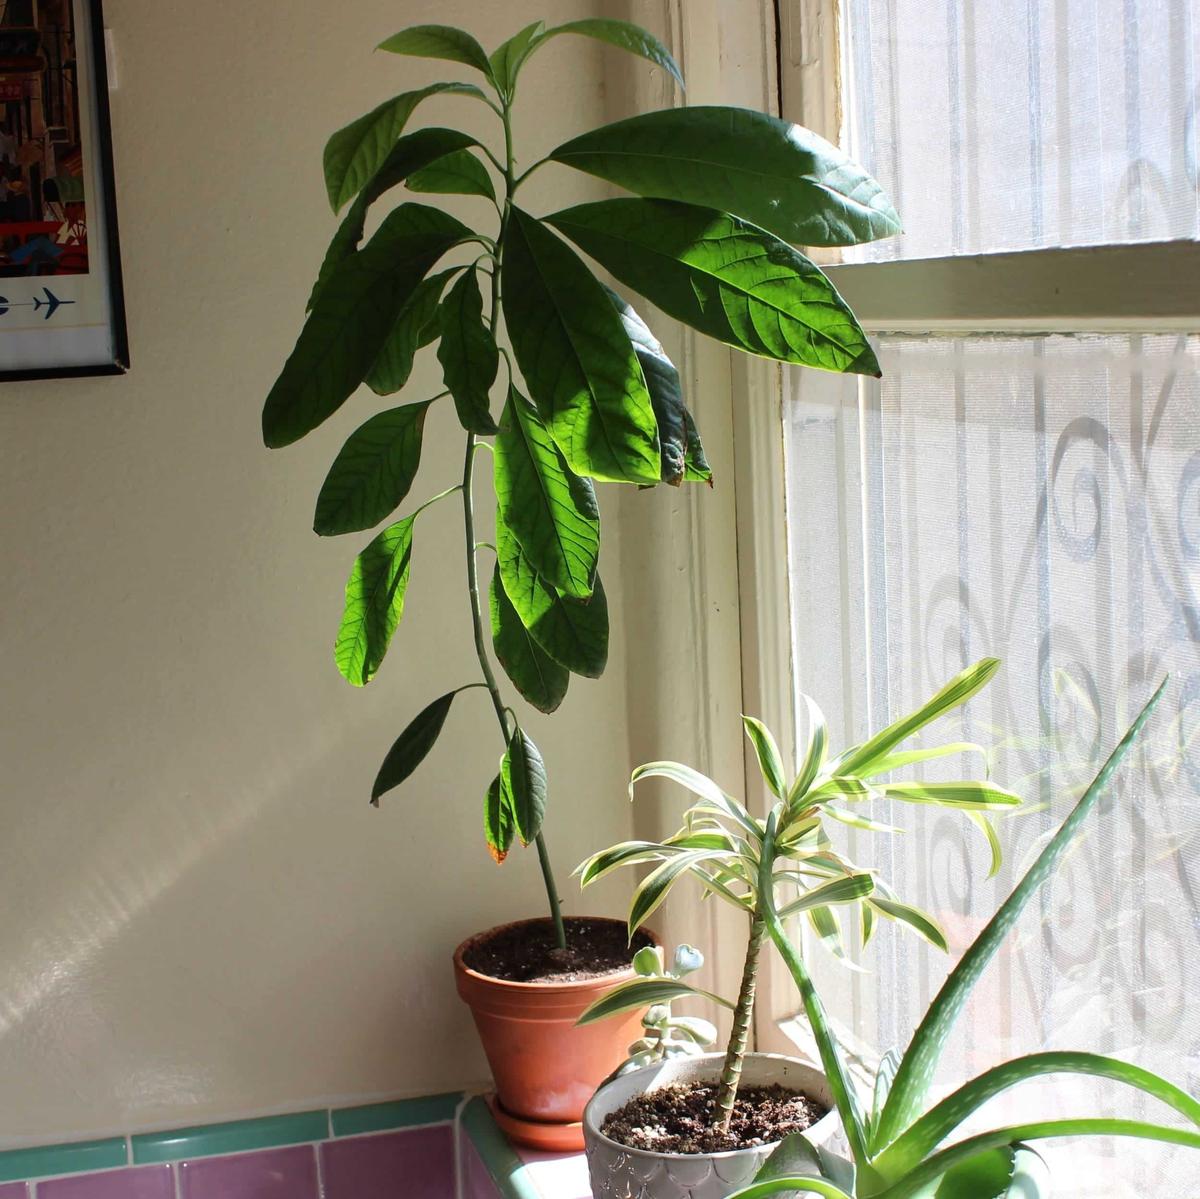
Sunlight is key for healthy growth, so place the pot in a sunny spot with at least 6 to 8 hours of direct light each day. If indoors, a south-facing window is the best choice to provide the light levels avocados love.
Applying Fertilizer
During the growing season (spring and summer), feed your avocado tree with a balanced fertilizer suitable for citrus or avocado plants. Regular feeding promotes strong growth and, with time, fruit production.
Trimming and Supporting
Encourage fuller growth by pinching back the leaves once your plant reaches 12 inches tall. Trimming just above a growth node will stimulate side branches, giving your tree a robust, bushy look.
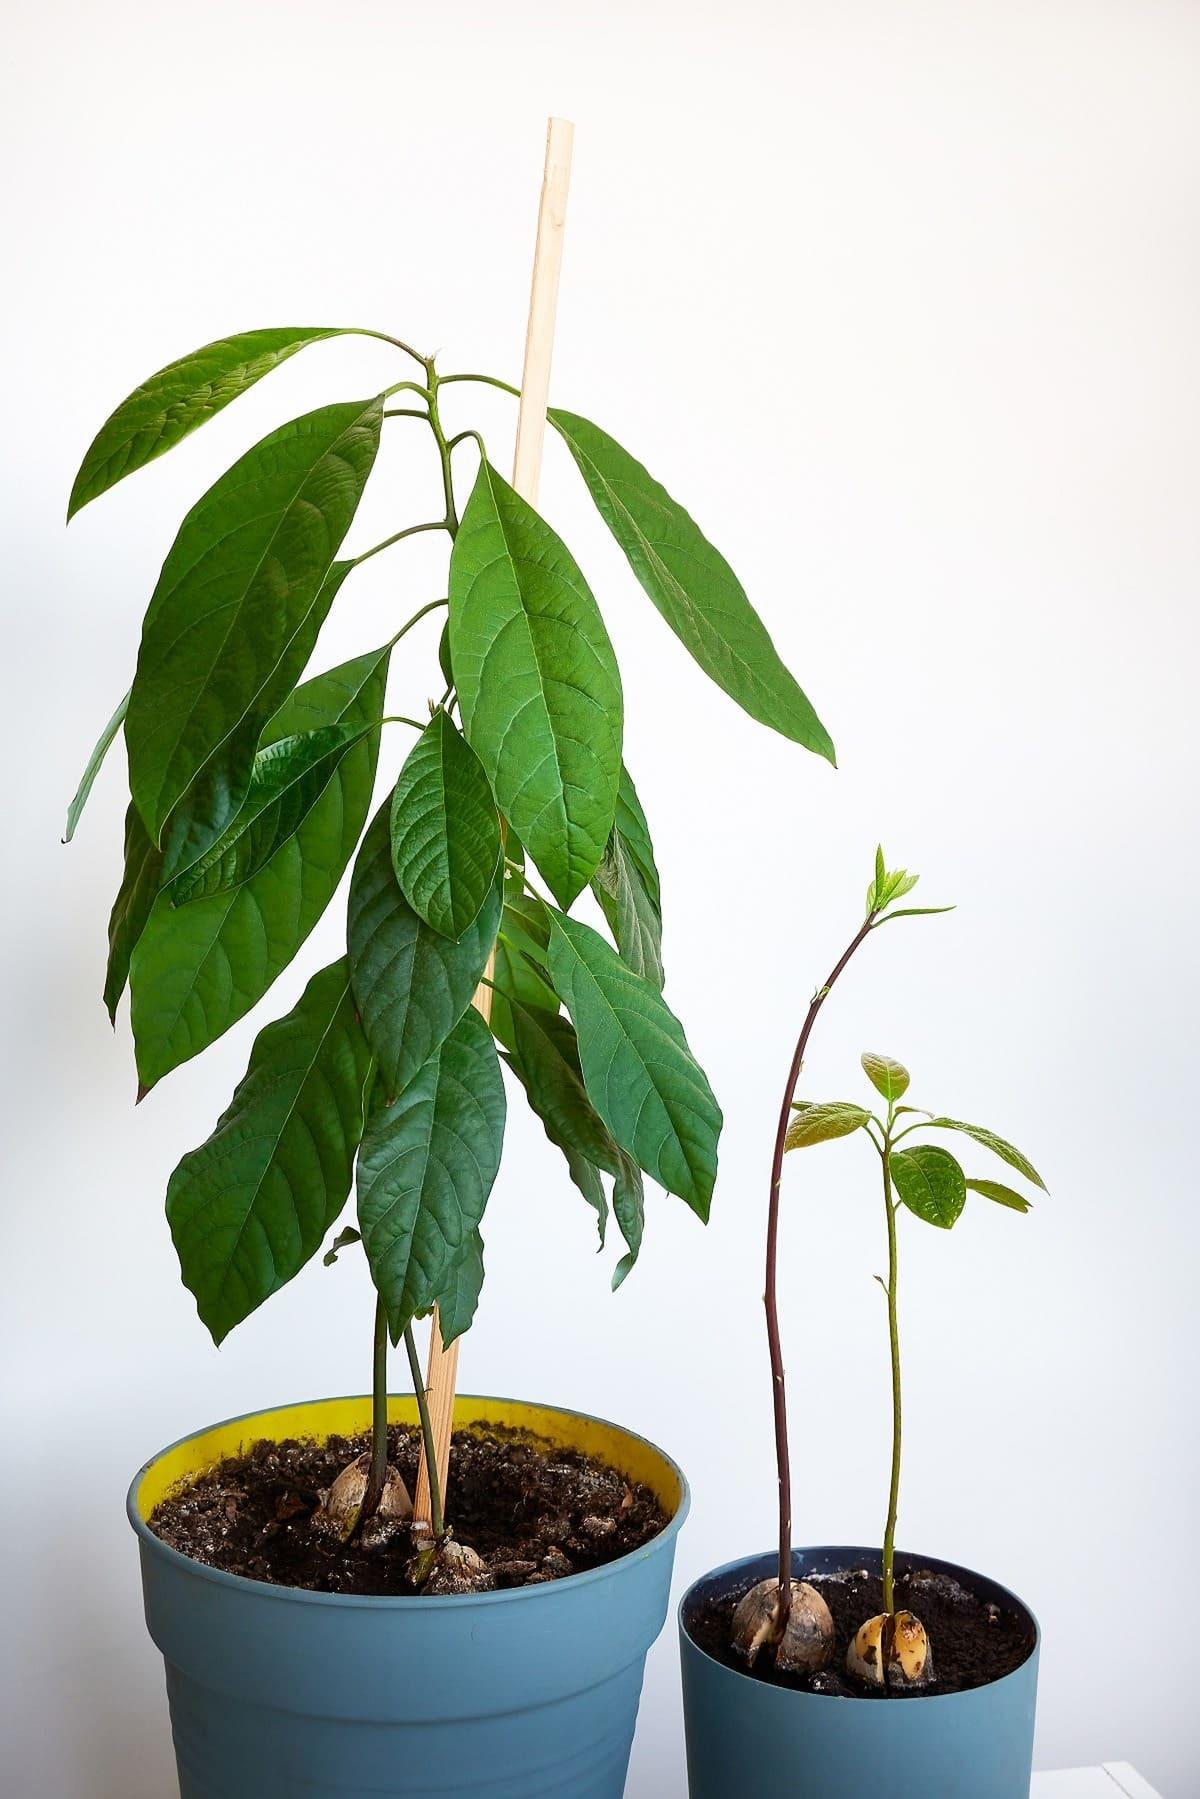
As your avocado tree matures, support becomes crucial. Staking the plant prevents the stem from bending or breaking as it grows taller, ensuring your avocado tree stands strong and healthy.
Step 4: Harvesting Your Avocados
When your avocado tree matures, it’s finally time to enjoy the fruits of your labor! Knowing when and how to harvest will ensure your avocados are perfectly ripe and ready to eat.
To check if your avocados are ready, look for those with a short stem and pick one. Let it sit on the counter for a couple of days, observing the stem for signs like shriveling or darkening, which indicate ripeness. Avocados are usually ready for harvest when they change color and yield slightly under gentle pressure.
Avoid refrigerating freshly harvested avocados right away, as chilling them too soon can prevent proper ripening. Instead, store them in a cool, dark place at around 68°F (20°C) until they ripen fully. Once ripe, unpeeled avocados can be stored in the refrigerator for one to two weeks.


