

From Cuttings to Fruit: 6 Simple Steps to Grow Healthy Fig Trees
Growing fig trees from cuttings is a simple and rewarding process that can yield healthy fruit-bearing trees.
Start by selecting healthy cuttings from a mature tree and providing the right environment for rooting.
With a little patience and care, your cuttings will take root, and before you know it, you’ll have a flourishing fig tree.
This method helps preserve the characteristics of the parent tree, ensuring you get the same quality fruit.
Once established, your fig tree will produce delicious fruit year after year.
Ready to grow your own figs?
Follow this guide to grow your fig tree from cuttings!
Step 1: Selecting the Right Cutting
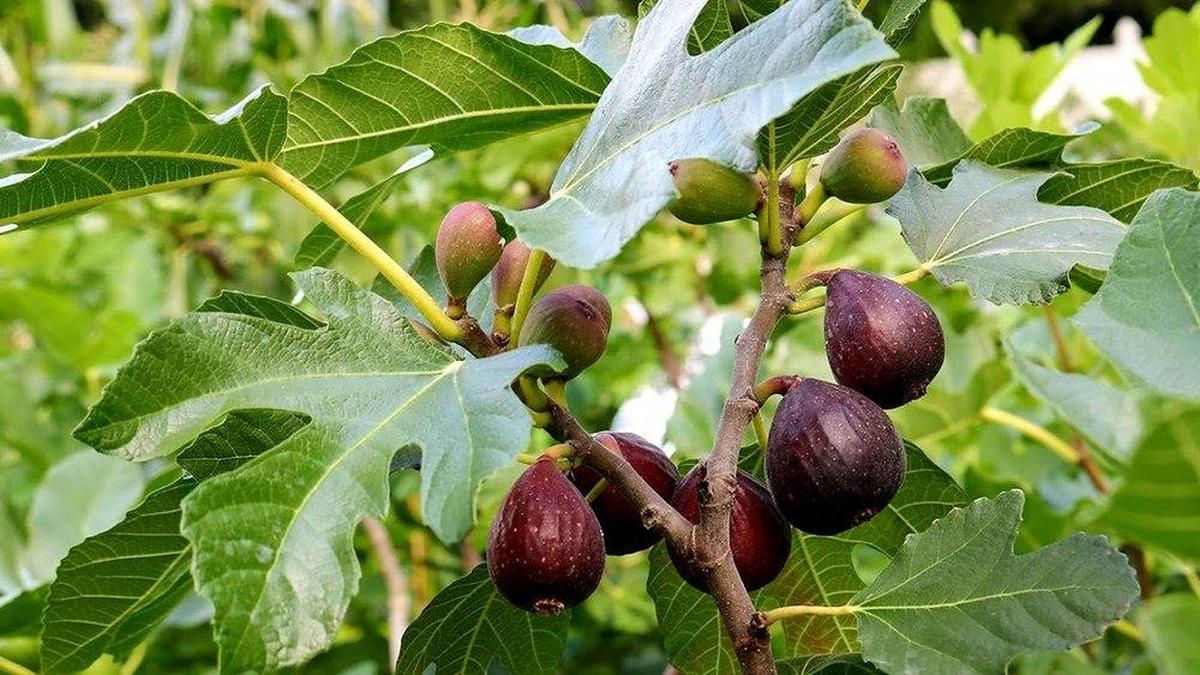
To get started, you need to choose the perfect cutting from a healthy, mature fig tree. A good cutting should come from a branch that is disease-free and strong, with at least a few healthy nodes. Selecting the right cutting is the first step toward growing a thriving fig tree. Whether you prefer the sweet flavor of Celeste or the versatility of Brown Turkey, pick a variety that matches your taste preferences.
Choosing the Best Fig Tree
Select a healthy, disease-free fig tree for the cutting.
The tree should be well-established, with a good record of producing quality fruit.
The best time to take a cutting is during the tree’s dormant season, typically in late winter or early spring.
Choosing the Right Cutting
Choose a young, healthy branch that is 6-8 inches long, about the thickness of a pencil.
The cutting should have at least 2-3 leaf nodes (the spots on the stem where leaves and roots can emerge).
Make sure to use a sharp, sterile knife or pruners to make a clean cut.
Avoid taking too many cuttings from a single tree to prevent damage.
Step 2: Preparing the Cutting
Taking cuttings from trees during their dormant phase offers a wonderful opportunity for propagation.
Late winter or early spring serves as the ideal window, just before new leaves begin to sprout.
When dealing with potted trees, timing becomes crucial; spring is when they are ready to wake up and flourish.
Snipping those cuttings at this moment ensures they have the best chance of rooting and thriving in their new environment.
Removing Leaves and Preparing the Stem
Trim off the bottom set of leaves on the cutting, leaving only the top set.
Be careful not to damage the buds.
If there are any flowers or immature fruit on the cutting, remove them to allow the plant to focus energy on rooting.
Optional: Using Rooting Hormone
Although not strictly necessary, dipping the cutting's bottom end into rooting hormone can promote faster and more reliable root growth.
Rooting hormone is particularly useful for fig varieties that are harder to root.
Apply the powder to the cut end before planting.
Step 3: Preparing the Pot and Soil
The right pot and soil mix are essential for giving your cutting the best chance of rooting. A well-draining pot and a suitable soil mix provide the perfect environment for the cutting to grow roots and start developing into a healthy tree.
Choosing the Right Container
Use a small, well-draining pot (around 4-6 inches in diameter) to start the cutting.
The pot should have drainage holes to prevent water from sitting at the bottom and causing root rot.
Soil Requirements
A light, well-draining potting mix is essential.
Use a combination of peat moss, perlite, and vermiculite to ensure good drainage and aeration.
You can also add a bit of compost to the mix for extra nutrients.
Make sure the soil is moist but not soggy.
Step 4: Planting the Cutting

Now that your cutting is prepared and you have your pot and soil ready, it's time to plant the cutting. Proper planting technique is crucial to ensure the cutting stays upright and receives the right conditions to root. Follow these steps to plant your cutting and set it on the path to healthy growth.
Placing the Cutting in the Soil
Creating a Humid Environment
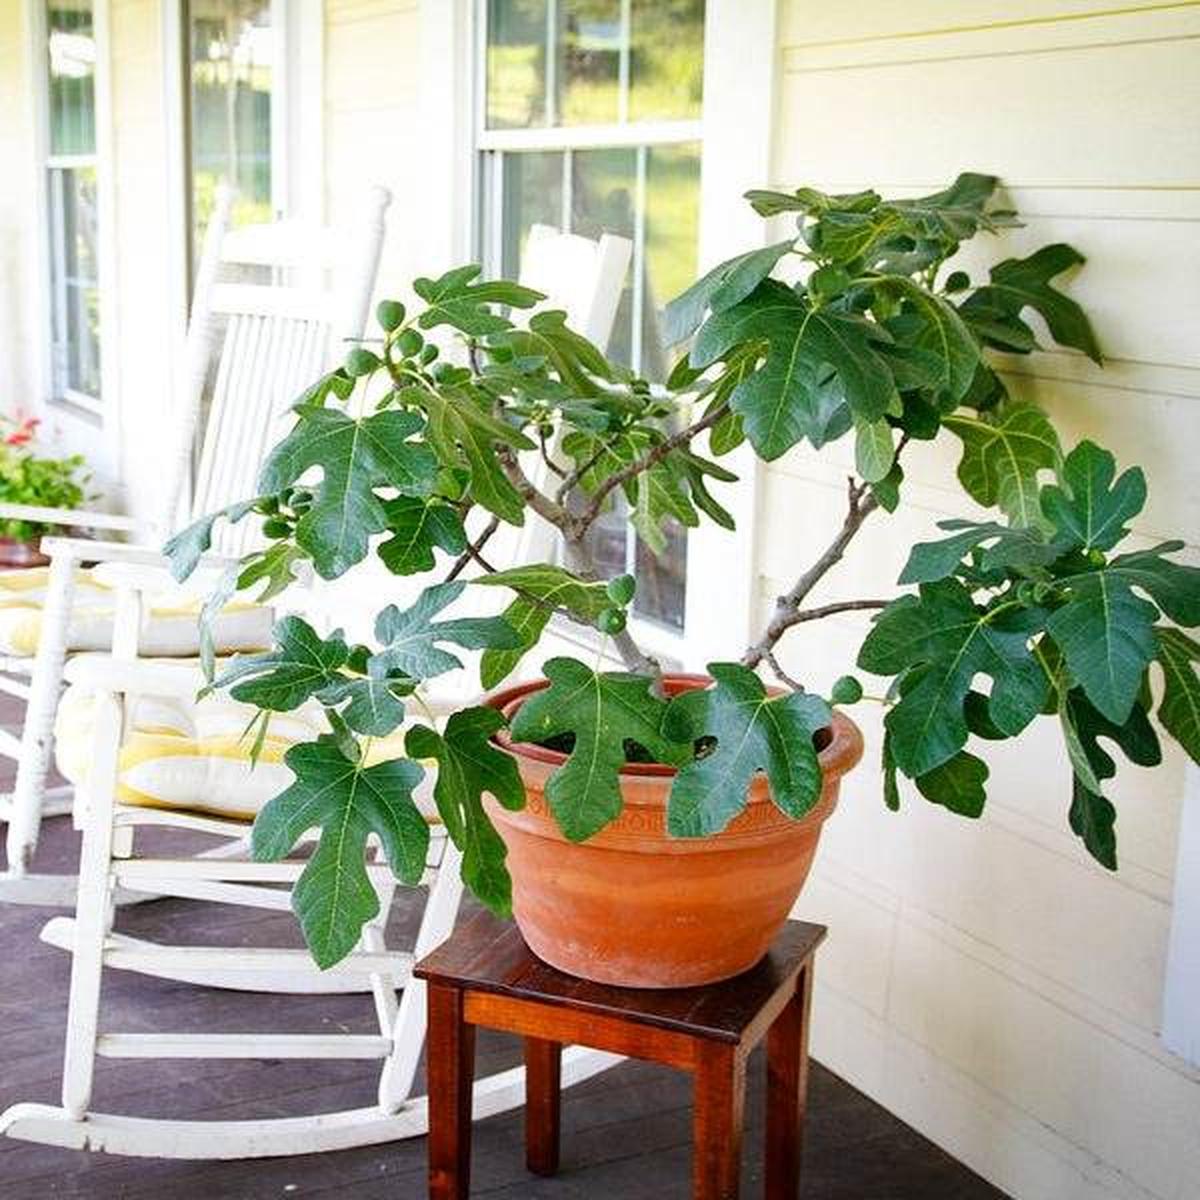
Step 5: Caring for Young Trees
Cuttings have the potential to grow into magnificent fig trees with just a bit of care.
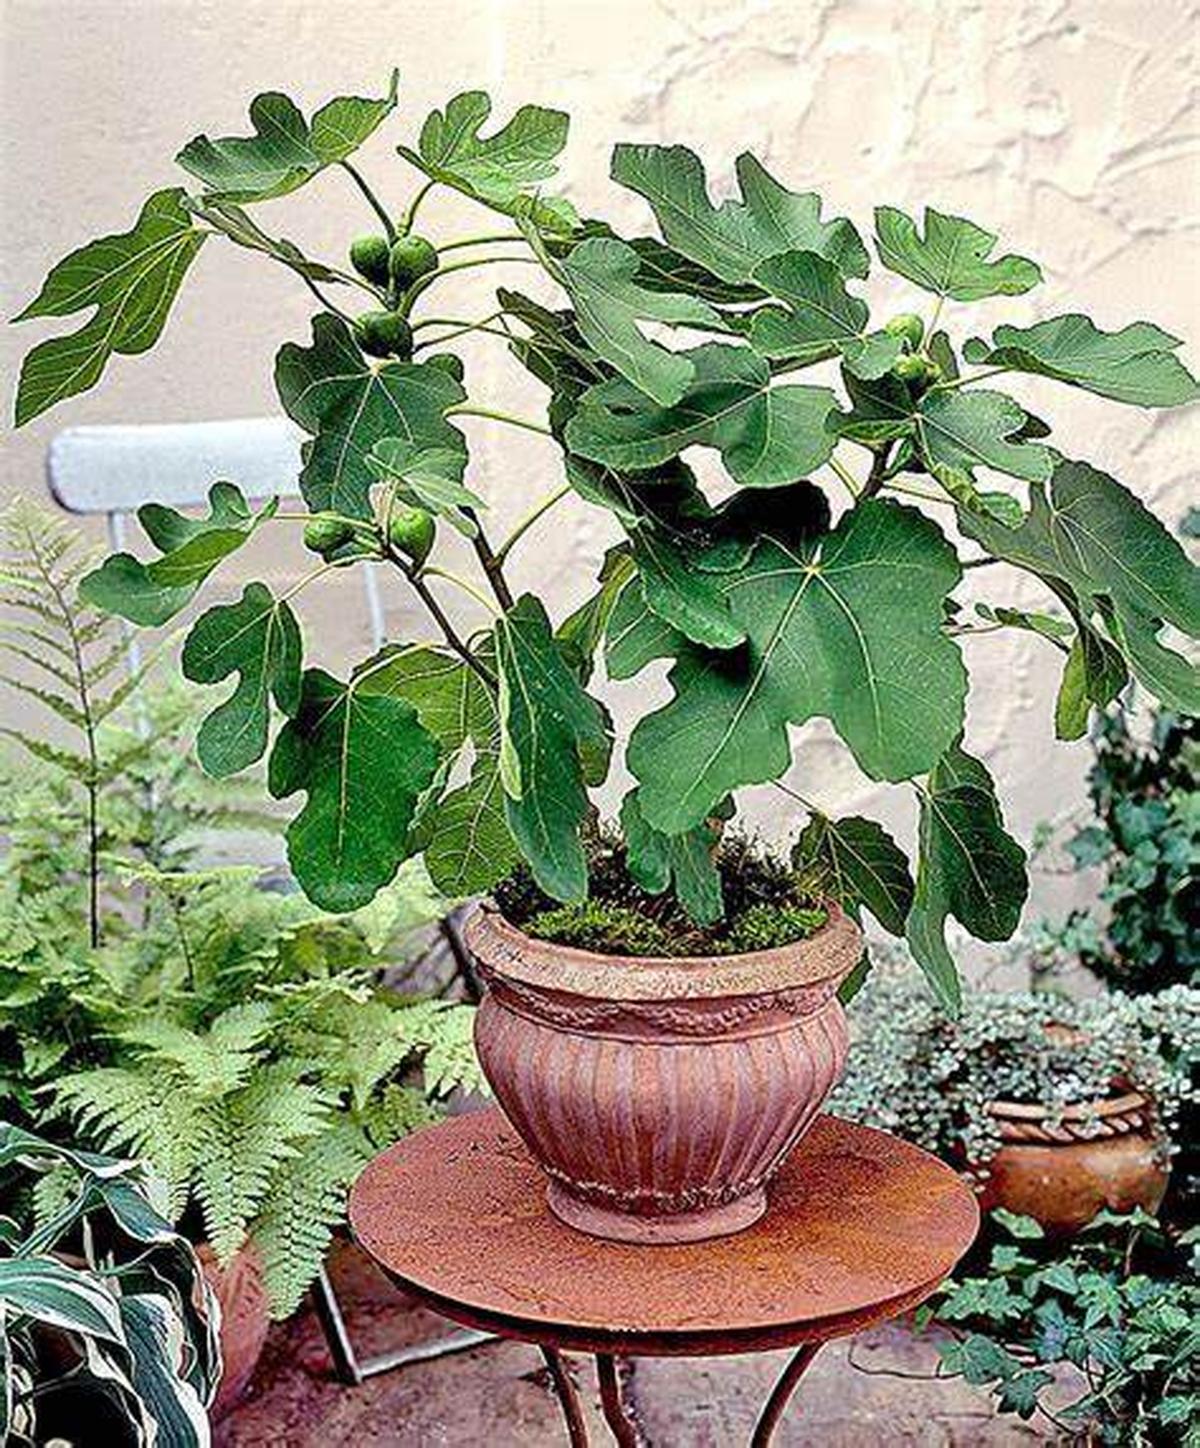
Step 6: Transplanting Fig Trees
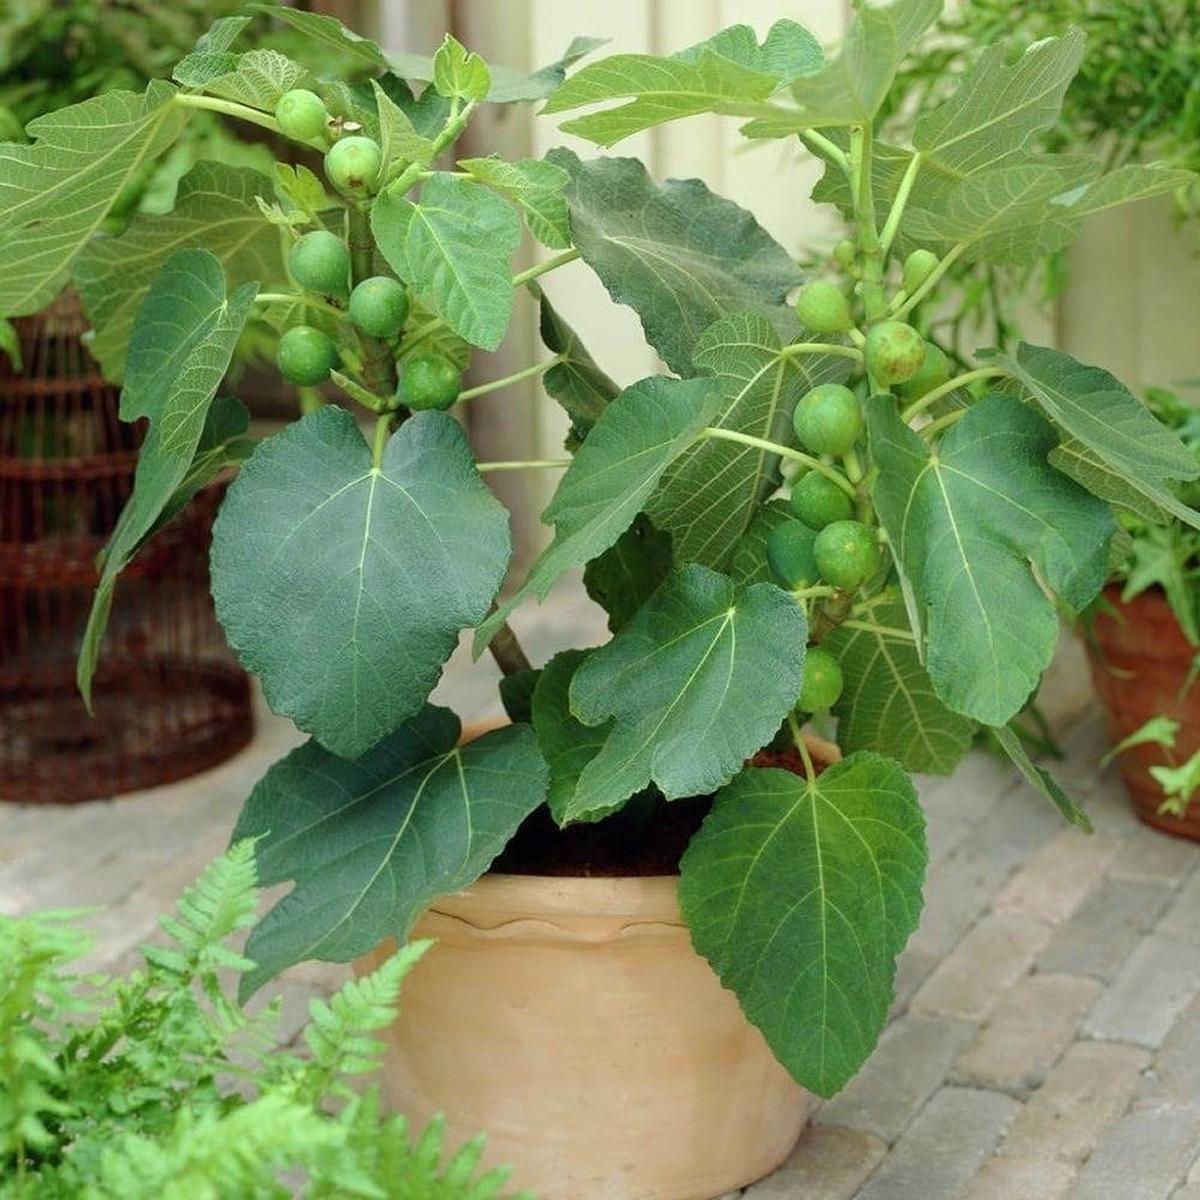
Once the cutting has rooted and developed a strong root system, you can transplant it into a larger pot or directly into the garden (if the weather is warm enough).
A healthy root ball and new growth will be visible, and you can check by gently lifting the cutting from the pot:
For those passionate about gardening and seeking fruitful tips, subscribing will keep you updated with fresh insights tailored just for you.
Troubleshooting Common Issues
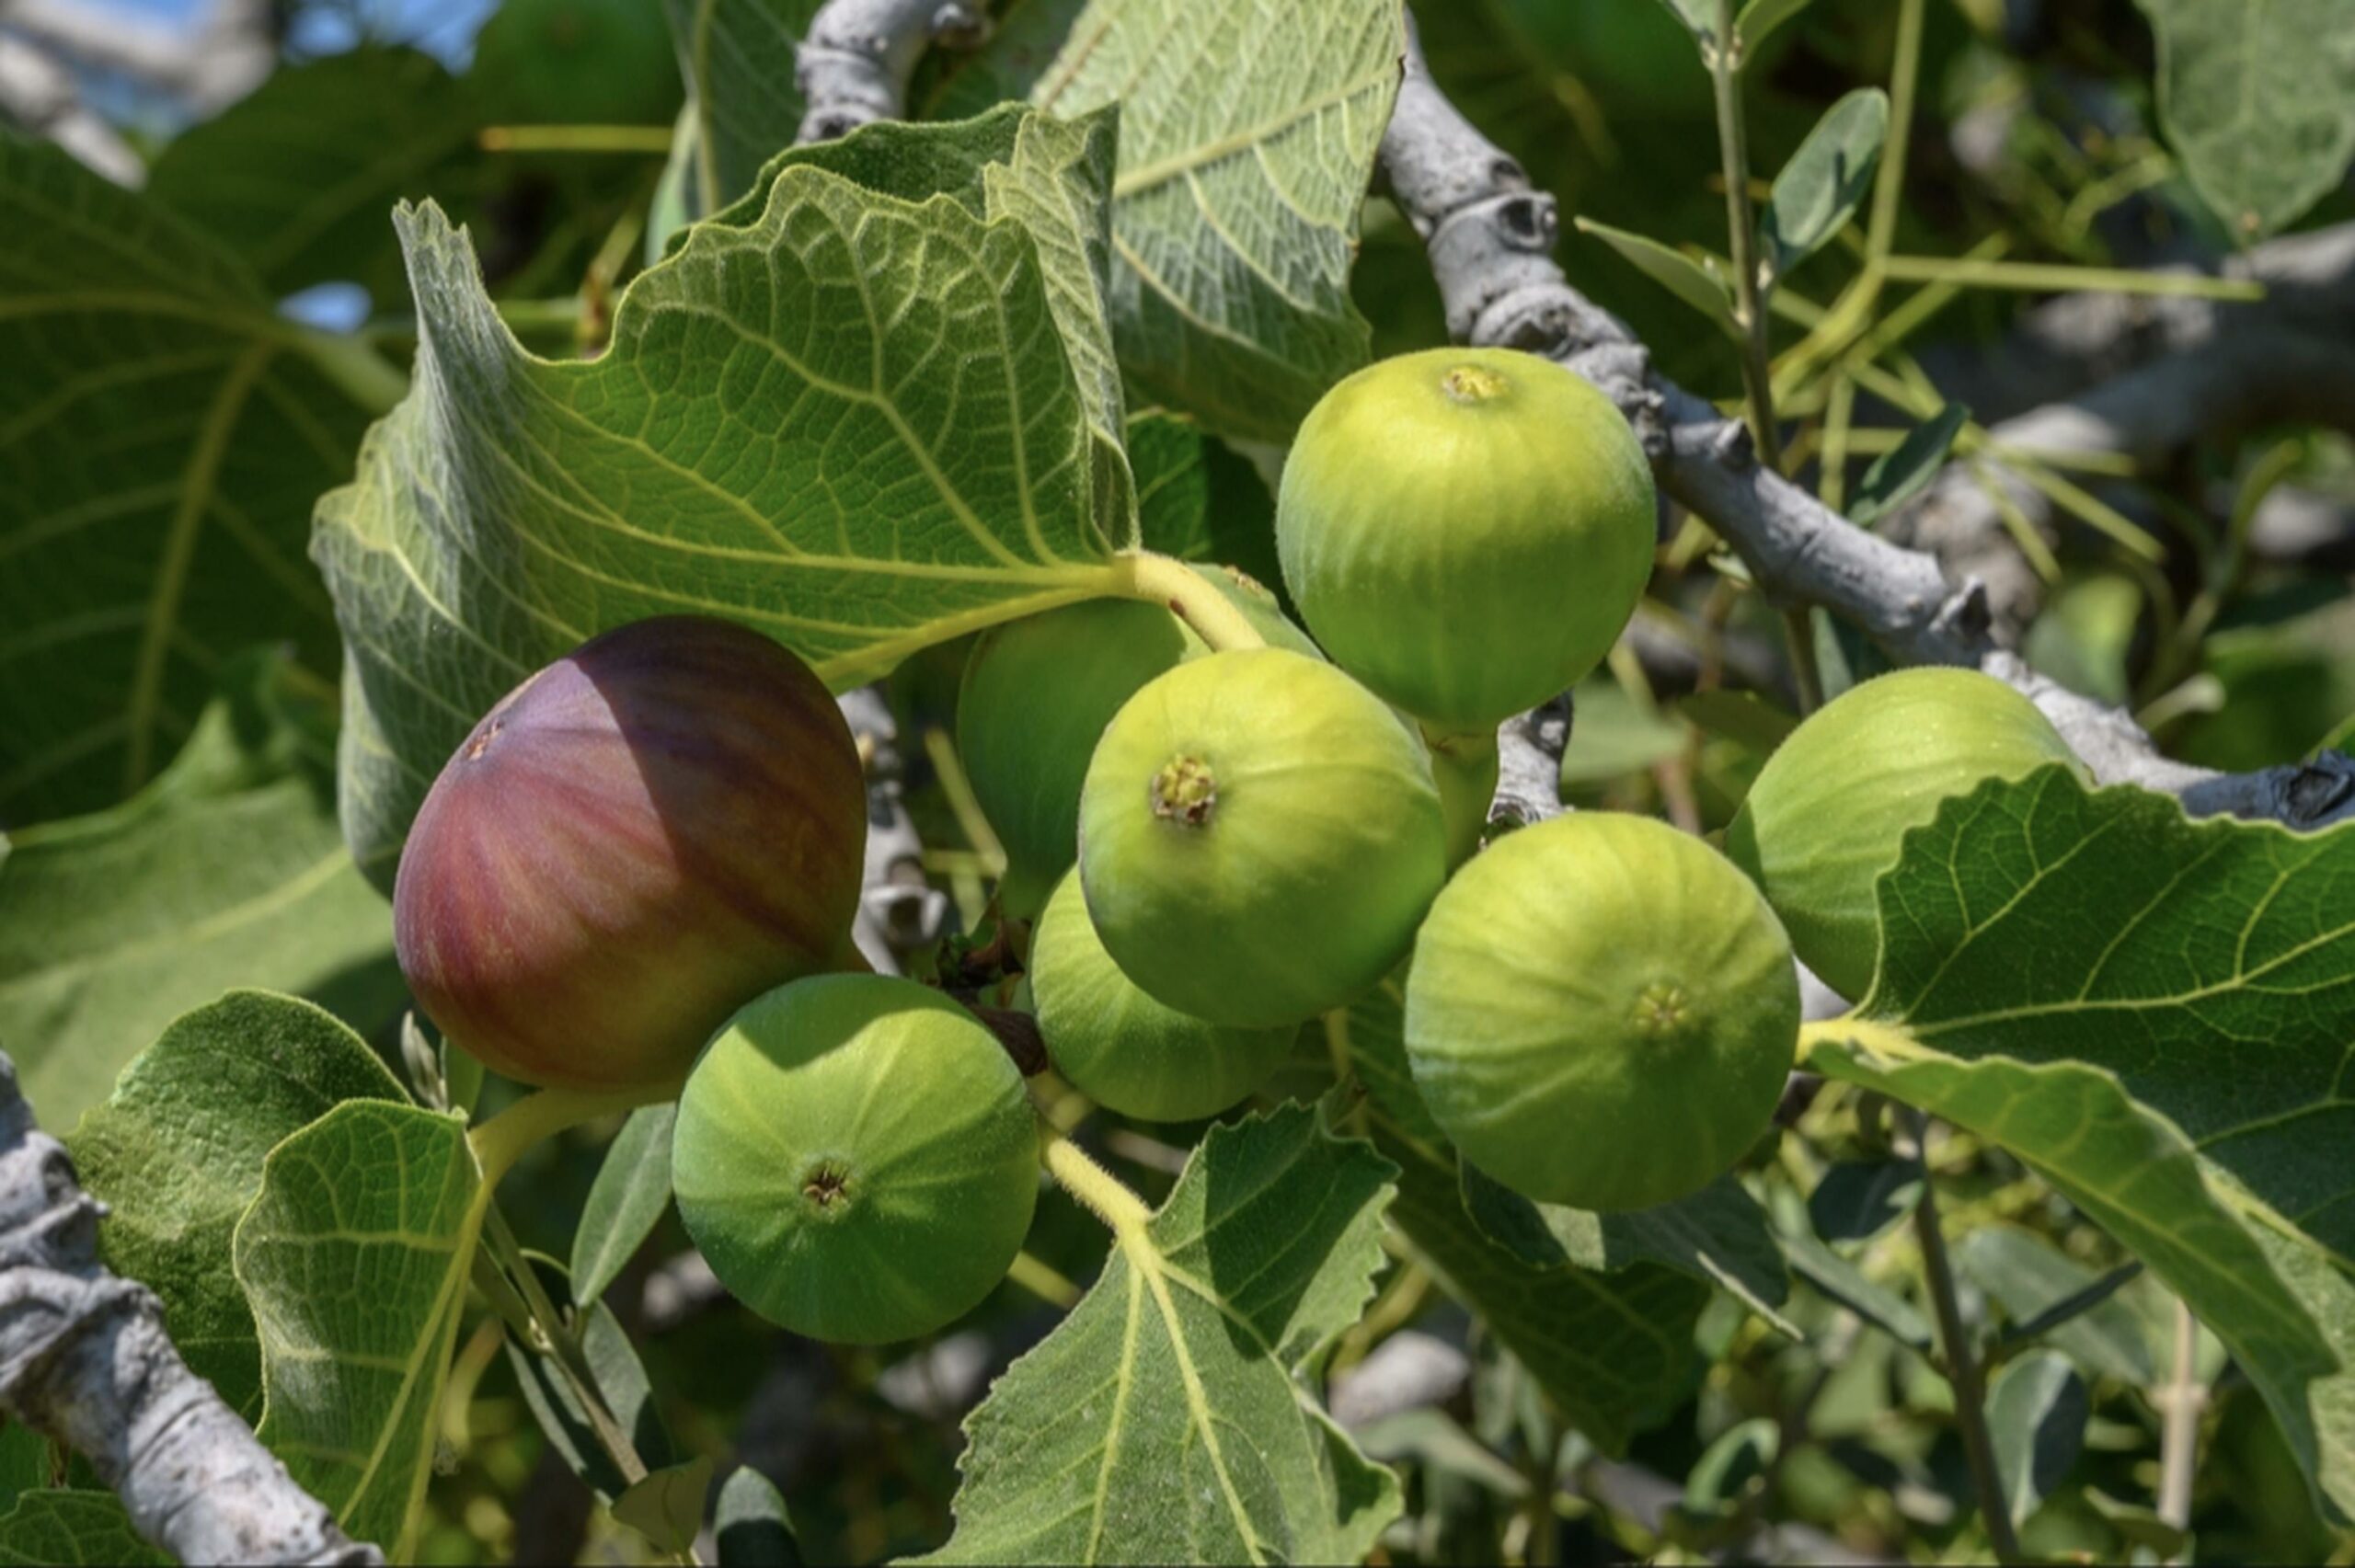
Growing figs from cuttings isn’t always perfect, and you may encounter some challenges along the way. Yellowing leaves, wilting, or root rot can occur, but these issues are often fixable with adjustments to watering, light, and soil conditions. Troubleshooting these problems can help you successfully grow your fig tree.
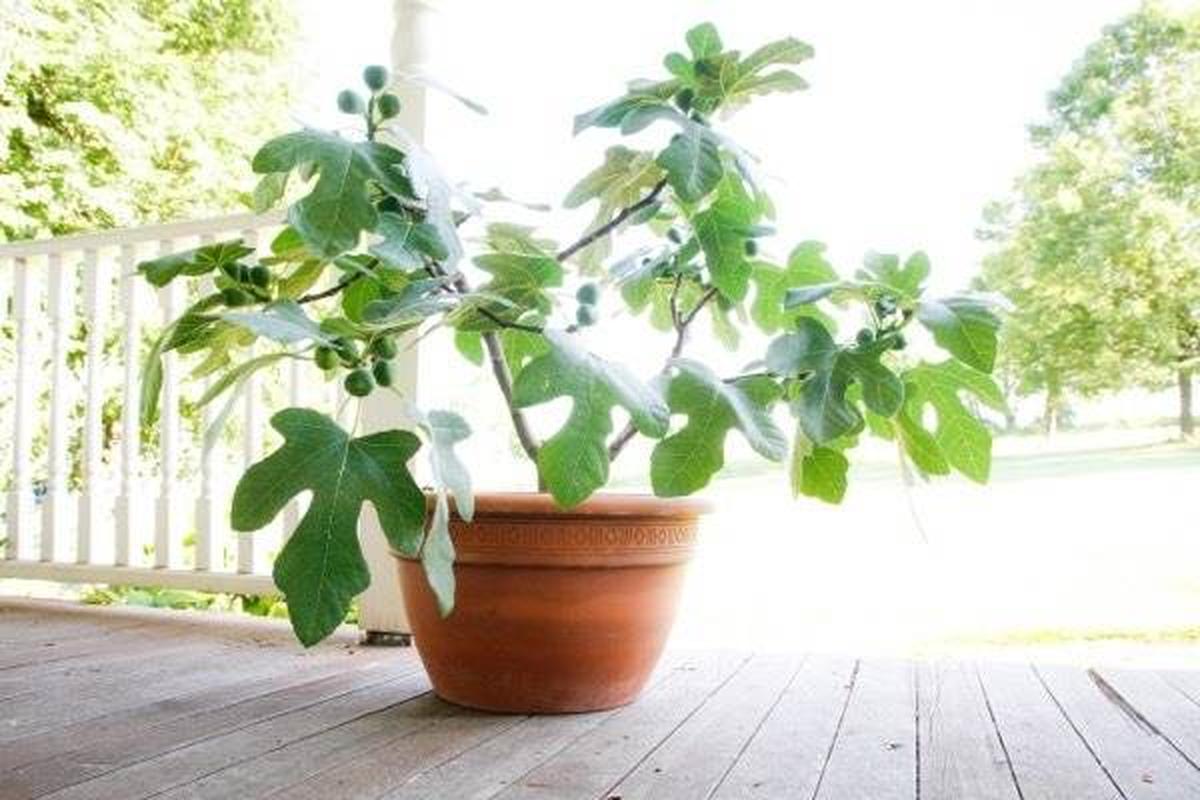
The Power of Patience in Growing Fig Trees
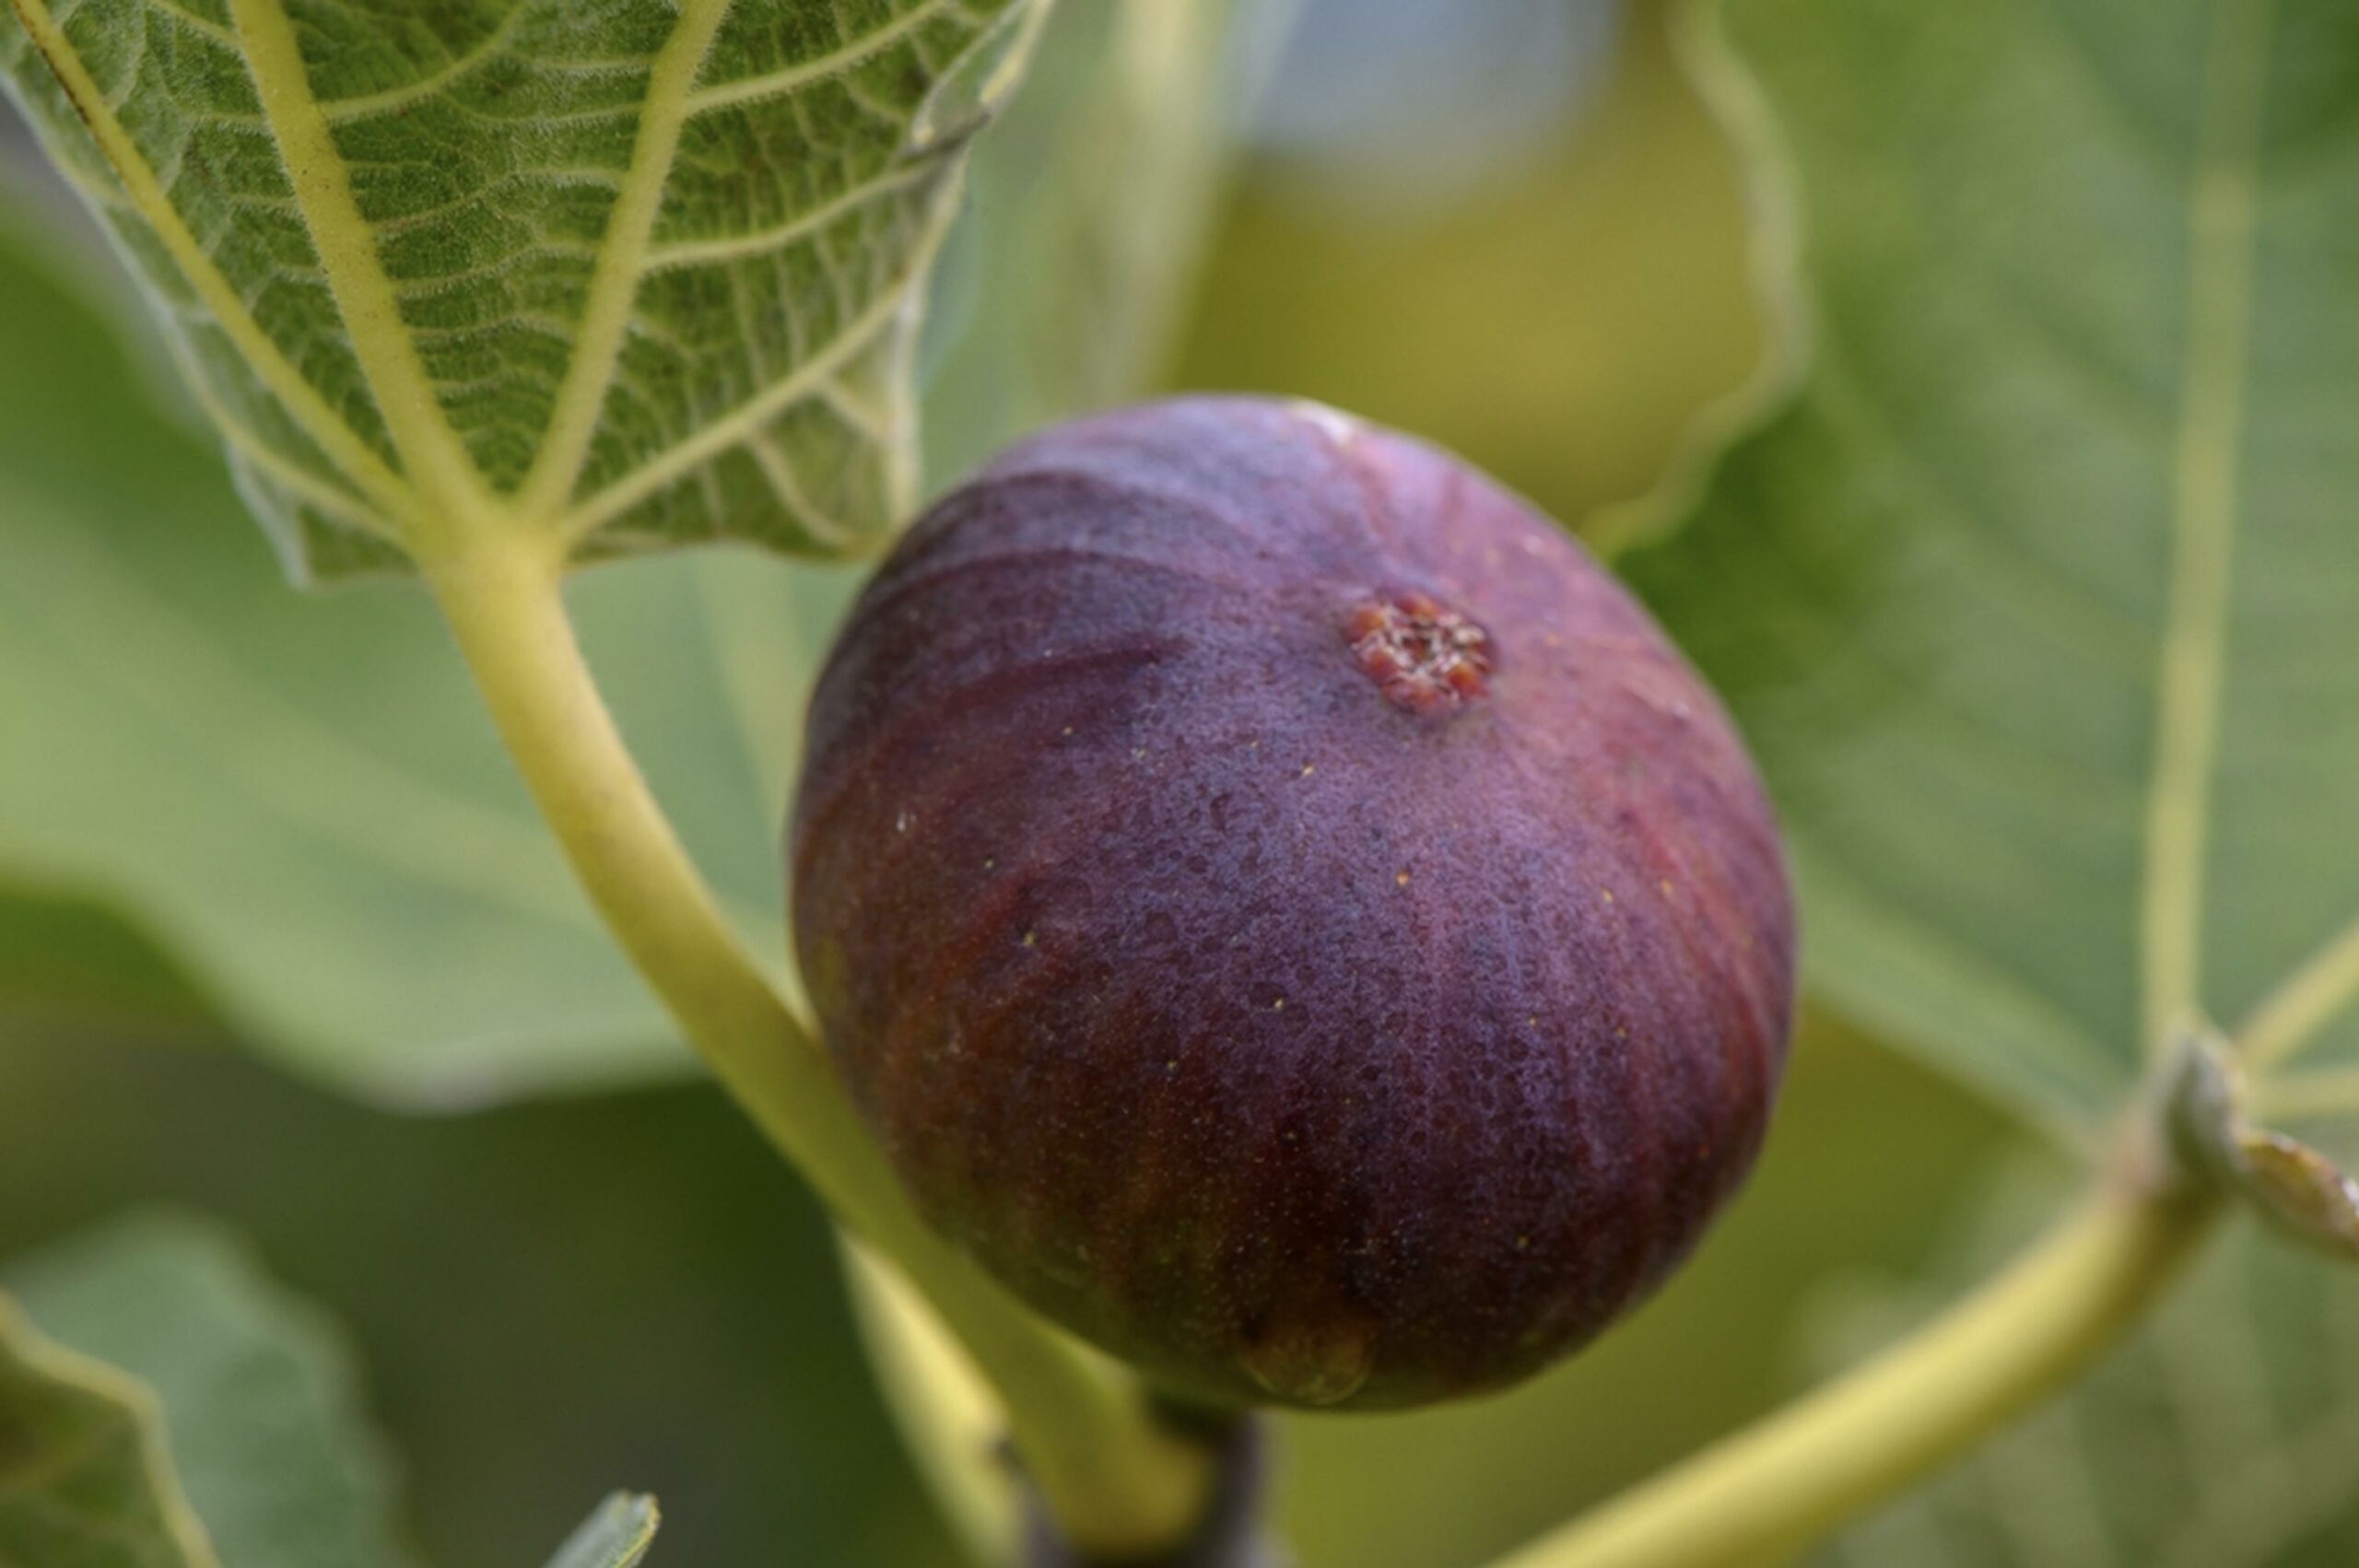
Growing fig trees from cuttings requires patience, as they may take time to establish themselves.
However, with consistent care, you'll be rewarded with healthy growth and delicious fruit.
Keep an eye on the cutting for signs of new growth, and remember that it may take several months for the roots to fully develop and the plant to start thriving.
Stay patient and nurture your tree, and you'll enjoy the fruits of your labor in due time.
James Turner
Founder & Lead Designer
Expertise
Interior Design, Sustainable Design Practices, Spatial Planning, Innovative Material Applications, Contemporary Art Techniques, Visual Communication, Multimedia Artistry, DIY Design and Home Projects, Eco-Friendly Living Spaces, Creative Solutions
Education
University of Cincinnati College of Design, Architecture, Art, and Planning (DAAP)
Columbus College of Art & Design (CCAD), Columbus, OH
James Turner is the founder and lead designer at Velocity Art and Design. He studied Interior Design at the University of Cincinnati, focusing on eco-friendly design and smart use of space.
Later, he expanded his artistic skills with a Fine Arts Certificate from the Columbus College of Art & Design, where he learned about modern art and visual storytelling.
With over 10 years in design, James is passionate about making spaces that are both beautiful and practical. He shares his DIY tips and creative ideas to inspire others to explore their own creativity and transform their living spaces.