Expert Tips for Cultivating Hyacinths from Bulbs
Cultivating hyacinths from bulbs can fill your garden with vibrant blooms and sweet fragrances.
This process involves selecting the right soil, proper planting depth, and timely care.
With the right techniques, you can enjoy the lush, colorful beauty of hyacinths each spring.
Obtaining the bulbs
Selecting hyacinth bulbs is an exciting step for any gardener.
Firm and healthy bulbs catch the eye, promising a vibrant display when they bloom.
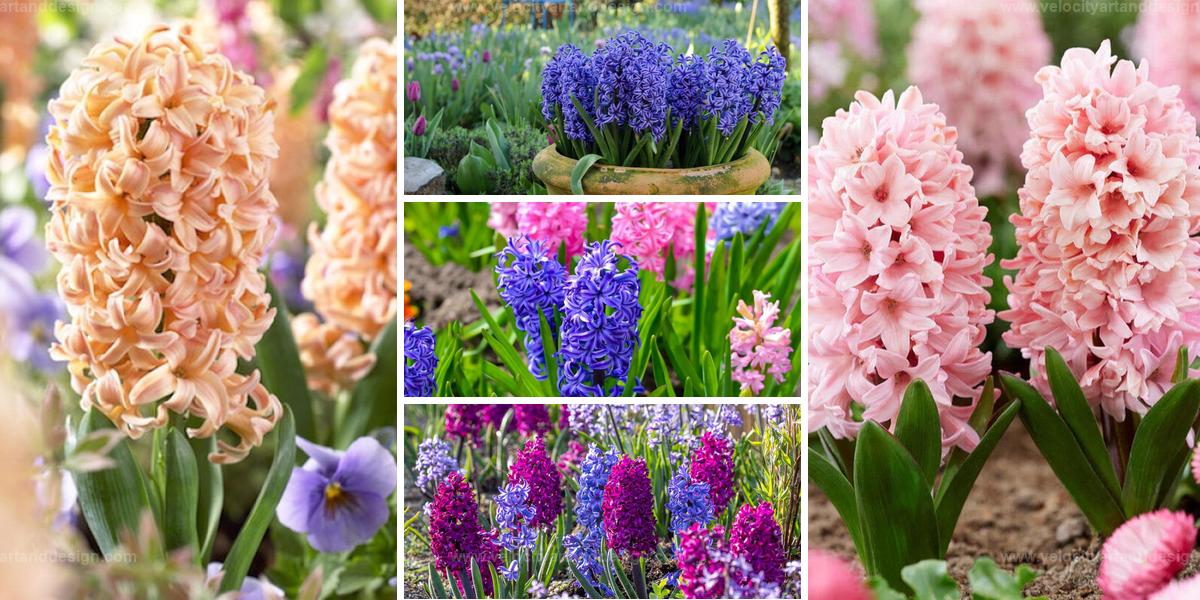
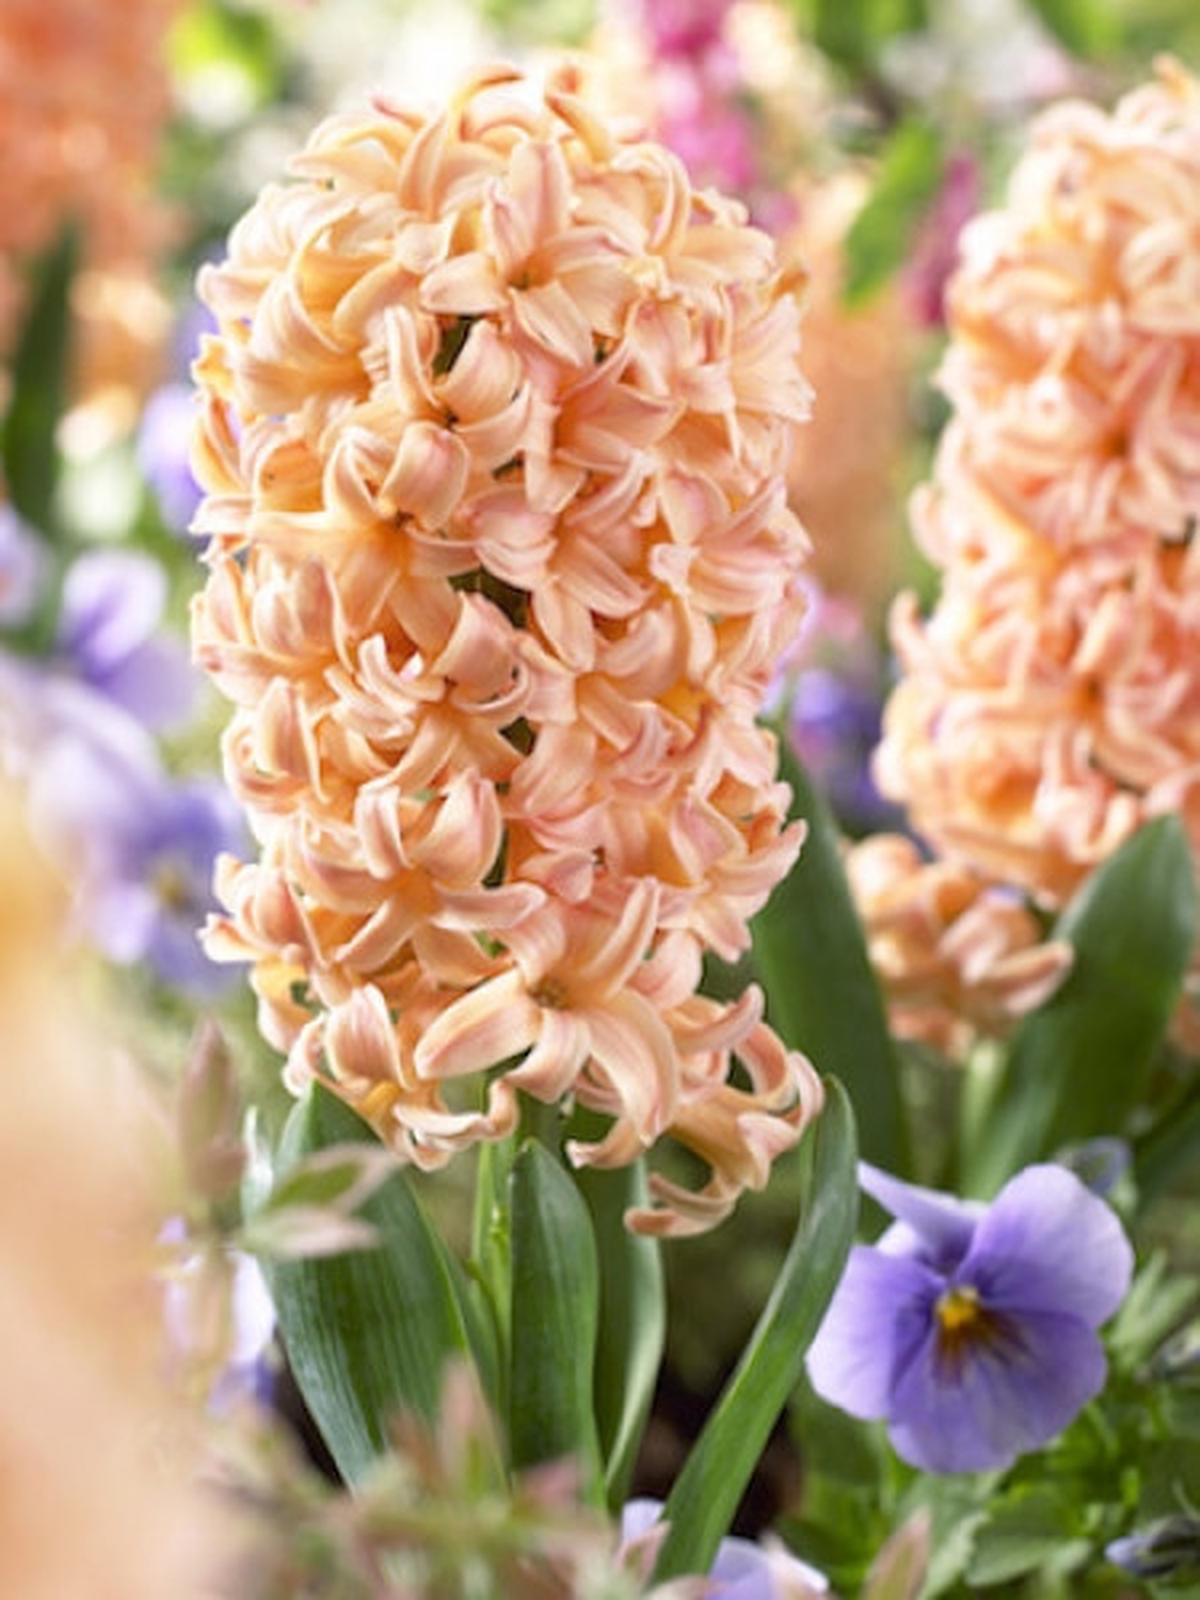
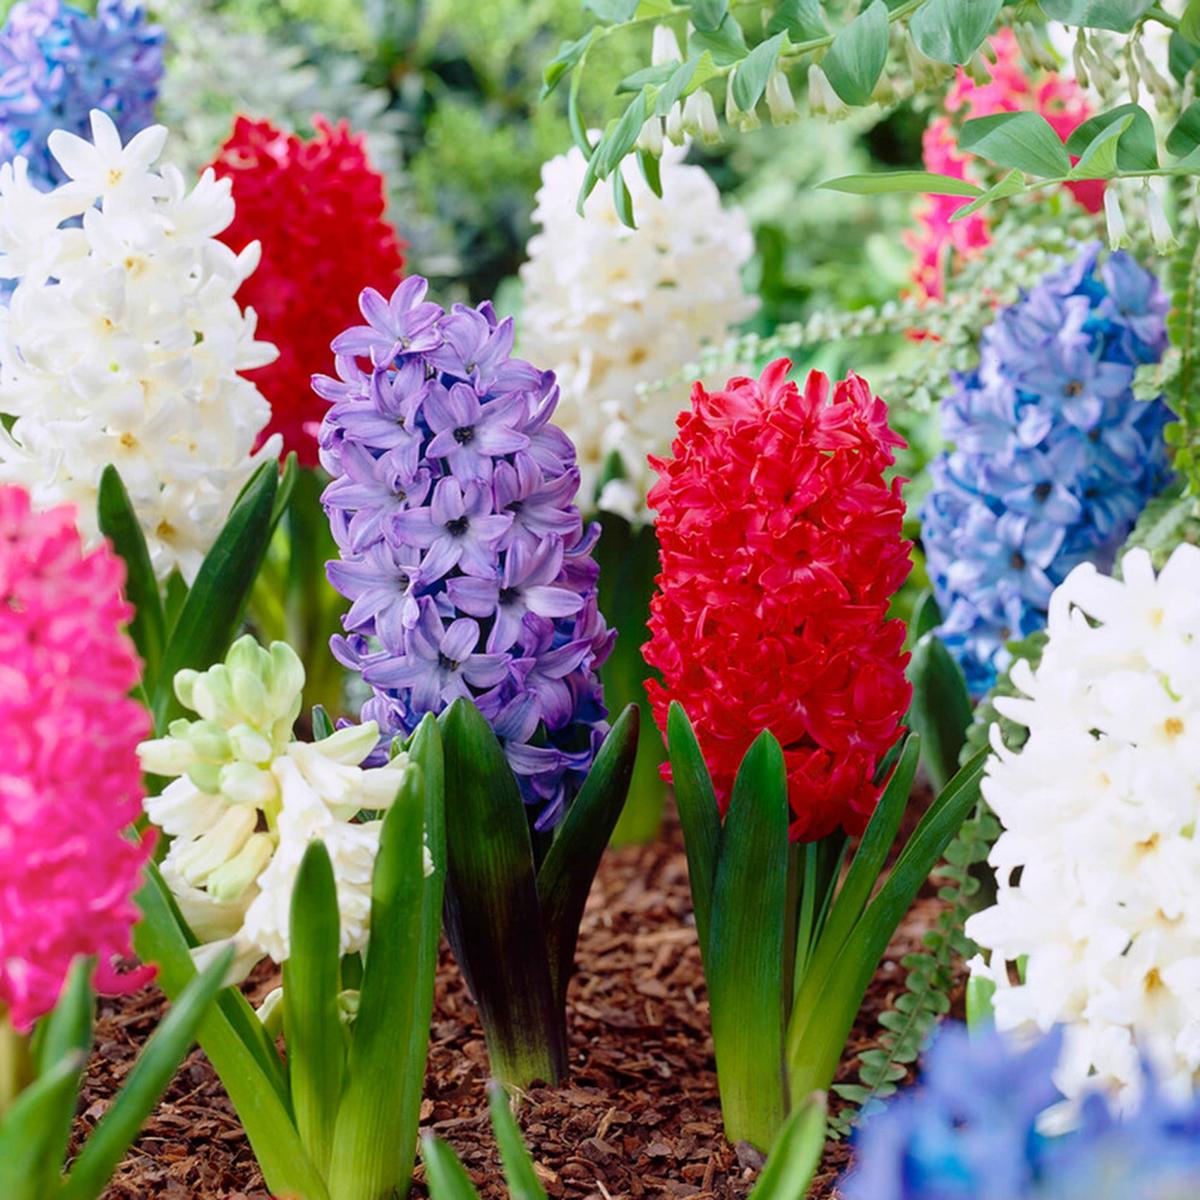
Opting for different varieties adds personality to your garden; think about which colors will complement each other beautifully.
A visit to a trusted nursery or garden center ensures you find quality options that will thrive in your space, setting the stage for stunning spring flowers that brighten up your surroundings.
Preparing the planting area
Hyacinths flourish when planted in soil that drains well, soaking up sunshine as they grow.
Preparing the spot involves loosening the earth and clearing away any pesky weeds or debris that could hinder their progress.
For those with heavy or clay-like ground, mixing in organic matter such as compost can make a big difference by improving drainage.
Getting these little beauties ready for planting ensures a colorful display come springtime!
Planting the bulbs
Autumn arrives, and it’s the perfect time to get your hands a little dirty with hyacinth bulbs.
Digging those holes can be quite satisfying; just remember to go three times as deep as the bulb itself.
Nestle each bulb in its cozy spot, pointed end up for that eager sprout to reach for the sky.
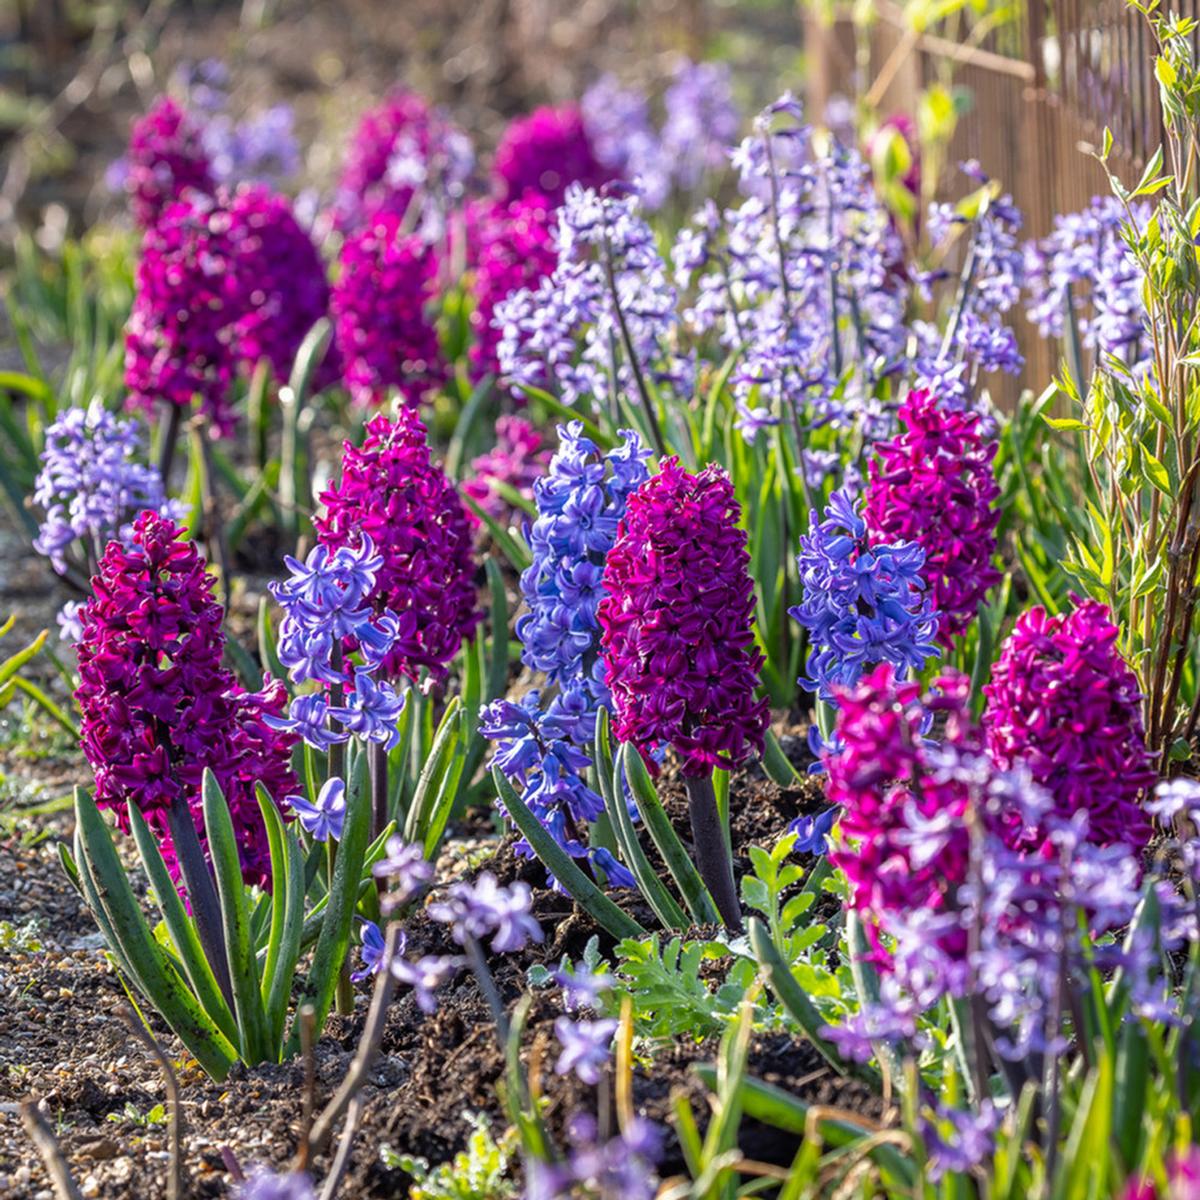
Keeping them about 4-6 inches apart lets each bloom shine while planting in clusters gives you a breathtaking burst of color come springtime.
Covering and watering
After placing the bulbs, a gentle layer of soil should cover them, ensuring they're snug and secure.
Watering thoroughly helps settle everything in while providing essential moisture for the roots to establish themselves.
Keeping an eye on moisture levels is crucial; too much water can lead to rot and ruin your hard work.
Enjoy watching as life begins to emerge from beneath the surface!
Providing winter care
Adding a layer of mulch after planting bulbs serves as an extra blanket during chilly months.
Straw or shredded leaves work wonders in keeping the soil warm and stable, helping those little bulbs stay cozy beneath the frost.
For areas that experience harsh winters, wrapping your garden with burlap or wire mesh creates a barrier against pesky animals looking for snacks.
This simple step makes all the difference in ensuring your blooms flourish come springtime.
Bulb storage
After the leaves have faded, gently lift those bulbs from the ground.
A bit of soil clinging to them is fine; just make sure to clean off any excess dirt and trim away dead foliage.
Find a cool, dry spot for storage until it’s time to plant again next season.
If you want an easy way to keep track of different types or colors, labeling each bulb can save you some confusion later on.
Spring care
Spring brings a delightful awakening, especially when hyacinth bulbs start to show their vibrant shoots.
As those green tips peek through the soil, it’s time to clear away any protective layers you might have used during winter.
Keeping the ground slightly moist is crucial; just enough water helps them flourish without drowning their roots.
If your soil has good nutrients, you can skip extra fertilization and let nature do its thing while enjoying a beautiful display of color in your garden.
Blooming and maintenance
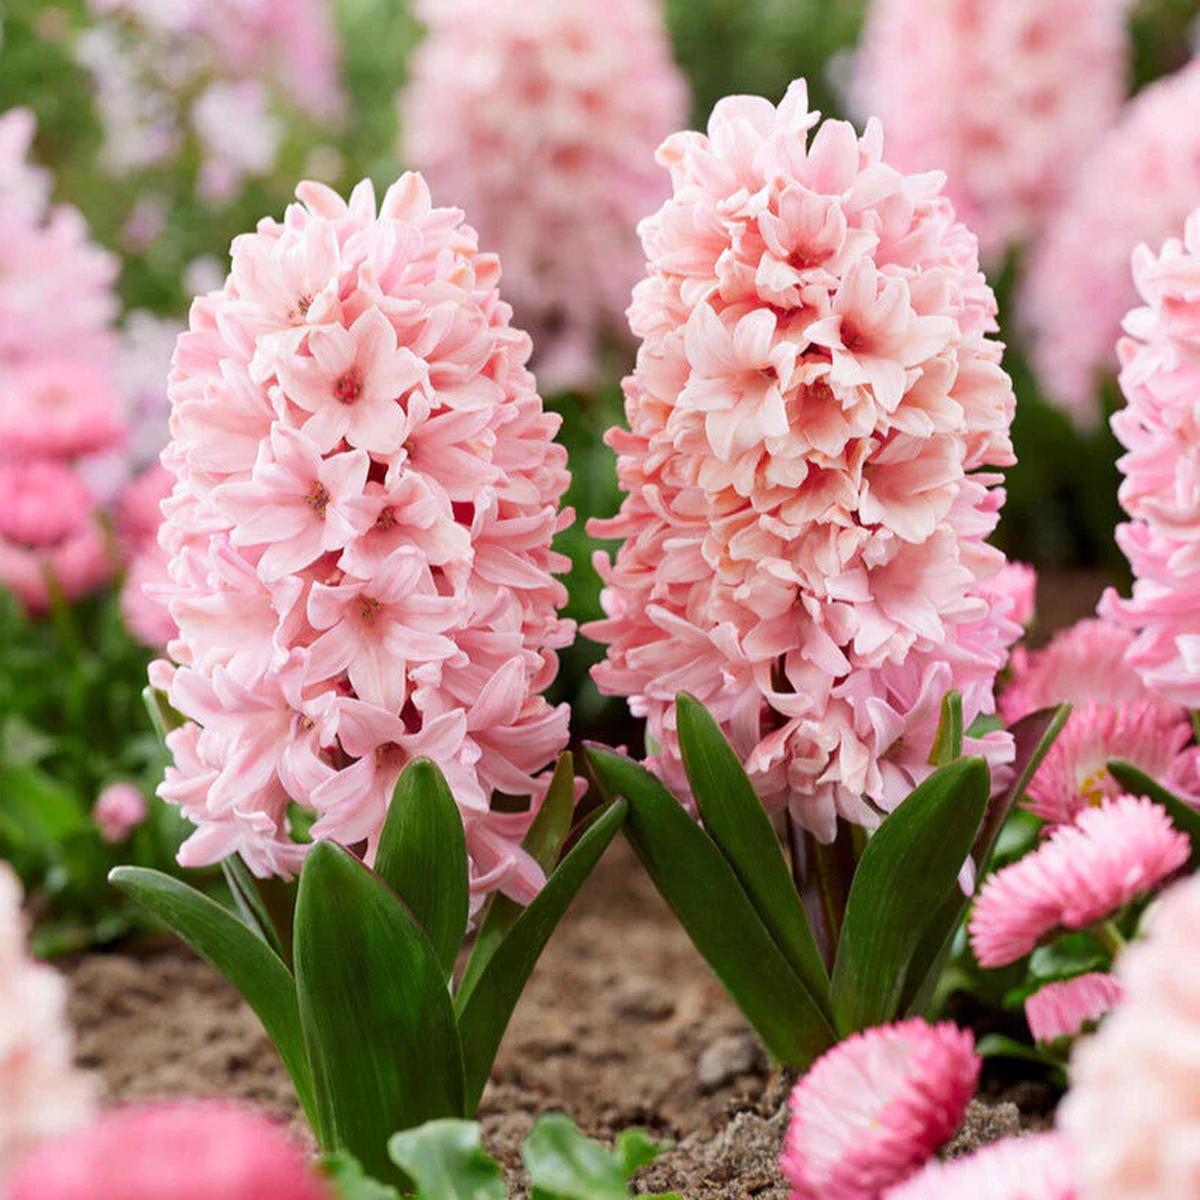
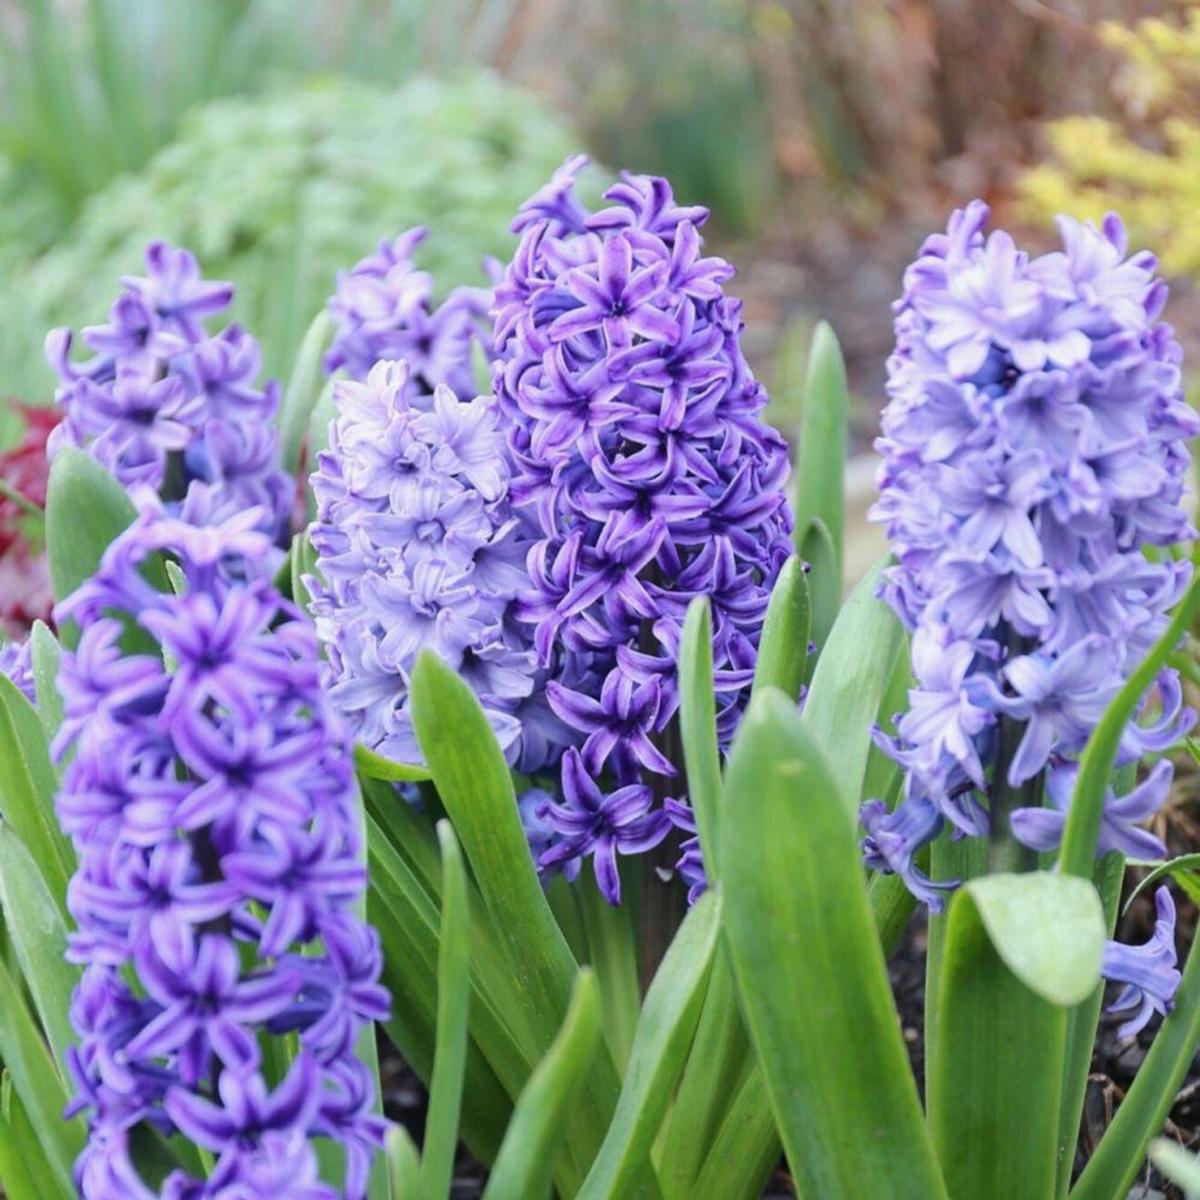
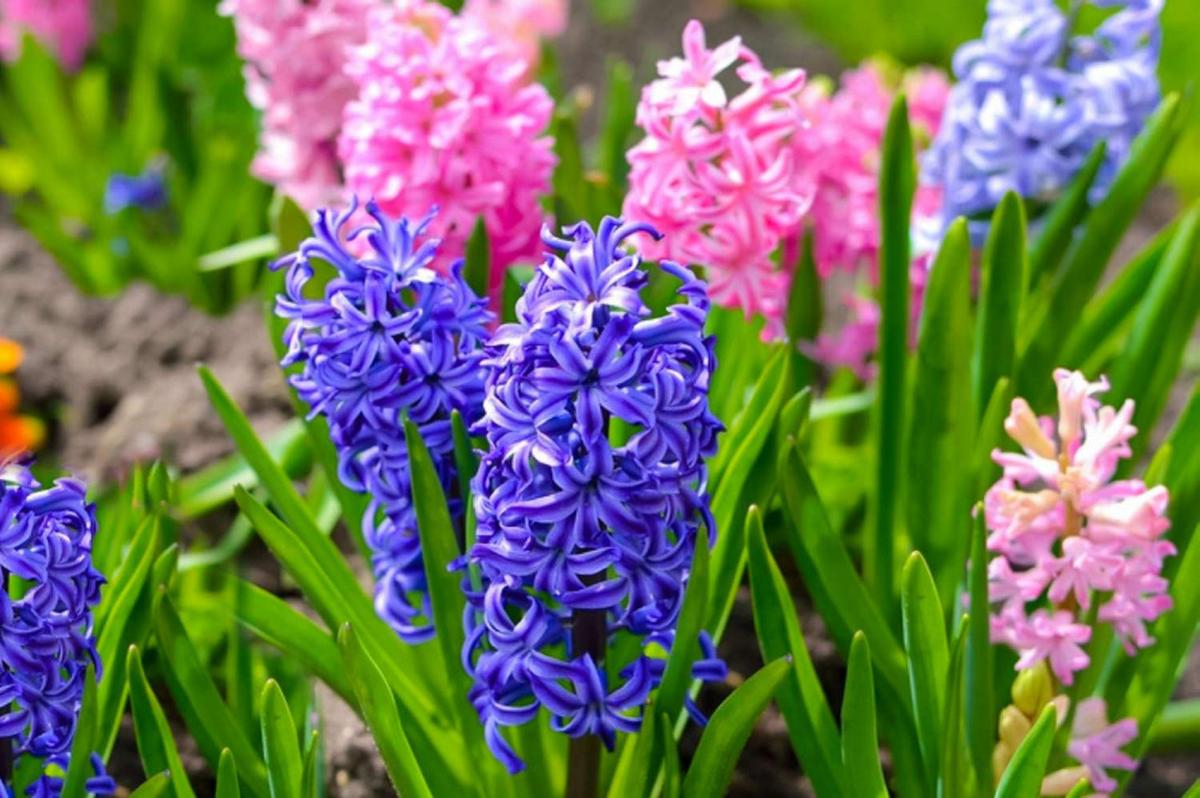
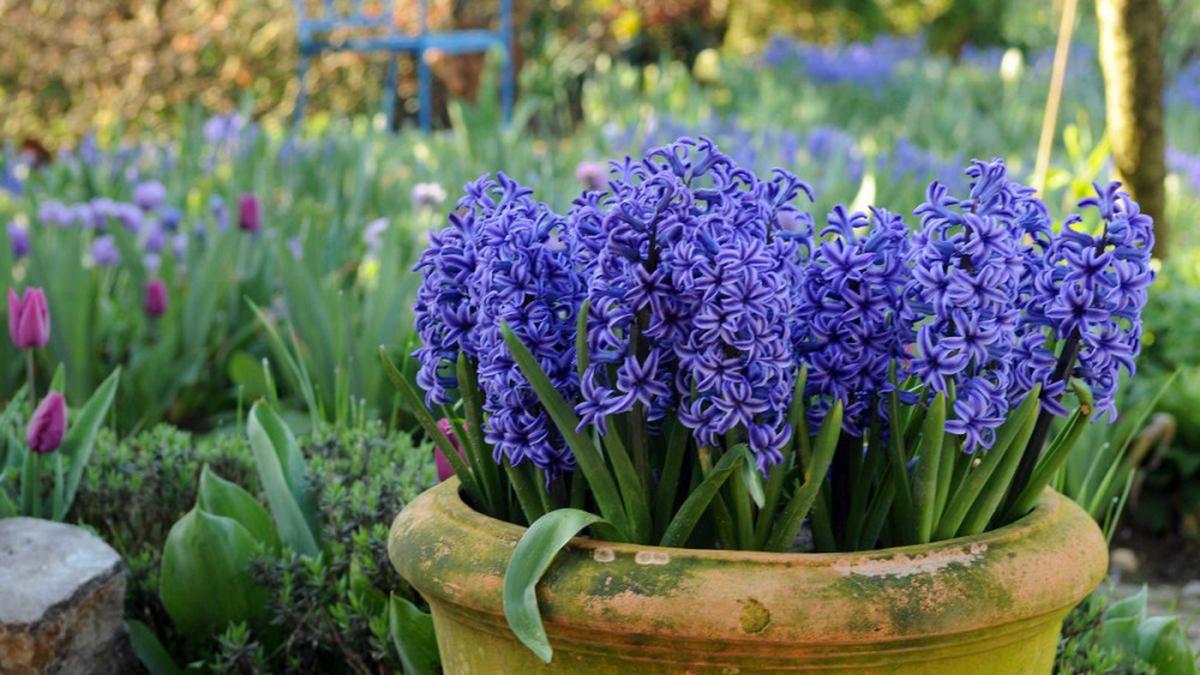
Hyacinths grace gardens with their delightful clusters of fragrant flowers each spring.
After the blossoms fade, removing them helps the plant channel energy into its bulb for next year’s display.
Letting the leaves die back naturally plays a key role in replenishing those bulbs, ensuring vibrant growth in future seasons.
Once you notice that foliage turning yellow and wilting away, trimming it down becomes an easy task to complete.

James Turner
Founder & Lead Designer
Expertise
Interior Design, Sustainable Design Practices, Spatial Planning, Innovative Material Applications, Contemporary Art Techniques, Visual Communication, Multimedia Artistry, DIY Design and Home Projects, Eco-Friendly Living Spaces, Creative Solutions
Education
University of Cincinnati College of Design, Architecture, Art, and Planning (DAAP)
Columbus College of Art & Design (CCAD), Columbus, OH
James Turner is the founder and lead designer at Velocity Art and Design. He studied Interior Design at the University of Cincinnati, focusing on eco-friendly design and smart use of space.
Later, he expanded his artistic skills with a Fine Arts Certificate from the Columbus College of Art & Design, where he learned about modern art and visual storytelling.
With over 10 years in design, James is passionate about making spaces that are both beautiful and practical. He shares his DIY tips and creative ideas to inspire others to explore their own creativity and transform their living spaces.