6 Genius Steps to Build a DIY Bottle Vegetable Waterer
Keeping your plants hydrated consistently can be effortless with a DIY automatic bottle waterer.
This simple project not only recycles old bottles but ensures your vegetables receive steady moisture.
Follow these six easy steps to assemble a reliable watering system that lets you enjoy lush, healthy plants without daily upkeep.
Step-by-Step Guide
Step 1. Gather Your Materials
Step 2. Prepare A Plastic Bottle
Choose a two-liter plastic bottle for larger plants, or a smaller one for less demanding greenery. Thoroughly clean the bottle and remove its label.
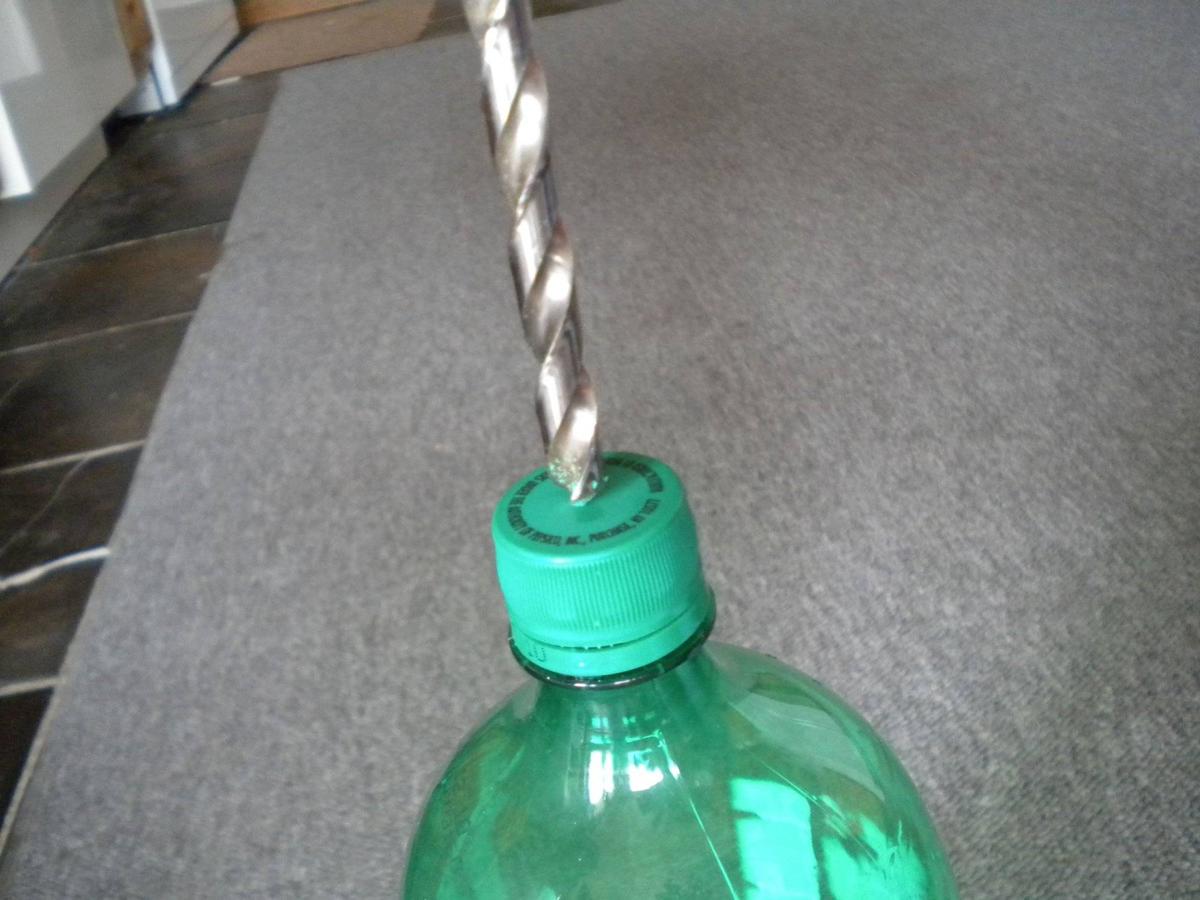
Drill four to five holes in the cap after placing it on a scrap piece of wood, using a drill or a nail and hammer.
Ensure the holes are large enough to prevent clogging but small enough to moderate water flow. Replace the cap after drilling.
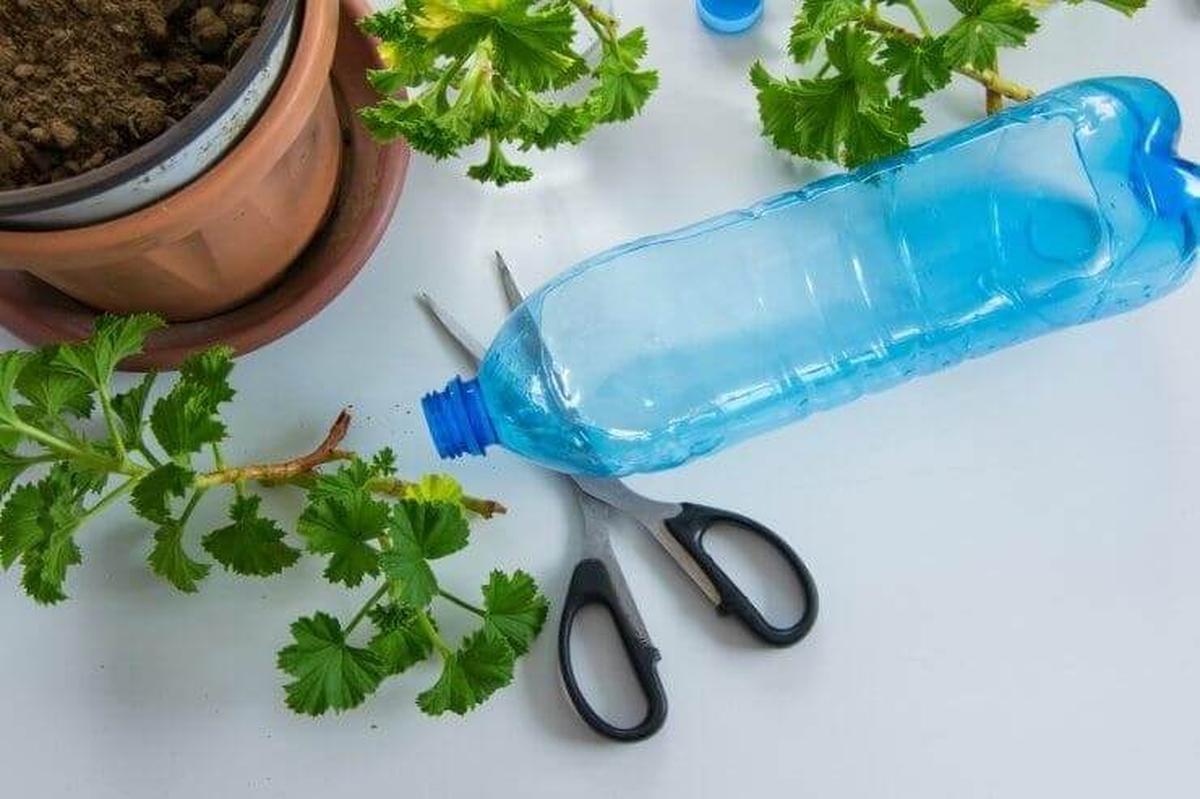
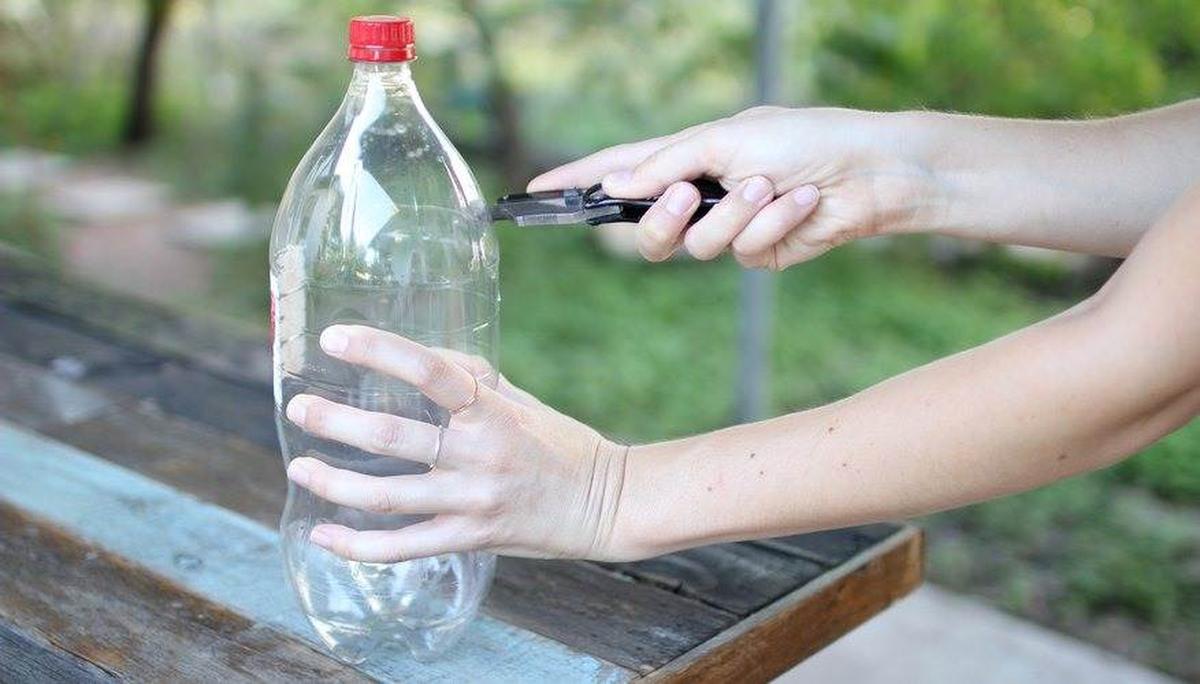
Step 3. Cut The Bottles Bottom
Using sharp scissors or a serrated knife, cut off the bottom inch of the bottle, or use the molded line as a guide.
Step 4. Dig A Hole In The Ground
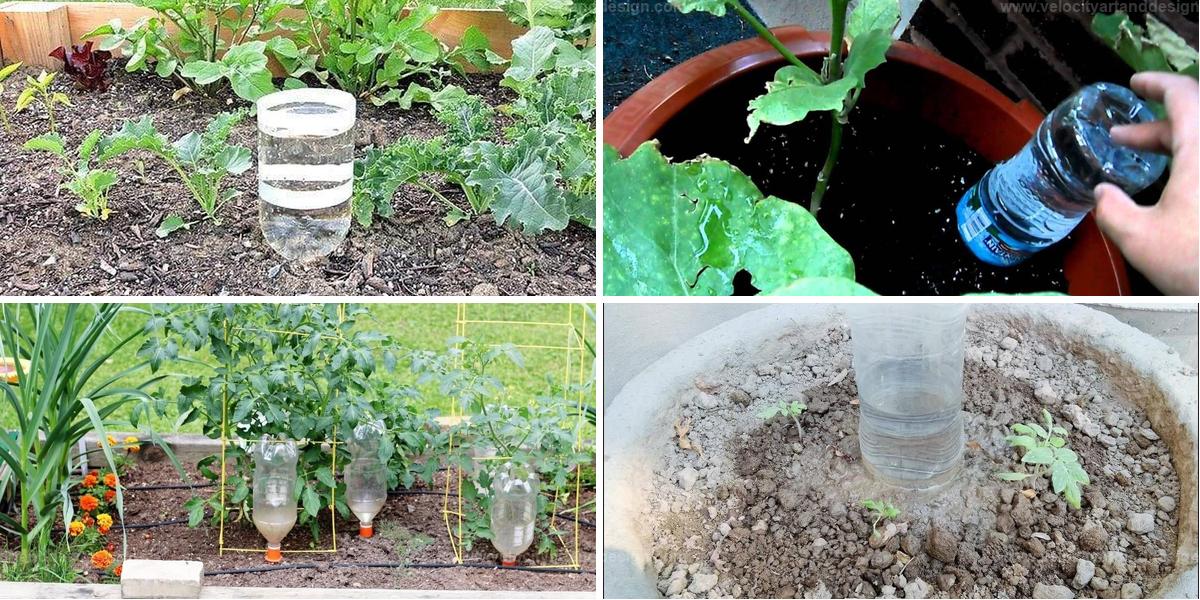
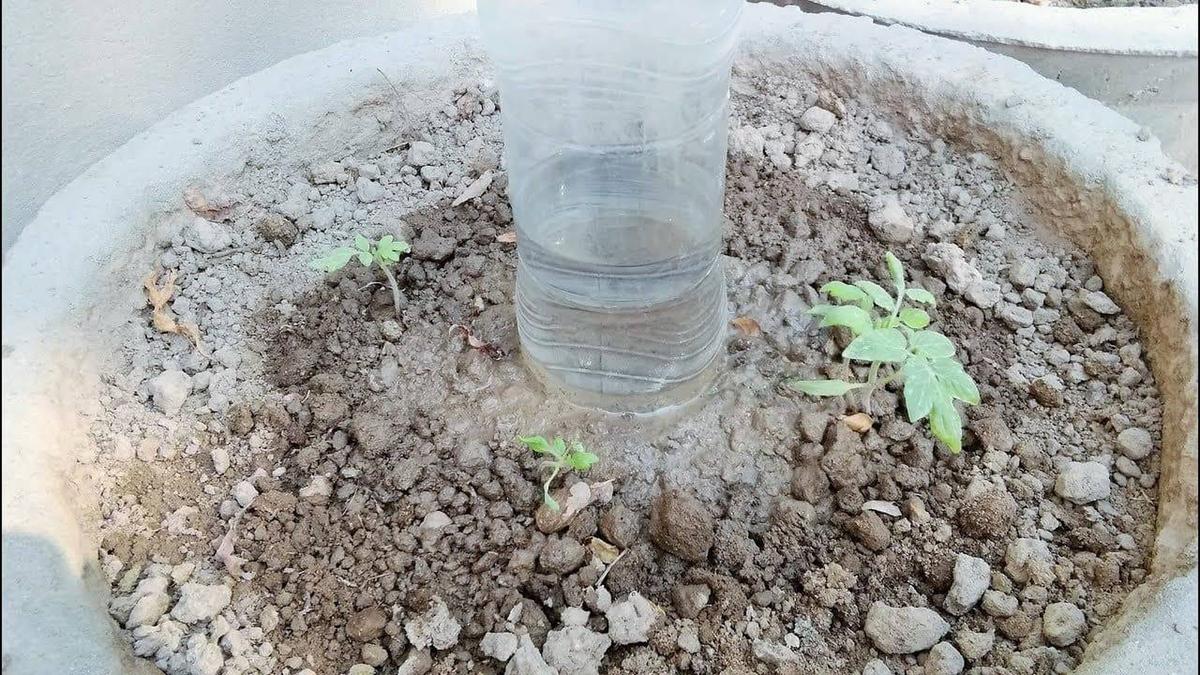
Dig a hole in your garden deep enough to bury half of the bottle, approximately 4 to 6 inches away from the plant to avoid damaging any roots.
Step 5. Put The Bottle Into The Hole
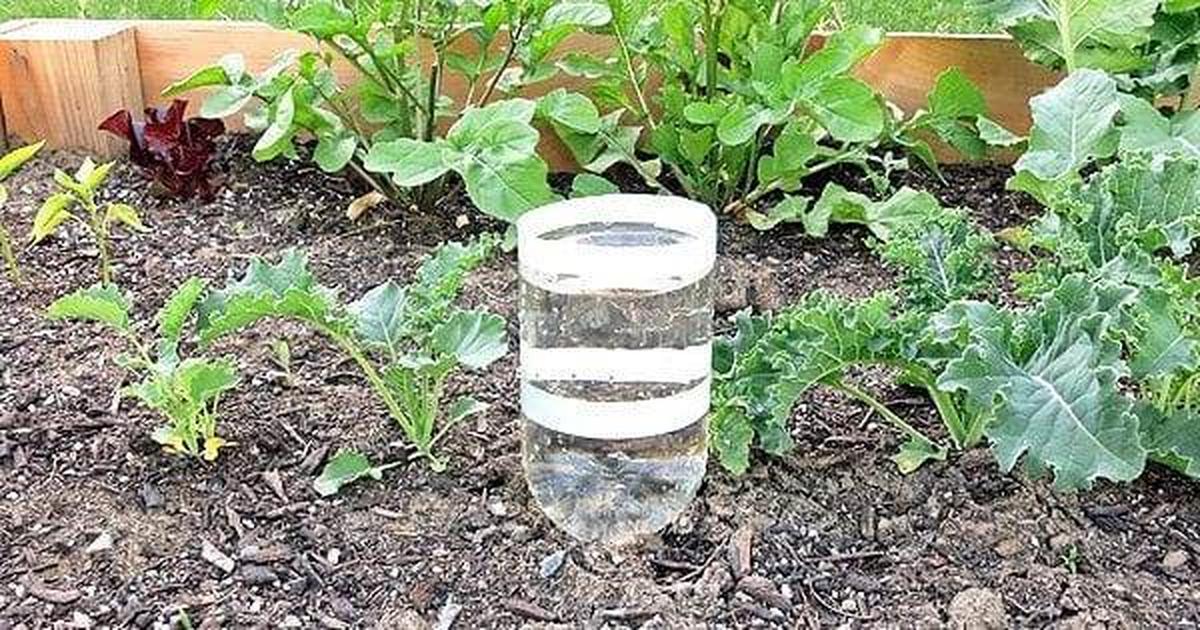
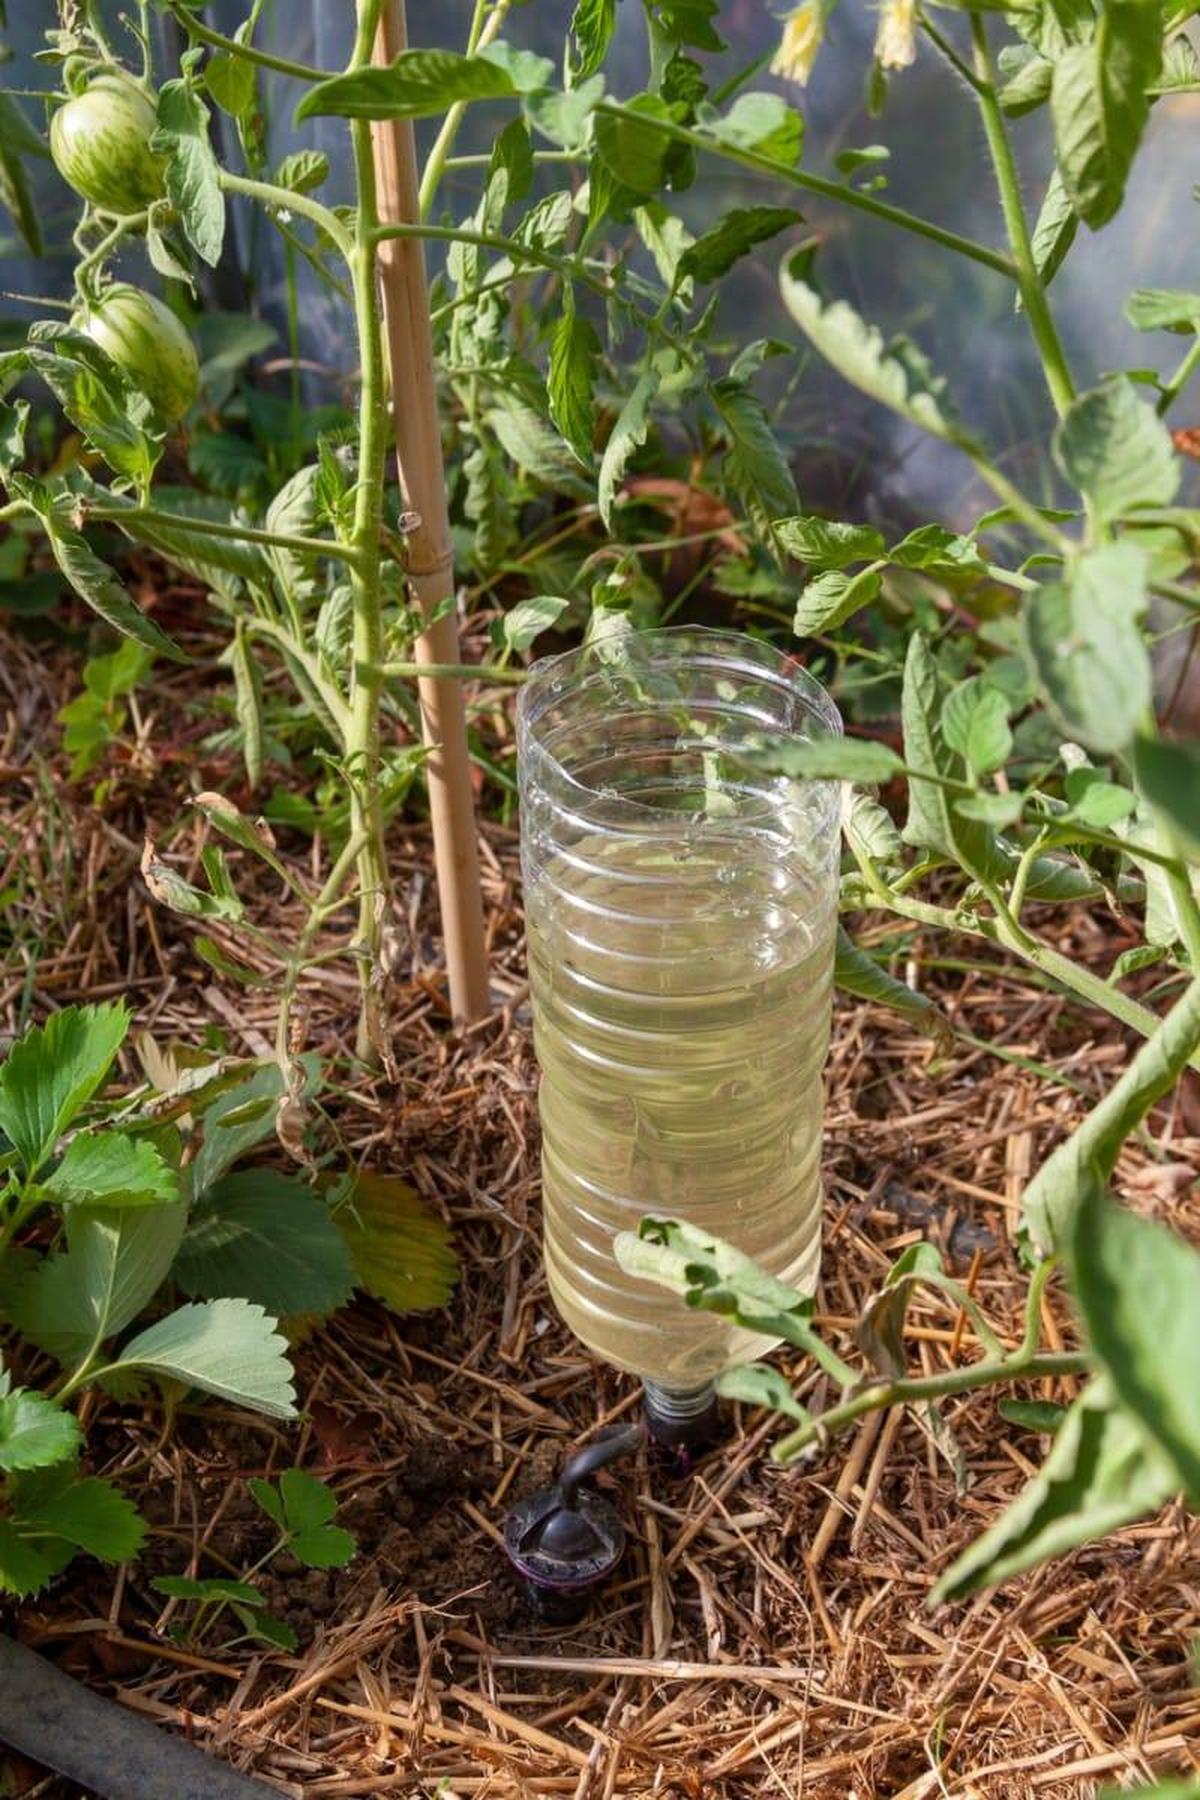
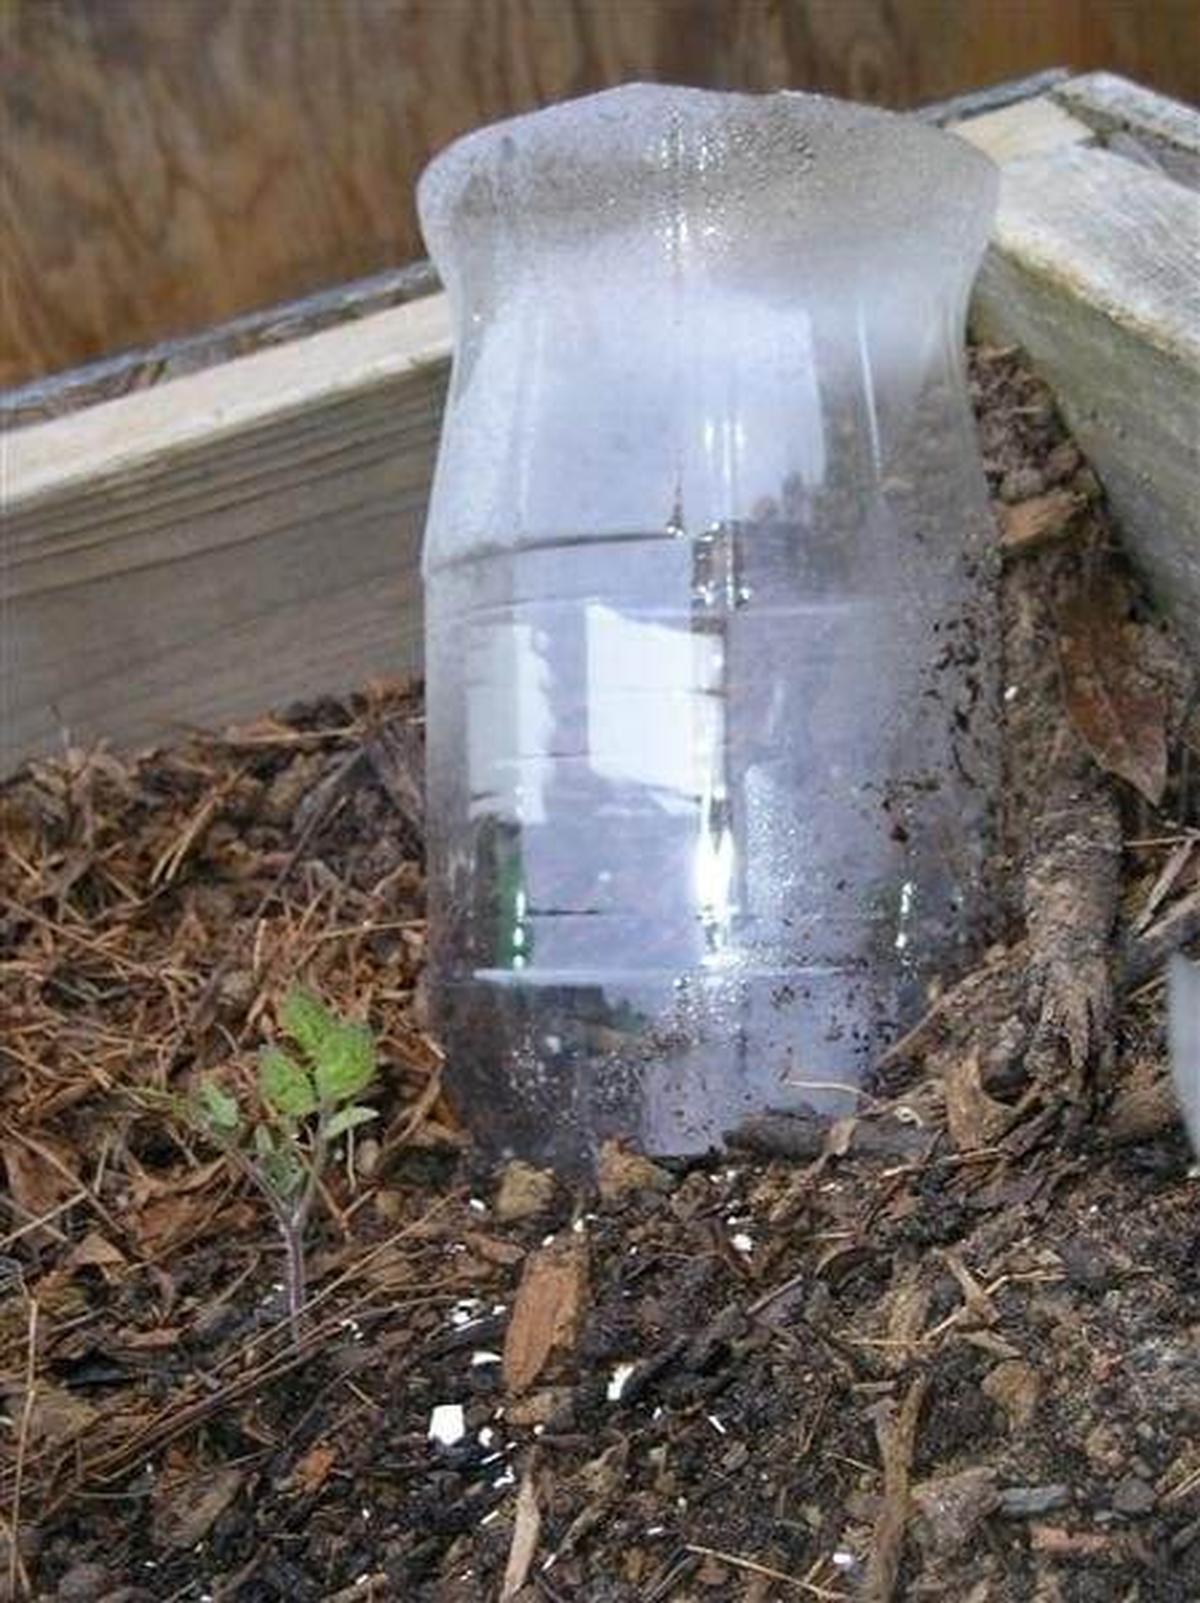
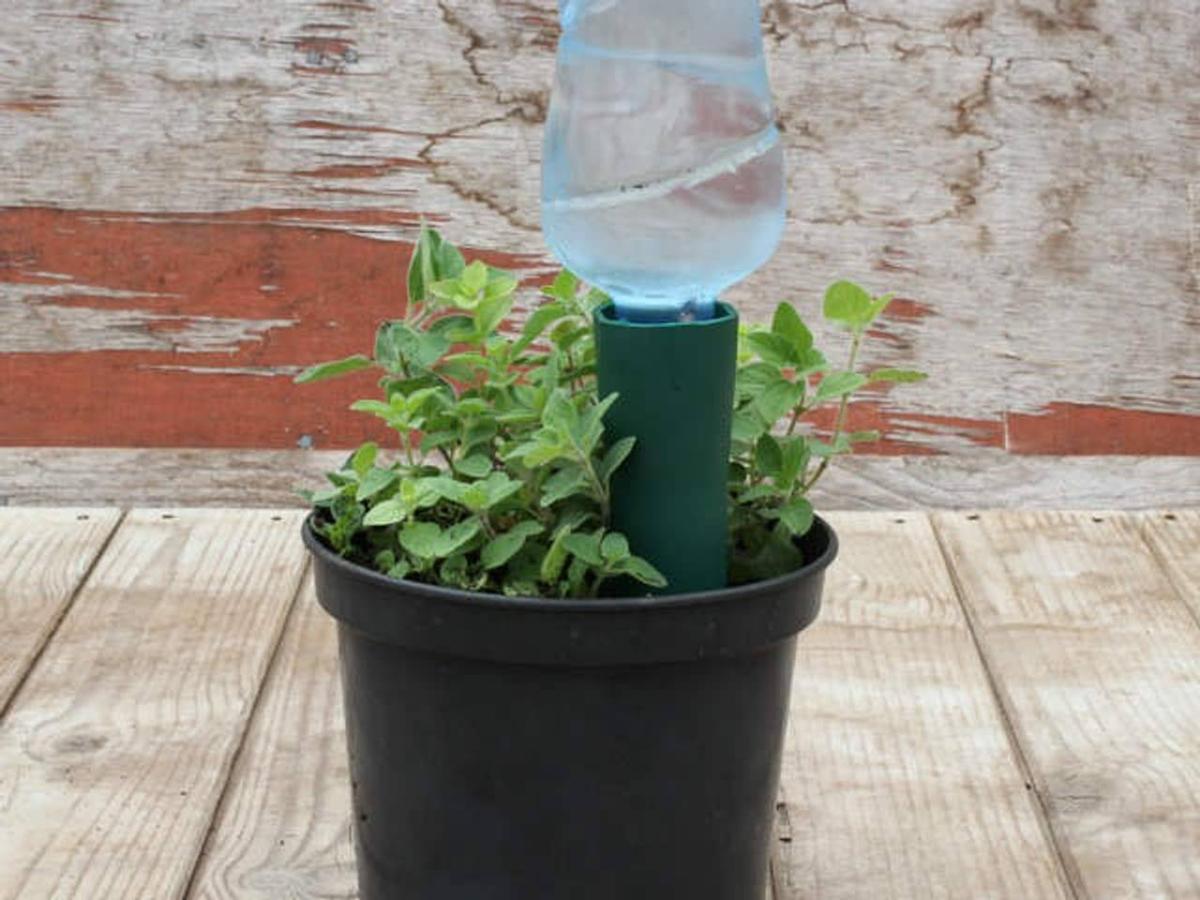
Insert the bottle cap-side-down into the hole. If not already done, screw the cap back on, ensuring at least one inch of the bottle neck protrudes above the soil to prevent soil from entering.
Step 6. Fill The Bottle
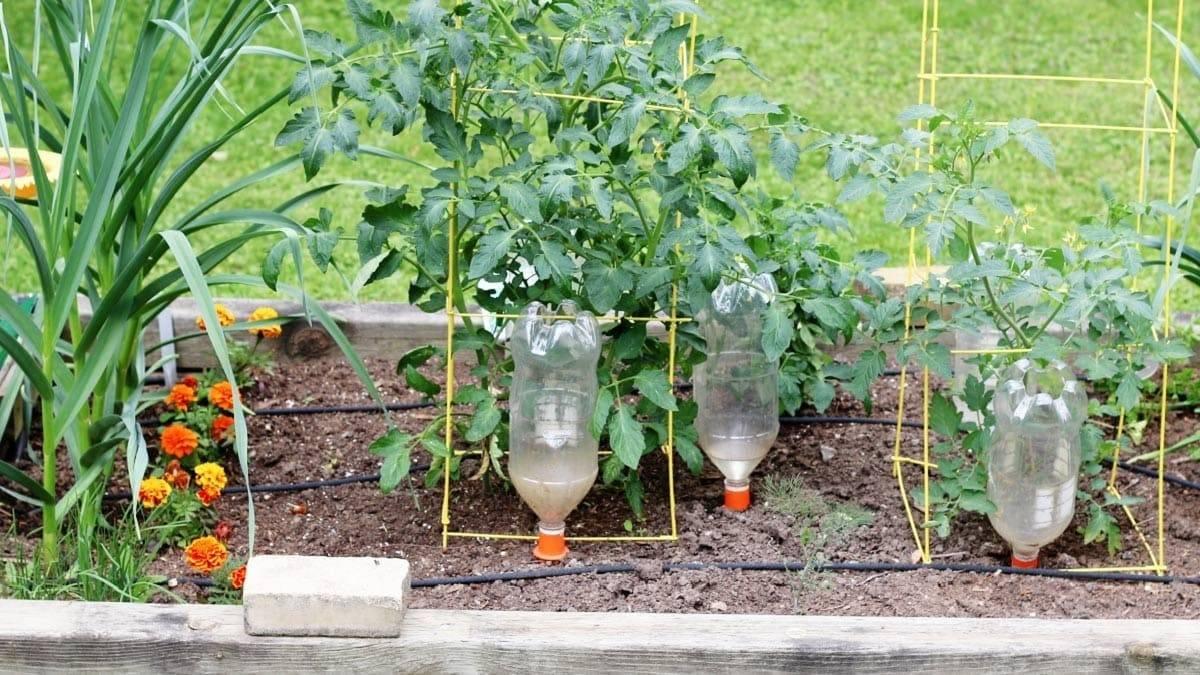
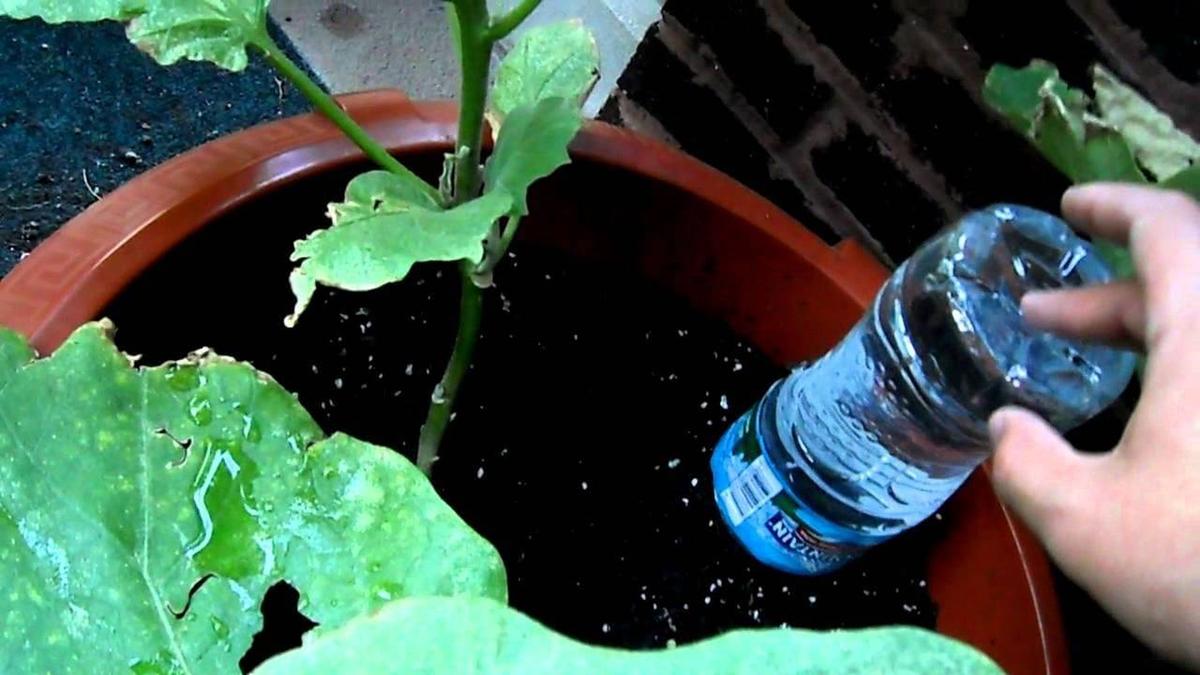
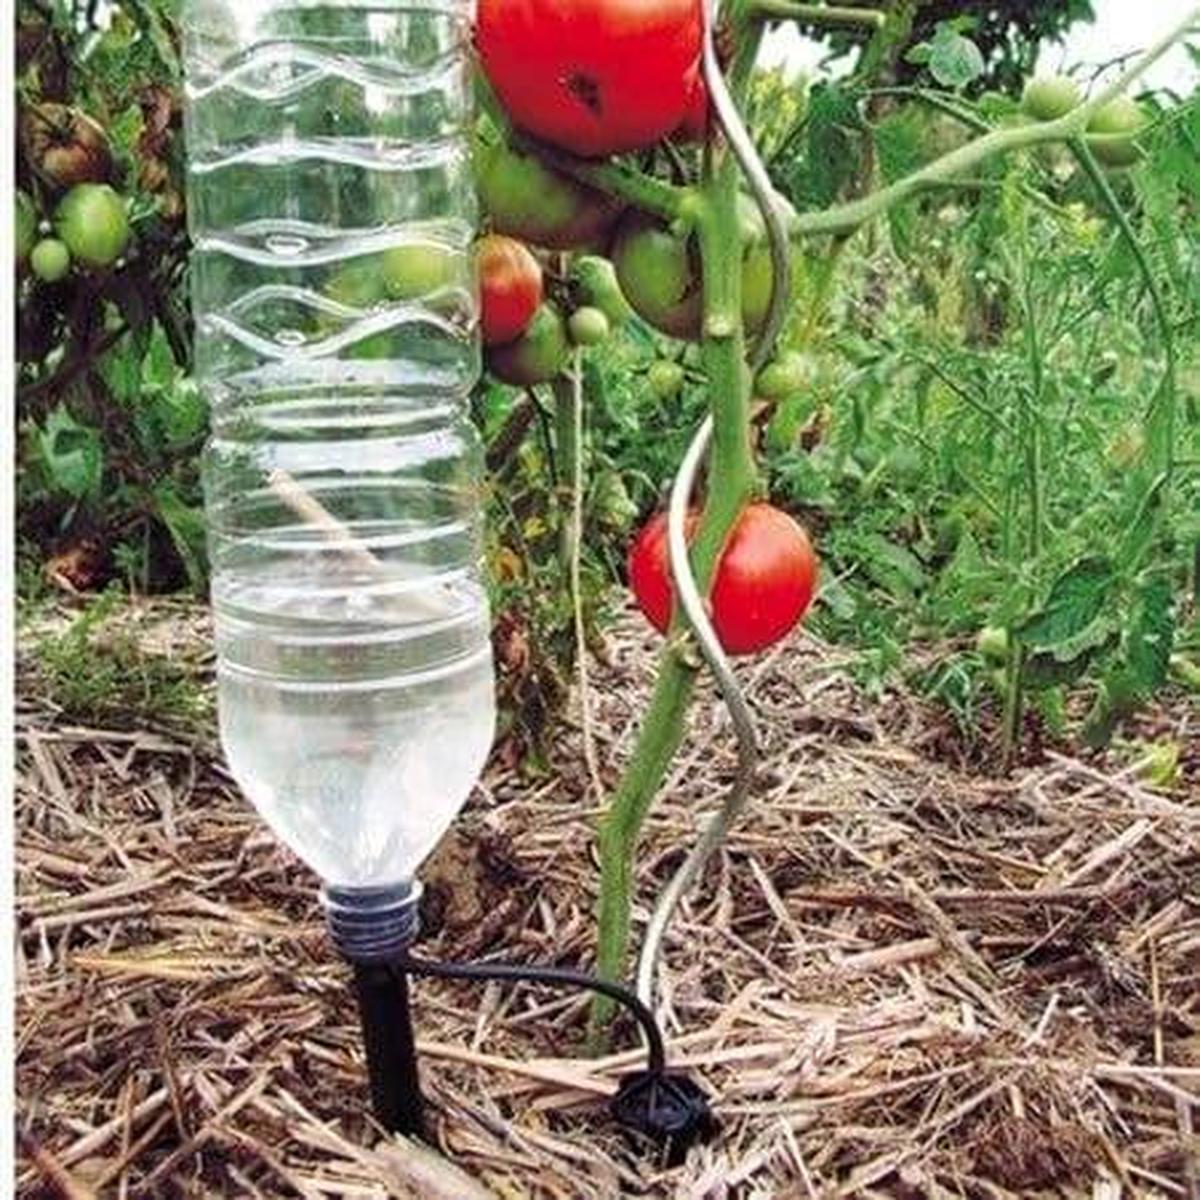
Fill the bottle with water and position it upside down to set up a drip irrigation system. Ensure it’s secure and operational. Install as many systems as needed for all your plants.
Benefits of Using a Bottle Automatic Vegetable Waterer
Consistent Moisture Management
Managing soil moisture is a common challenge for gardeners. A bottle automatic vegetable waterer delivers a steady, controlled supply of water, preventing the stress of drought or overwatering and promoting the growth of healthy, vibrant vegetables.
Water Conservation
Traditional watering methods often lead to excessive water use. A bottle waterer delivers the necessary hydration directly to the roots, reducing waste and saving on water bills. This makes it a cost-effective and eco-friendly option for gardeners.
Time and Labor Efficiency
Gardening requires time and effort, particularly with watering. An automatic waterer simplifies this task, making it ideal for busy gardeners or those with physical limitations. It ensures efficient garden maintenance, saving time and reducing labor.
FAQs
How frequently do I need to refill the water bottle?
The refill frequency depends on the bottle size and your garden's needs. Smaller bottles may need refilling more often than larger ones. Monitor soil moisture and refill the bottle every few days as required.
Which kinds of bottles work best for this system?
Plastic soda bottles, water bottles, or milk jugs are suitable for this system. Choose a bottle with a secure cap that can be modified to adjust water flow. Match the bottle size to your plants’ watering needs.
What methods are there to regulate the water’s flow rate?
To adjust the water flow rate, alter the number and size of holes in the bottle cap. Smaller or fewer holes slow the flow, while larger or more holes increase the flow rate, allowing more water to pass through at once.
Is this system compatible with all vegetable varieties?
Yes, a bottle automatic waterer is suitable for most vegetables. However, consider the unique watering needs of various plants, as some may need more water than others. Customize the bottle size and adjust the flow rate to meet the specific requirements of each type of vegetable in your garden.

James Turner
Founder & Lead Designer
Expertise
Interior Design, Sustainable Design Practices, Spatial Planning, Innovative Material Applications, Contemporary Art Techniques, Visual Communication, Multimedia Artistry, DIY Design and Home Projects, Eco-Friendly Living Spaces, Creative Solutions
Education
University of Cincinnati College of Design, Architecture, Art, and Planning (DAAP)
Columbus College of Art & Design (CCAD), Columbus, OH
James Turner is the founder and lead designer at Velocity Art and Design. He studied Interior Design at the University of Cincinnati, focusing on eco-friendly design and smart use of space.
Later, he expanded his artistic skills with a Fine Arts Certificate from the Columbus College of Art & Design, where he learned about modern art and visual storytelling.
With over 10 years in design, James is passionate about making spaces that are both beautiful and practical. He shares his DIY tips and creative ideas to inspire others to explore their own creativity and transform their living spaces.