How to Give Yourself a Refreshing Ice Facial at Home
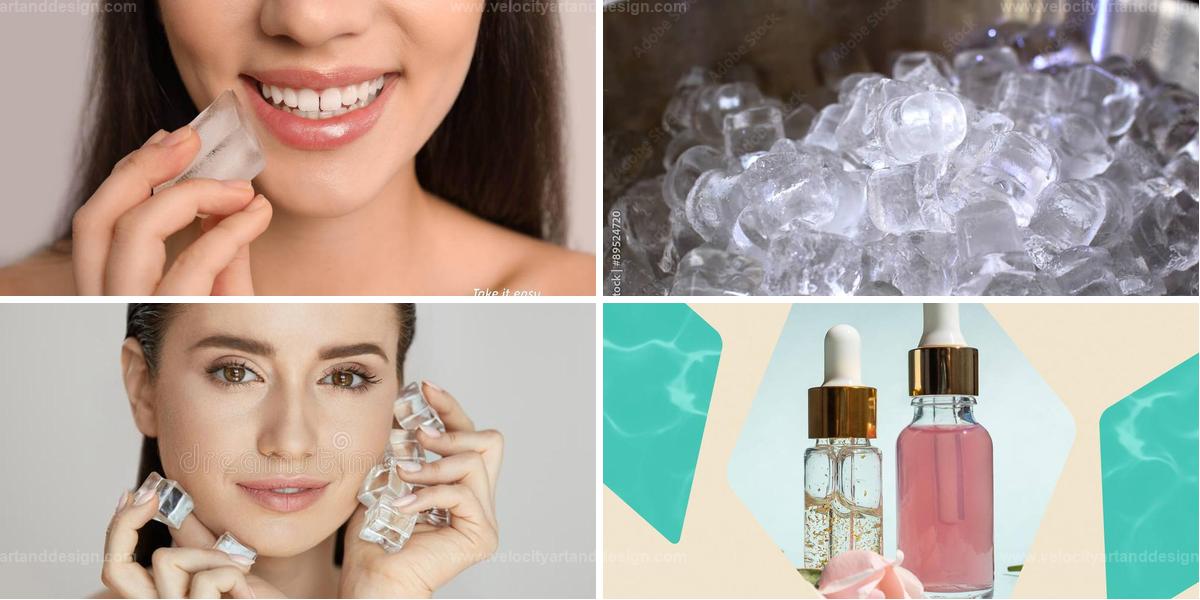
An ice facial treatment offers an invigorating boost to the skin, promoting a refreshed and youthful glow. Cold therapy can reduce puffiness, tighten pores, and improve circulation, bringing a fresh vibrance to the complexion.
Easy to do at home, this simple treatment is ideal for an instant revitalizing touch. By cooling the skin, an ice facial leaves it looking toned and firm.
Regular sessions can contribute to a smoother, healthier appearance. Try these steps to enjoy an ice facial from home:
Why Ice Facials Are Beneficial
Ice cubes can be a refreshing way to care for your skin. Here’s how they can help:
Detailed Guide for an At-Home Ice Facial
An ice facial at home is a quick, refreshing way to boost your skin’s glow and reduce puffiness. Here’s an easy step-by-step guide to getting the most out of this cooling treatment.
Step 1: Morning Rinse
Start your morning by rinsing your face with plain water. Choose a wide bowl that comfortably fits your face.
Step 2: Prepare the Ice Water
Fill the bowl halfway with normal water and add 10 to 15 ice cubes. Let the ice melt. You can also add 1-2 teaspoons of green tea or rose water if desired.
Step 3: Dip and Refresh
Submerge your face in the cold water for 10 seconds, then lift, take a few breaths, and dip again for another 10 seconds.
Step 4: Repeat for 1 Minute
Continue this cycle for one minute. You can enjoy this refreshing ice therapy once a day or weekly, depending on your preference.
Additional Notes
Here are some quick tips to make your ice face therapy more comfortable and effective:




James Turner
Founder & Lead Designer
Expertise
Interior Design, Sustainable Design Practices, Spatial Planning, Innovative Material Applications, Contemporary Art Techniques, Visual Communication, Multimedia Artistry, DIY Design and Home Projects, Eco-Friendly Living Spaces, Creative Solutions
Education
University of Cincinnati College of Design, Architecture, Art, and Planning (DAAP)
Columbus College of Art & Design (CCAD), Columbus, OH
James Turner is the founder and lead designer at Velocity Art and Design. He studied Interior Design at the University of Cincinnati, focusing on eco-friendly design and smart use of space.
Later, he expanded his artistic skills with a Fine Arts Certificate from the Columbus College of Art & Design, where he learned about modern art and visual storytelling.
With over 10 years in design, James is passionate about making spaces that are both beautiful and practical. He shares his DIY tips and creative ideas to inspire others to explore their own creativity and transform their living spaces.