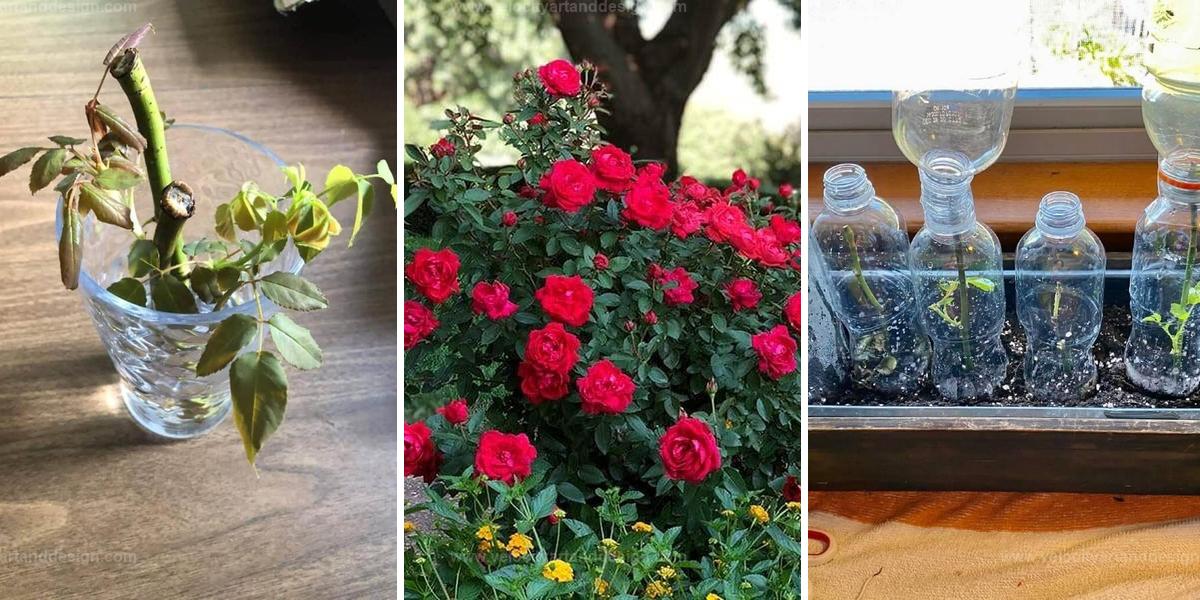
Growing More Roses in Water: Budget-Friendly Propagation Tips
Propagating roses doesn’t have to be complicated or costly. With a simple water glass, you can grow new rose plants from cuttings and fill your garden with beautiful blooms without spending extra.
This water propagation method is beginner-friendly and requires only basic supplies, making it an ideal choice for anyone looking to save money while expanding their rose garden.
Read on to learn the steps for propagating roses in a water glass and start enjoying more roses on a budget.
Essential Materials
Gather these basic supplies to ensure a smooth and successful rose propagation journey, from start to finish.
How to Propagate Roses in Water
Learn the step-by-step process for rooting roses in water, a simple and effective method for growing new plants from cuttings.
Collect Your Cuttings
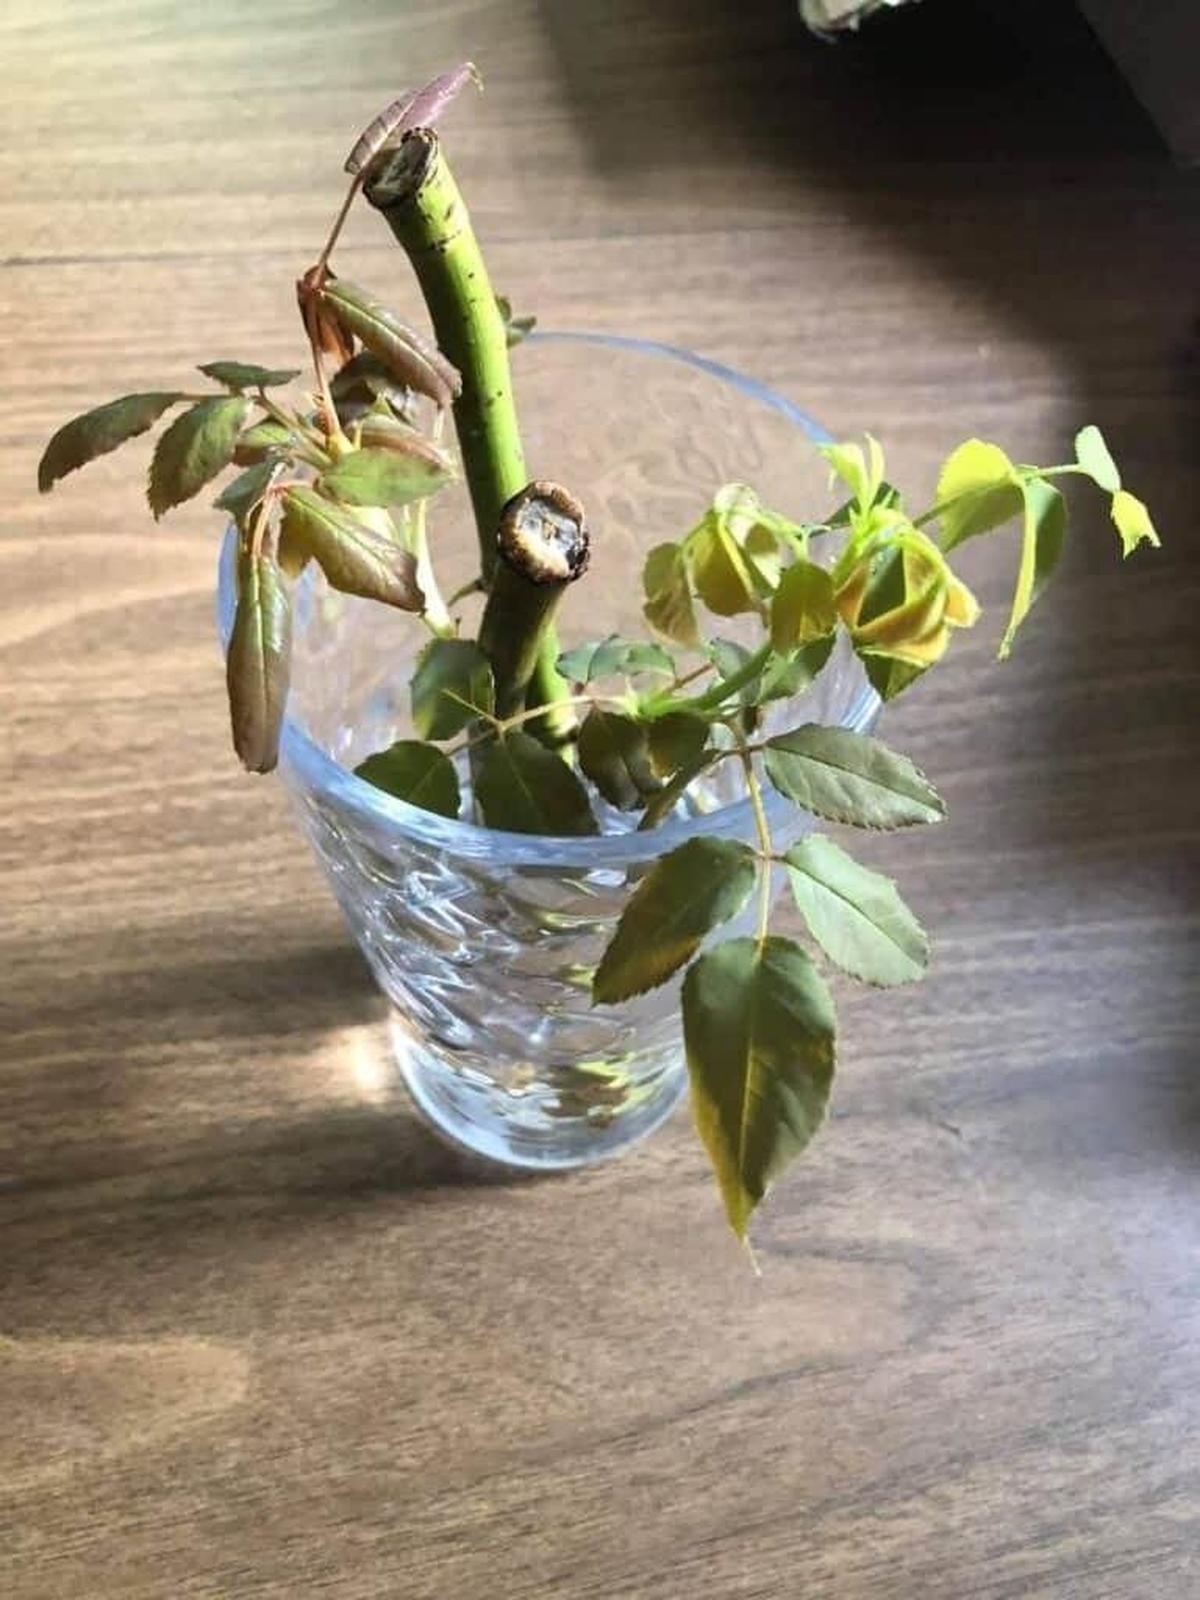
Using sharp pruning shears, make a 45-degree cut just below a leaf node on a healthy stem. The leaf node, a small bump on the stem, is where leaves, buds, or branches emerge. Choose a cutting with two leaves and a dormant bud at the base, and remove any flowers, thorns, or lower leaves. Ensure the final cut is just above a leaf node.
This clean cut gives the cutting optimal growth potential while minimizing energy loss. Place the cuttings in water immediately to prevent wilting and maintain their vitality.
Root Roses in a Glass of Water
Place the cuttings in a glass or jar filled with non-chlorinated, room-temperature water, ensuring that the nodes and the areas where leaves were removed are submerged.
The lower portion of the cutting should remain underwater, while the top section with leaves stays above water. Position the glass in a warm location with bright, indirect sunlight, and let the rooting process begin.
Care for the Cuttings
Over the next few weeks, your cuttings will begin developing roots. Keep an eye on the water level, ensuring it stays consistent.
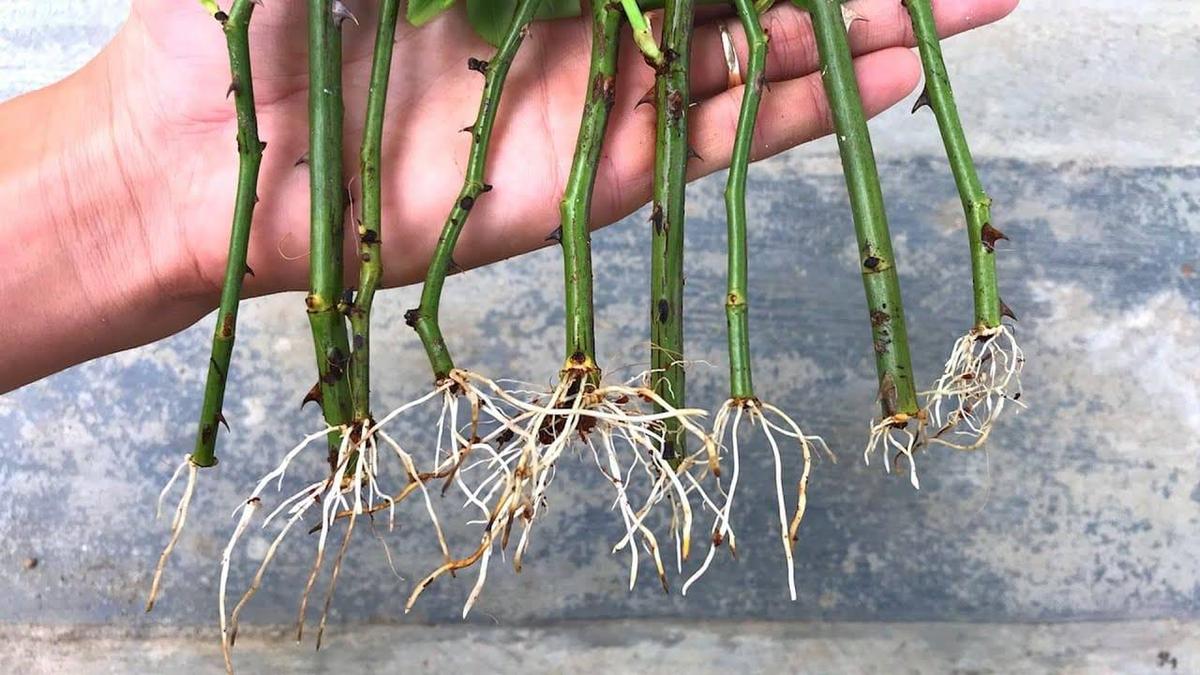
Refresh the water every 3-5 days, or sooner if it appears cloudy, to prevent bacterial growth. Within 4-6 weeks, you should notice thin, delicate white roots starting to form.
When these roots reach about 2-3 inches in length, your new rose plants are ready to be transplanted into soil.
Transfer Cuttings to Soil
Prepare a well-draining spot in your garden before transplanting. Gently remove the cuttings from the water, being careful not to damage the fragile roots.
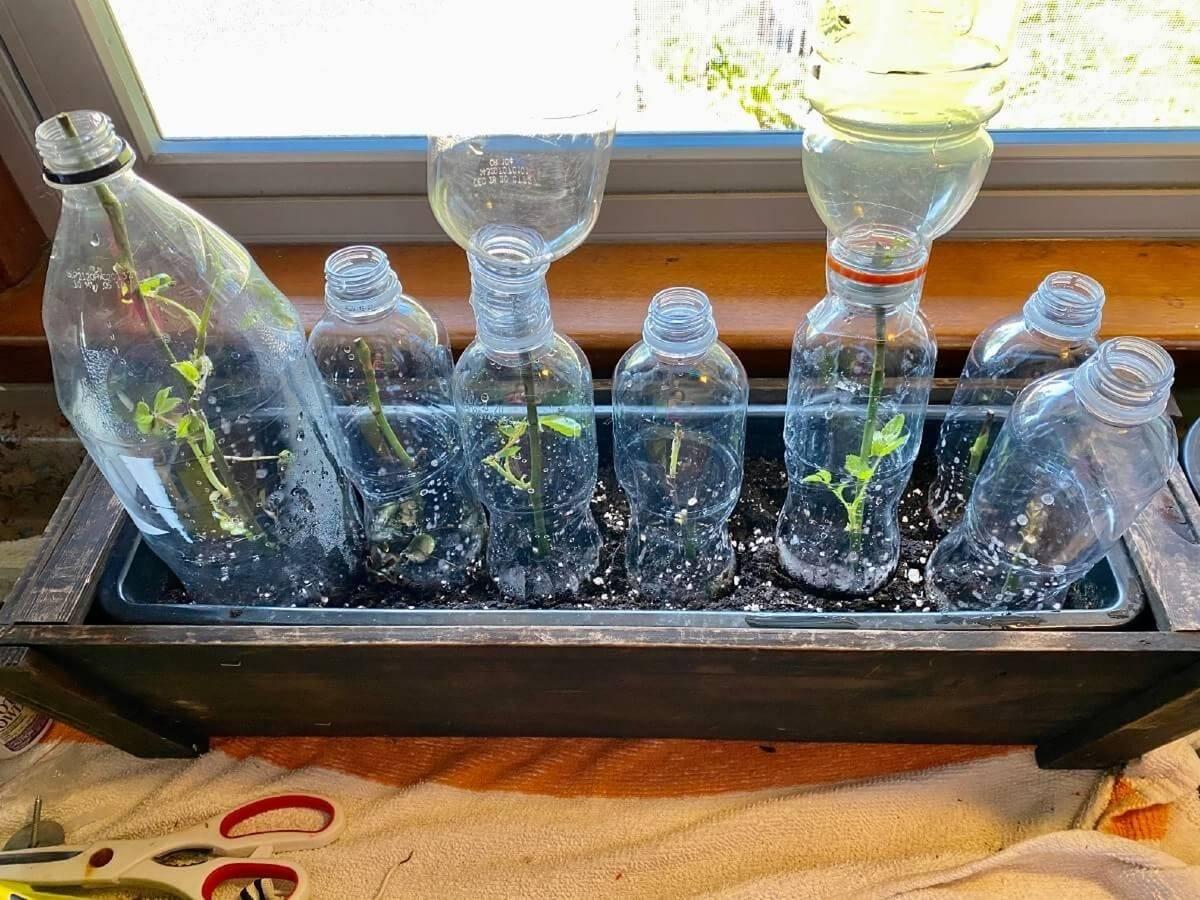
Dig a small hole in the soil and place the cutting inside, covering it lightly with soil. Water thoroughly, and provide some shade for the first few days to help it acclimate.
With a little patience and care, these cuttings will grow into healthy, thriving rose bushes in your garden.
Additional Tips for Best Results
Boost your success rate with these helpful tips on caring for rose cuttings and ensuring healthy root development.
Selecting Rose Varieties
Select a healthy, disease-free rose plant with a strong fragrance to ensure that the propagated plants inherit these desirable traits.
Timing is Key
The ideal time to take cuttings is in late spring or early summer when the plant is in active growth. While rooting roses in water typically takes about three to four weeks, don’t be discouraged if you don’t see roots immediately; some cuttings may take longer.
Growing Roses in Containers
If growing roses in pots, water as needed to keep the potting soil moist but not waterlogged. Always empty the drainage saucer after a few minutes, and avoid letting the pot sit in standing water.


James Turner
Founder & Lead Designer
Expertise
Interior Design, Sustainable Design Practices, Spatial Planning, Innovative Material Applications, Contemporary Art Techniques, Visual Communication, Multimedia Artistry, DIY Design and Home Projects, Eco-Friendly Living Spaces, Creative Solutions
Education
University of Cincinnati College of Design, Architecture, Art, and Planning (DAAP)
Columbus College of Art & Design (CCAD), Columbus, OH
James Turner is the founder and lead designer at Velocity Art and Design. He studied Interior Design at the University of Cincinnati, focusing on eco-friendly design and smart use of space.
Later, he expanded his artistic skills with a Fine Arts Certificate from the Columbus College of Art & Design, where he learned about modern art and visual storytelling.
With over 10 years in design, James is passionate about making spaces that are both beautiful and practical. He shares his DIY tips and creative ideas to inspire others to explore their own creativity and transform their living spaces.