How to Easily Multiply Your Spider Plants by Propagating in Water
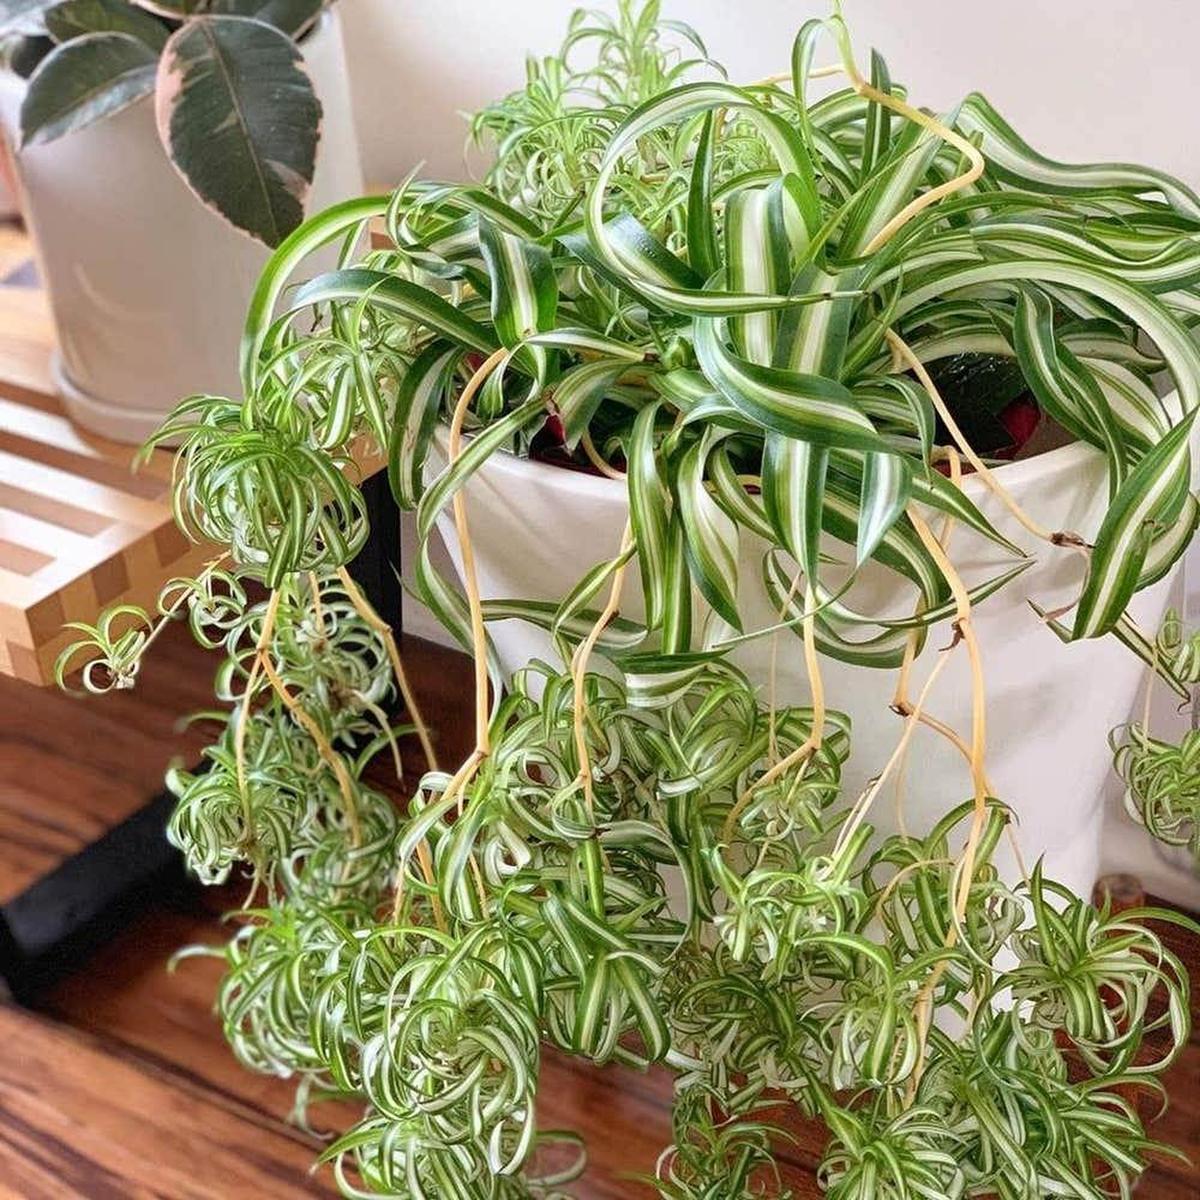
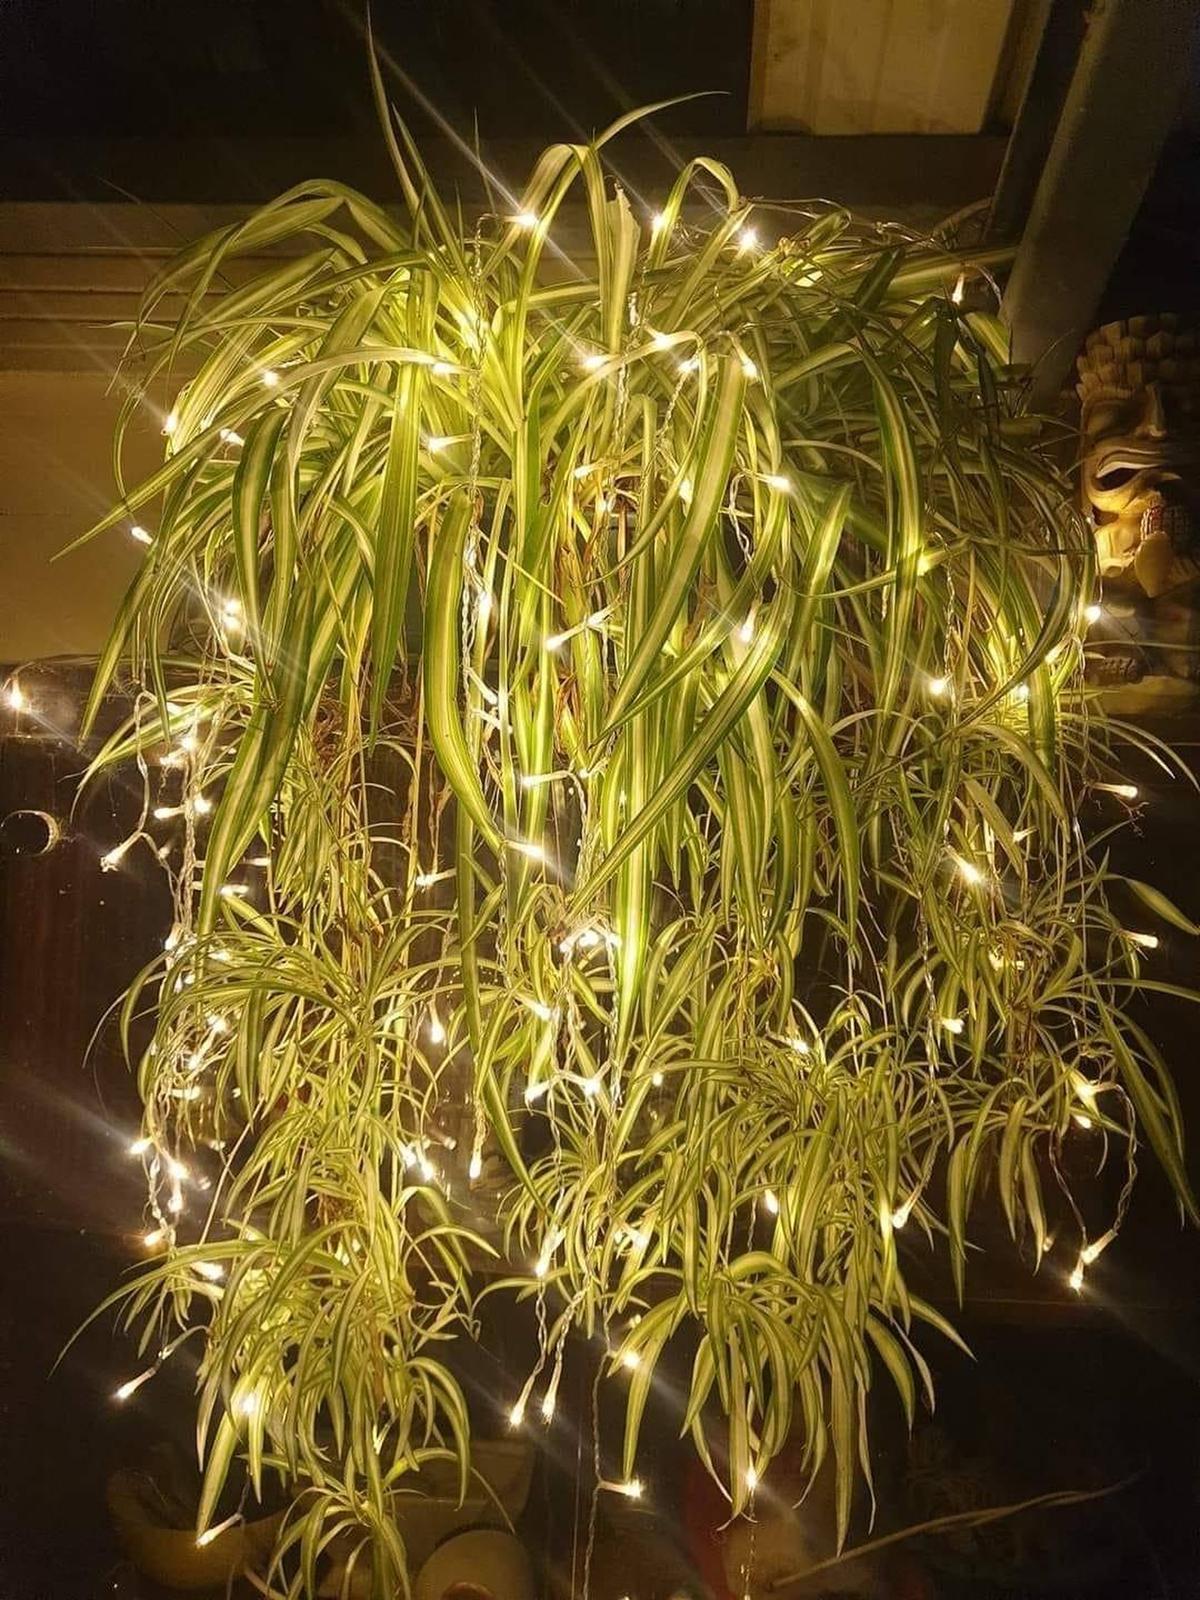
Spider plants are known for their ability to produce "babies" or offshoots, making them incredibly easy to propagate.
If you’re looking for a quick and hassle-free way to multiply your spider plants, water propagation is the way to go!
This method not only allows you to watch your new plants grow, but it also requires minimal effort and tools.
In this guide, we’ll walk you through the easiest way to propagate spider plants in water, so you can enjoy a thriving indoor garden with ease.
How to Propagate a Spider Plant
Learn the simple steps to propagate your spider plant in water, ensuring quick and easy growth for new plants. This method is ideal for multiplying your spider plant collection with minimal effort.
Materials Needed
Step 1: Selecting a Healthy Parent Plant
To successfully propagate a spider plant, begin by selecting a healthy, mature plant with well-established roots and vibrant, green foliage. Ensuring the parent plant is thriving will give the new plantlets the best chance for success.
Step 2: Identifying Suitable Shoots
Look for long arching stems where small baby plantlets, also called "pups," are growing. These plantlets are ready for propagation when they have at least a couple of inches of stem below them. Choose strong, healthy pups for the best results.
Step 3: Cutting And Placing In Water
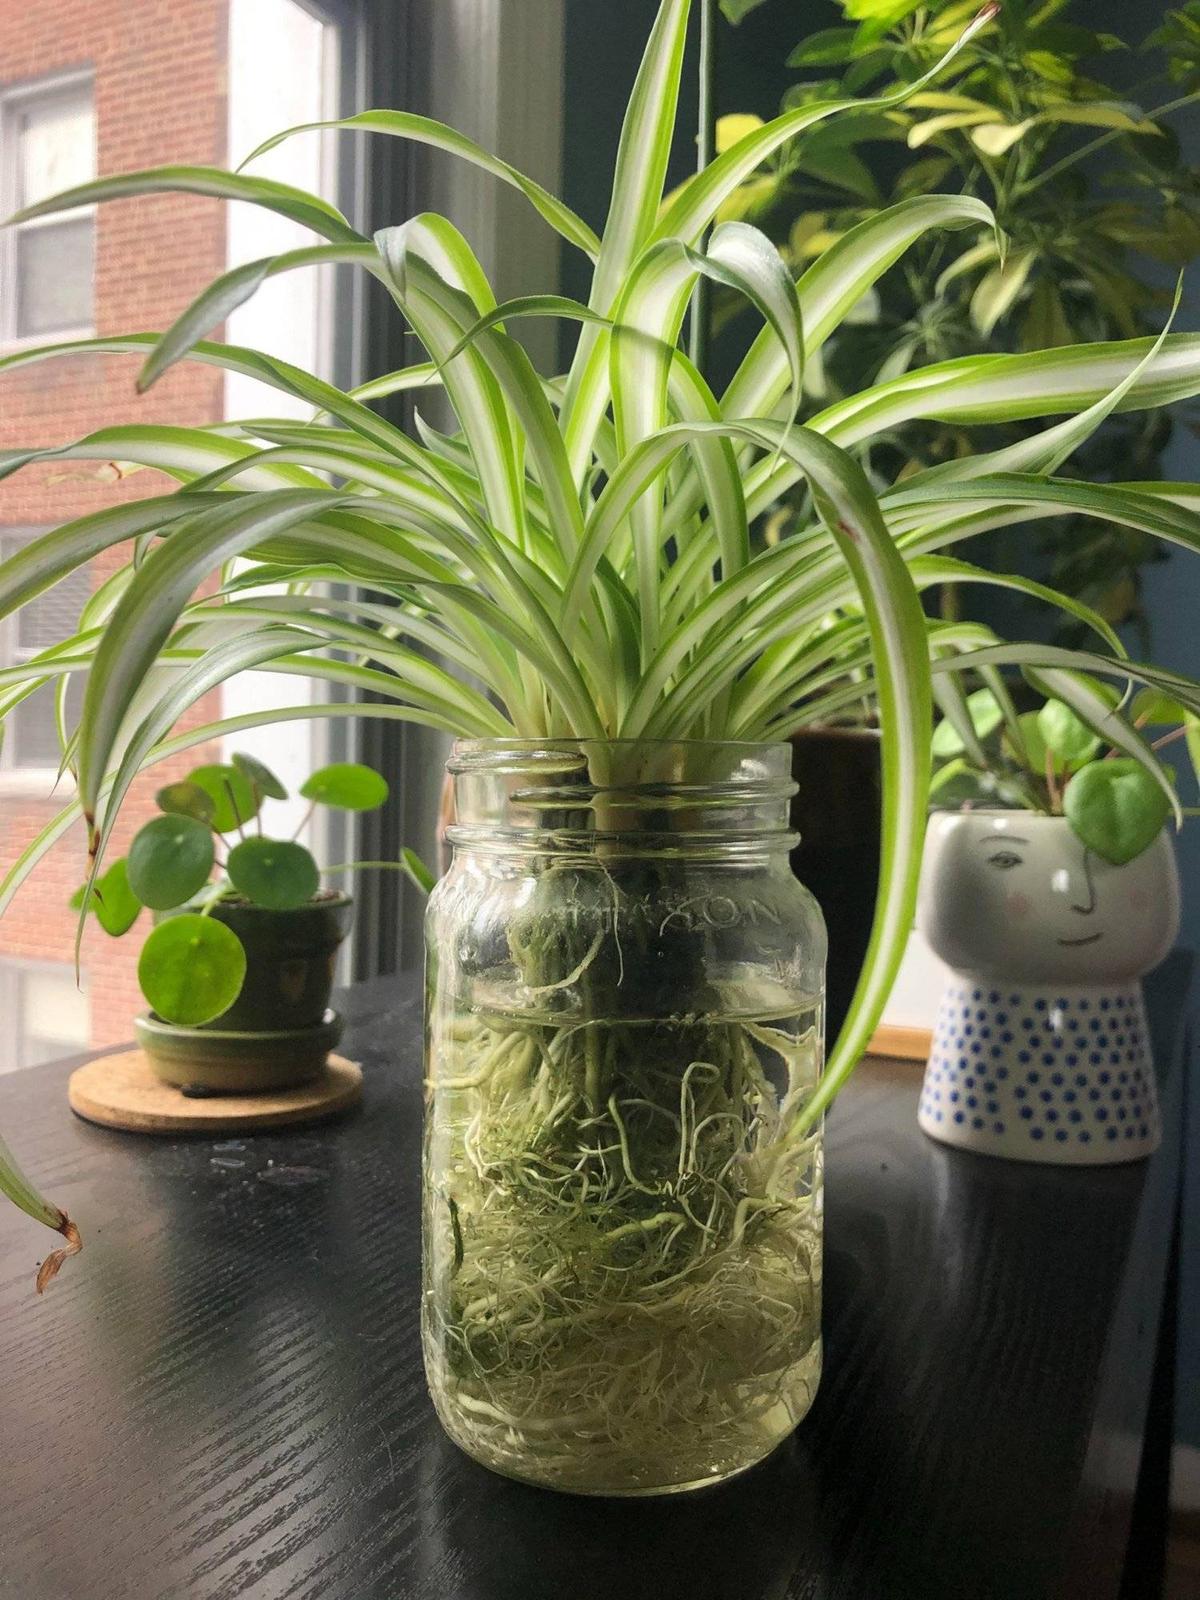
Using a clean, sharp tool, carefully cut the chosen shoot just below the baby plant, leaving a few inches of stem attached. Submerge the cut end of the plantlet in a glass or jar of water, ensuring that the base is underwater while the leaves remain dry above. This step starts the rooting process.
Step 4: Root Development
Place the glass or jar in a bright spot with indirect sunlight. It's important to change the water every few days to keep it fresh and oxygenated. In about two to three weeks, you should see roots beginning to form. Once these roots are a few inches long, the plantlet will be ready for planting.
Step 5: Transferring To Soil
Next, prepare a small pot with well-draining soil. Gently transfer the rooted plantlet into the soil, making sure the roots are well-covered and the plant is stable in its new home. After planting, water the soil lightly and position the pot in a location with bright, indirect sunlight.
Caring for Your New Spider Plant
Once your spider plant has been propagated, it’s important to know how to care for it properly. From watering to light requirements, these tips will help your new plant thrive.
Sunlight
Watering
It's best to allow the top inch of soil to dry out before watering thoroughly.
Pruning
Things to Keep in Mind
Before starting the propagation process, remember these important tips to ensure the health and success of your spider plant. Proper care is essential for healthy growth.
Fertilizing Spider Plants
Using a balanced houseplant fertilizer, such as a 20-20-20 mix, once a month from spring to fall will help maintain vibrant, healthy growth.
Preventing Root Rot
Overwatering and poor drainage are the primary causes of root rot, a common issue that affects spider plants.
Symptoms of root rot include yellowing, wilting, or dropping leaves, along with mushy or blackened roots.
To prevent this, only water when the top inch of soil feels dry, and ensure your plant is in a well-draining potting mix.
Proper drainage allows excess water to escape and keeps roots healthy.
Pest Control for Spider Plants
Spider plants can occasionally fall victim to sap-sucking pests like spider mites, aphids, mealybugs, thrips, and whiteflies.
These pests can cause leaves to yellow, curl, or wilt, and they often leave behind a sticky residue known as honeydew, which can attract sooty mold.
To combat these pests, wipe the leaves with a damp cloth or spray the plant with a mixture of water and mild soap or rubbing alcohol.
Consistent monitoring and gentle care can keep your plant pest-free.

Kathy Batiste
Creative Contributor & Home Decor Specialist
Expertise
Interior Decorating, Space Planning, Color Theory, Functional Design, Interior Styling, Aesthetic Enhancements, Room Layout Optimization, Trend Integration, Sustainable Design Solutions, Seasonal Decor Styling
Education
International Association of Professions Career College (IAP Career College)
Kathy Batiste is a creative contributor at Velocity Art and Design. She earned her Interior Decorator Certificate from the International Association of Professions Career College, where she gained skills in space planning, color coordination, and creating personalized home designs.
With over 5 years of experience in interior decorating, Kathy focuses on designing rooms that are not only stylish but also functional. Her passion lies in helping others transform their homes into spaces that feel warm and uniquely their own.